🔄 Use MLFlow with Picsellia
If you are already an MLFlow user you might want to keep tracking your experiments in MLFlow while leveraging Picsellia for Data Management and Model Registry.
This is what we are going to cover in this tutorial. To make it simple to understand, we are going to rewrite this tutorial from MLFlow documentation https://www.mlflow.org/docs/latest/deep-learning/pytorch/quickstart/pytorch_quickstart.html and see how Picsellia integrates with little changes to the original code.
We are going to duplicate everything that is logged to MLFlow into Picsellia experiment tracking. Of course you can choose to keep the Model Registry and Logs to either MLFlow or Picsellia only.
Pre-requisites
What you need to follow this guide is an active account on Picsellia and an MLFlow instance hosted where you want. As in the original tutorial, we are going to use a hosted MLFlow on Databricks CE.
The goal here will be to train a dummy model on a custom Dataset hosted on Picsellia, log the metrics to MLFlow, and then store and evaluate the model on Picsellia.
To do this, we are going to create a project and an experiment on Picsellia linked to a classification Dataset.
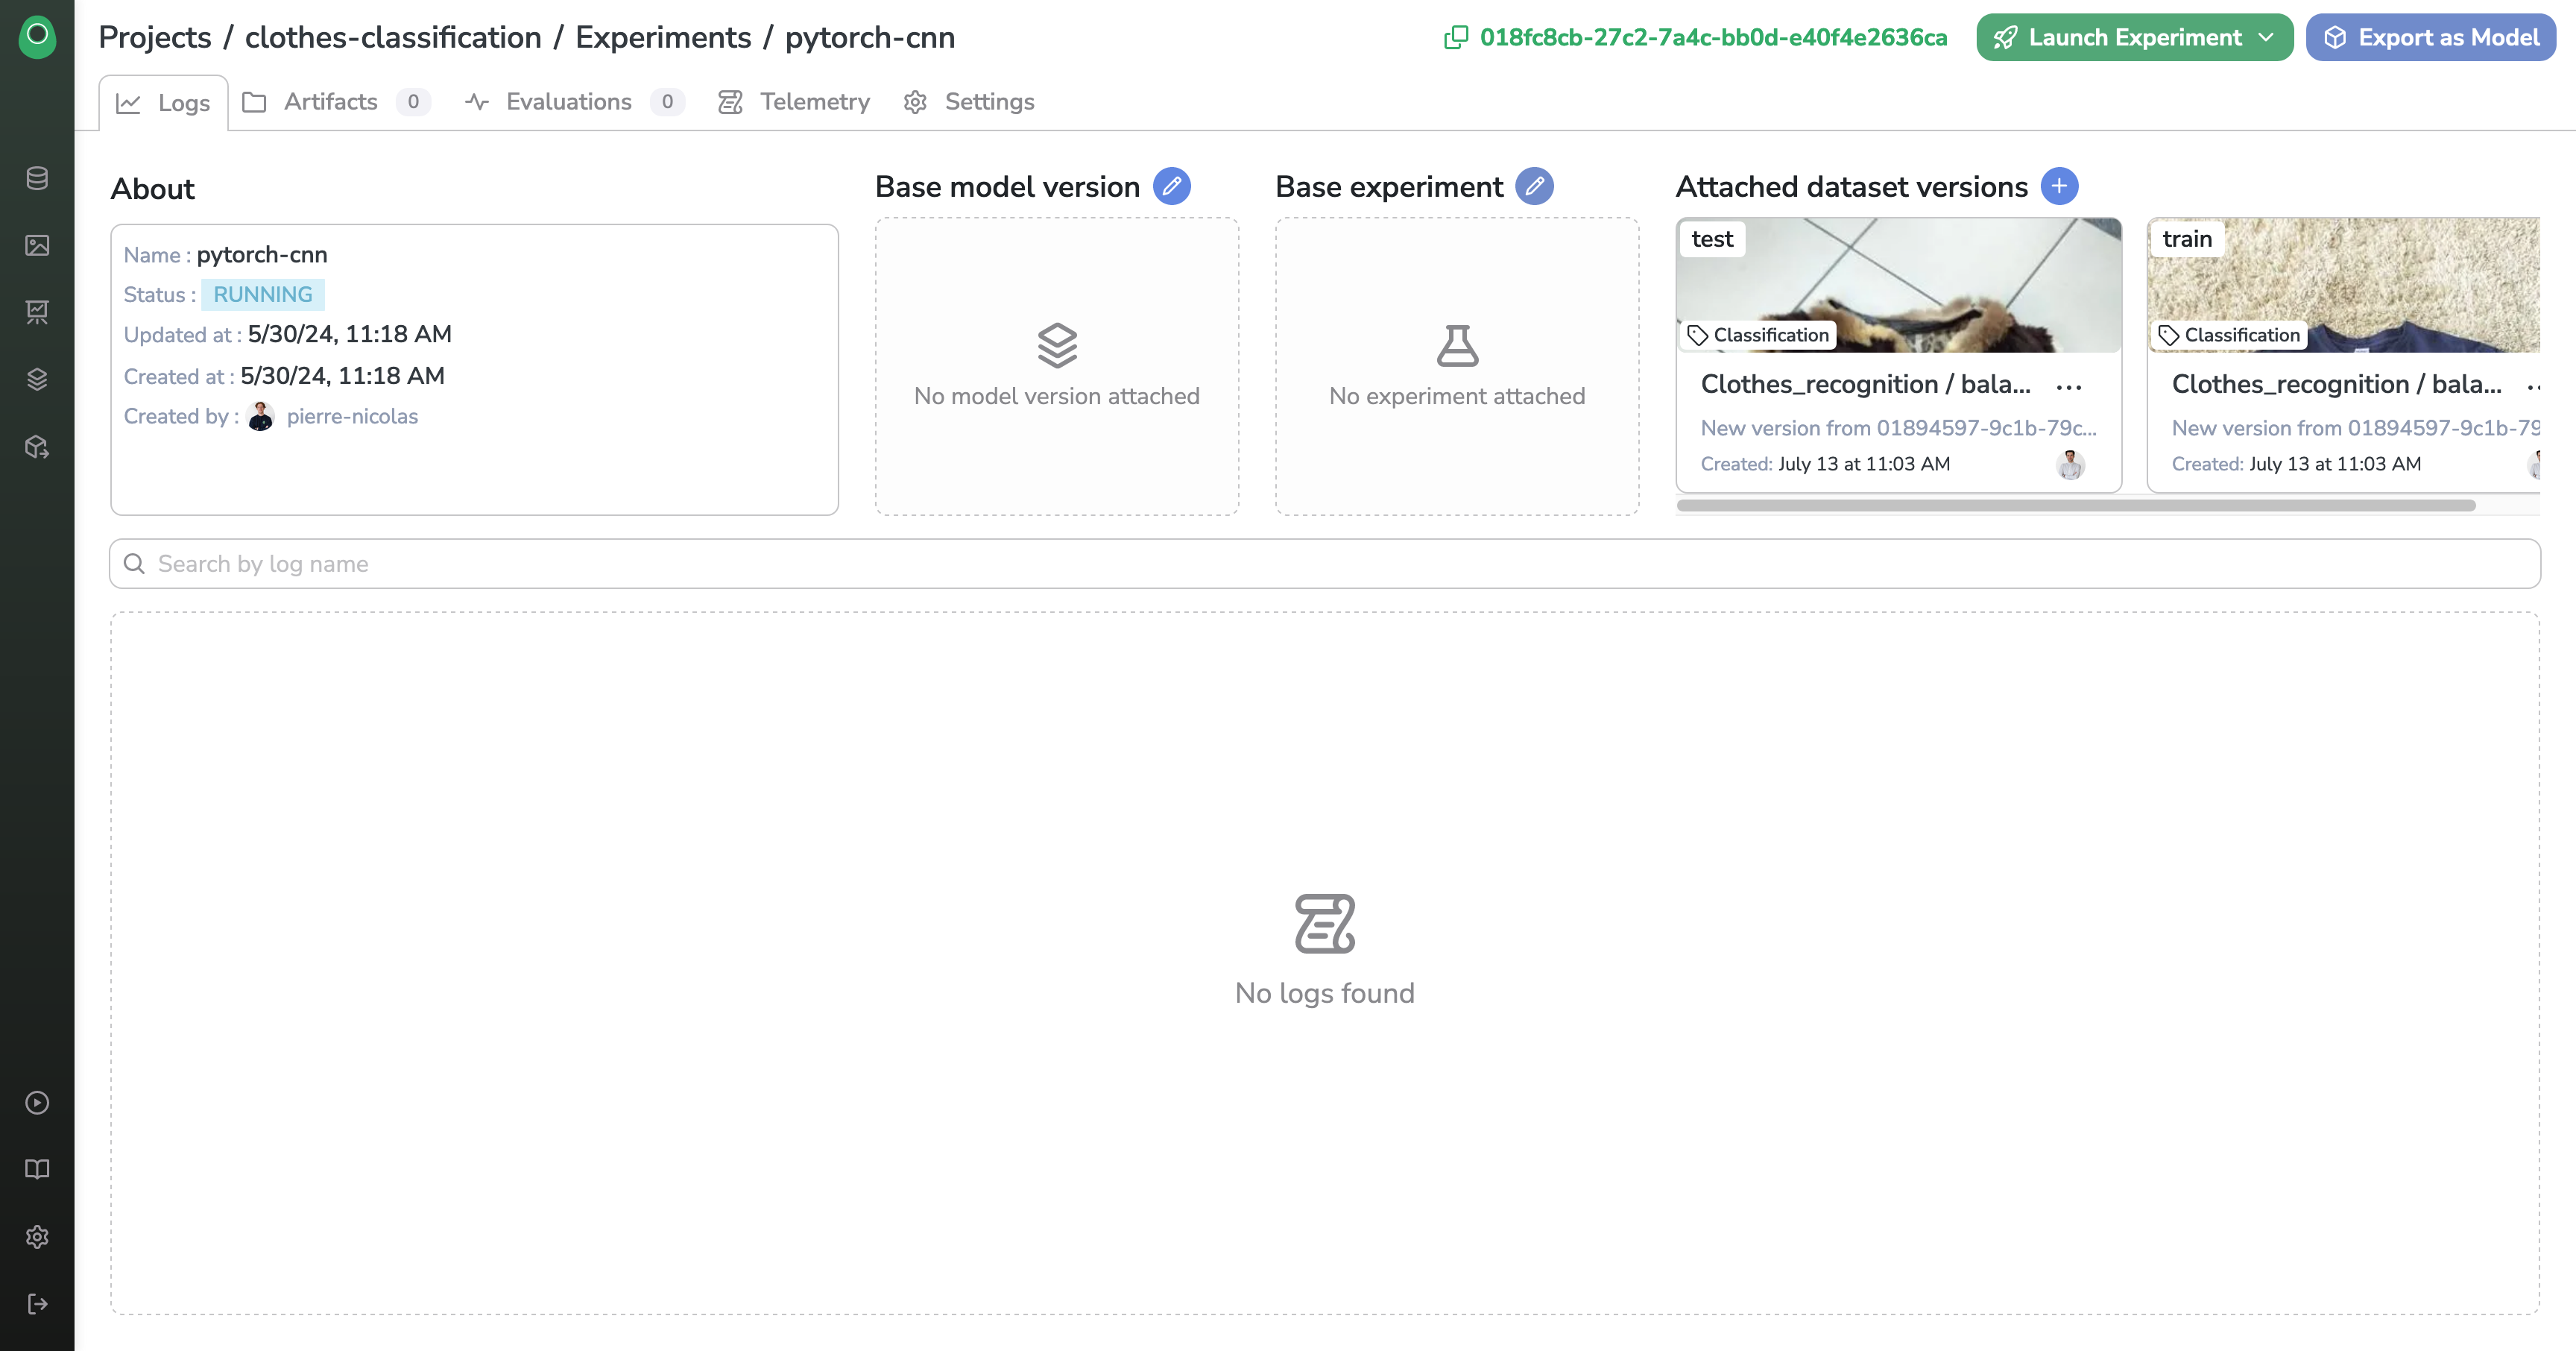
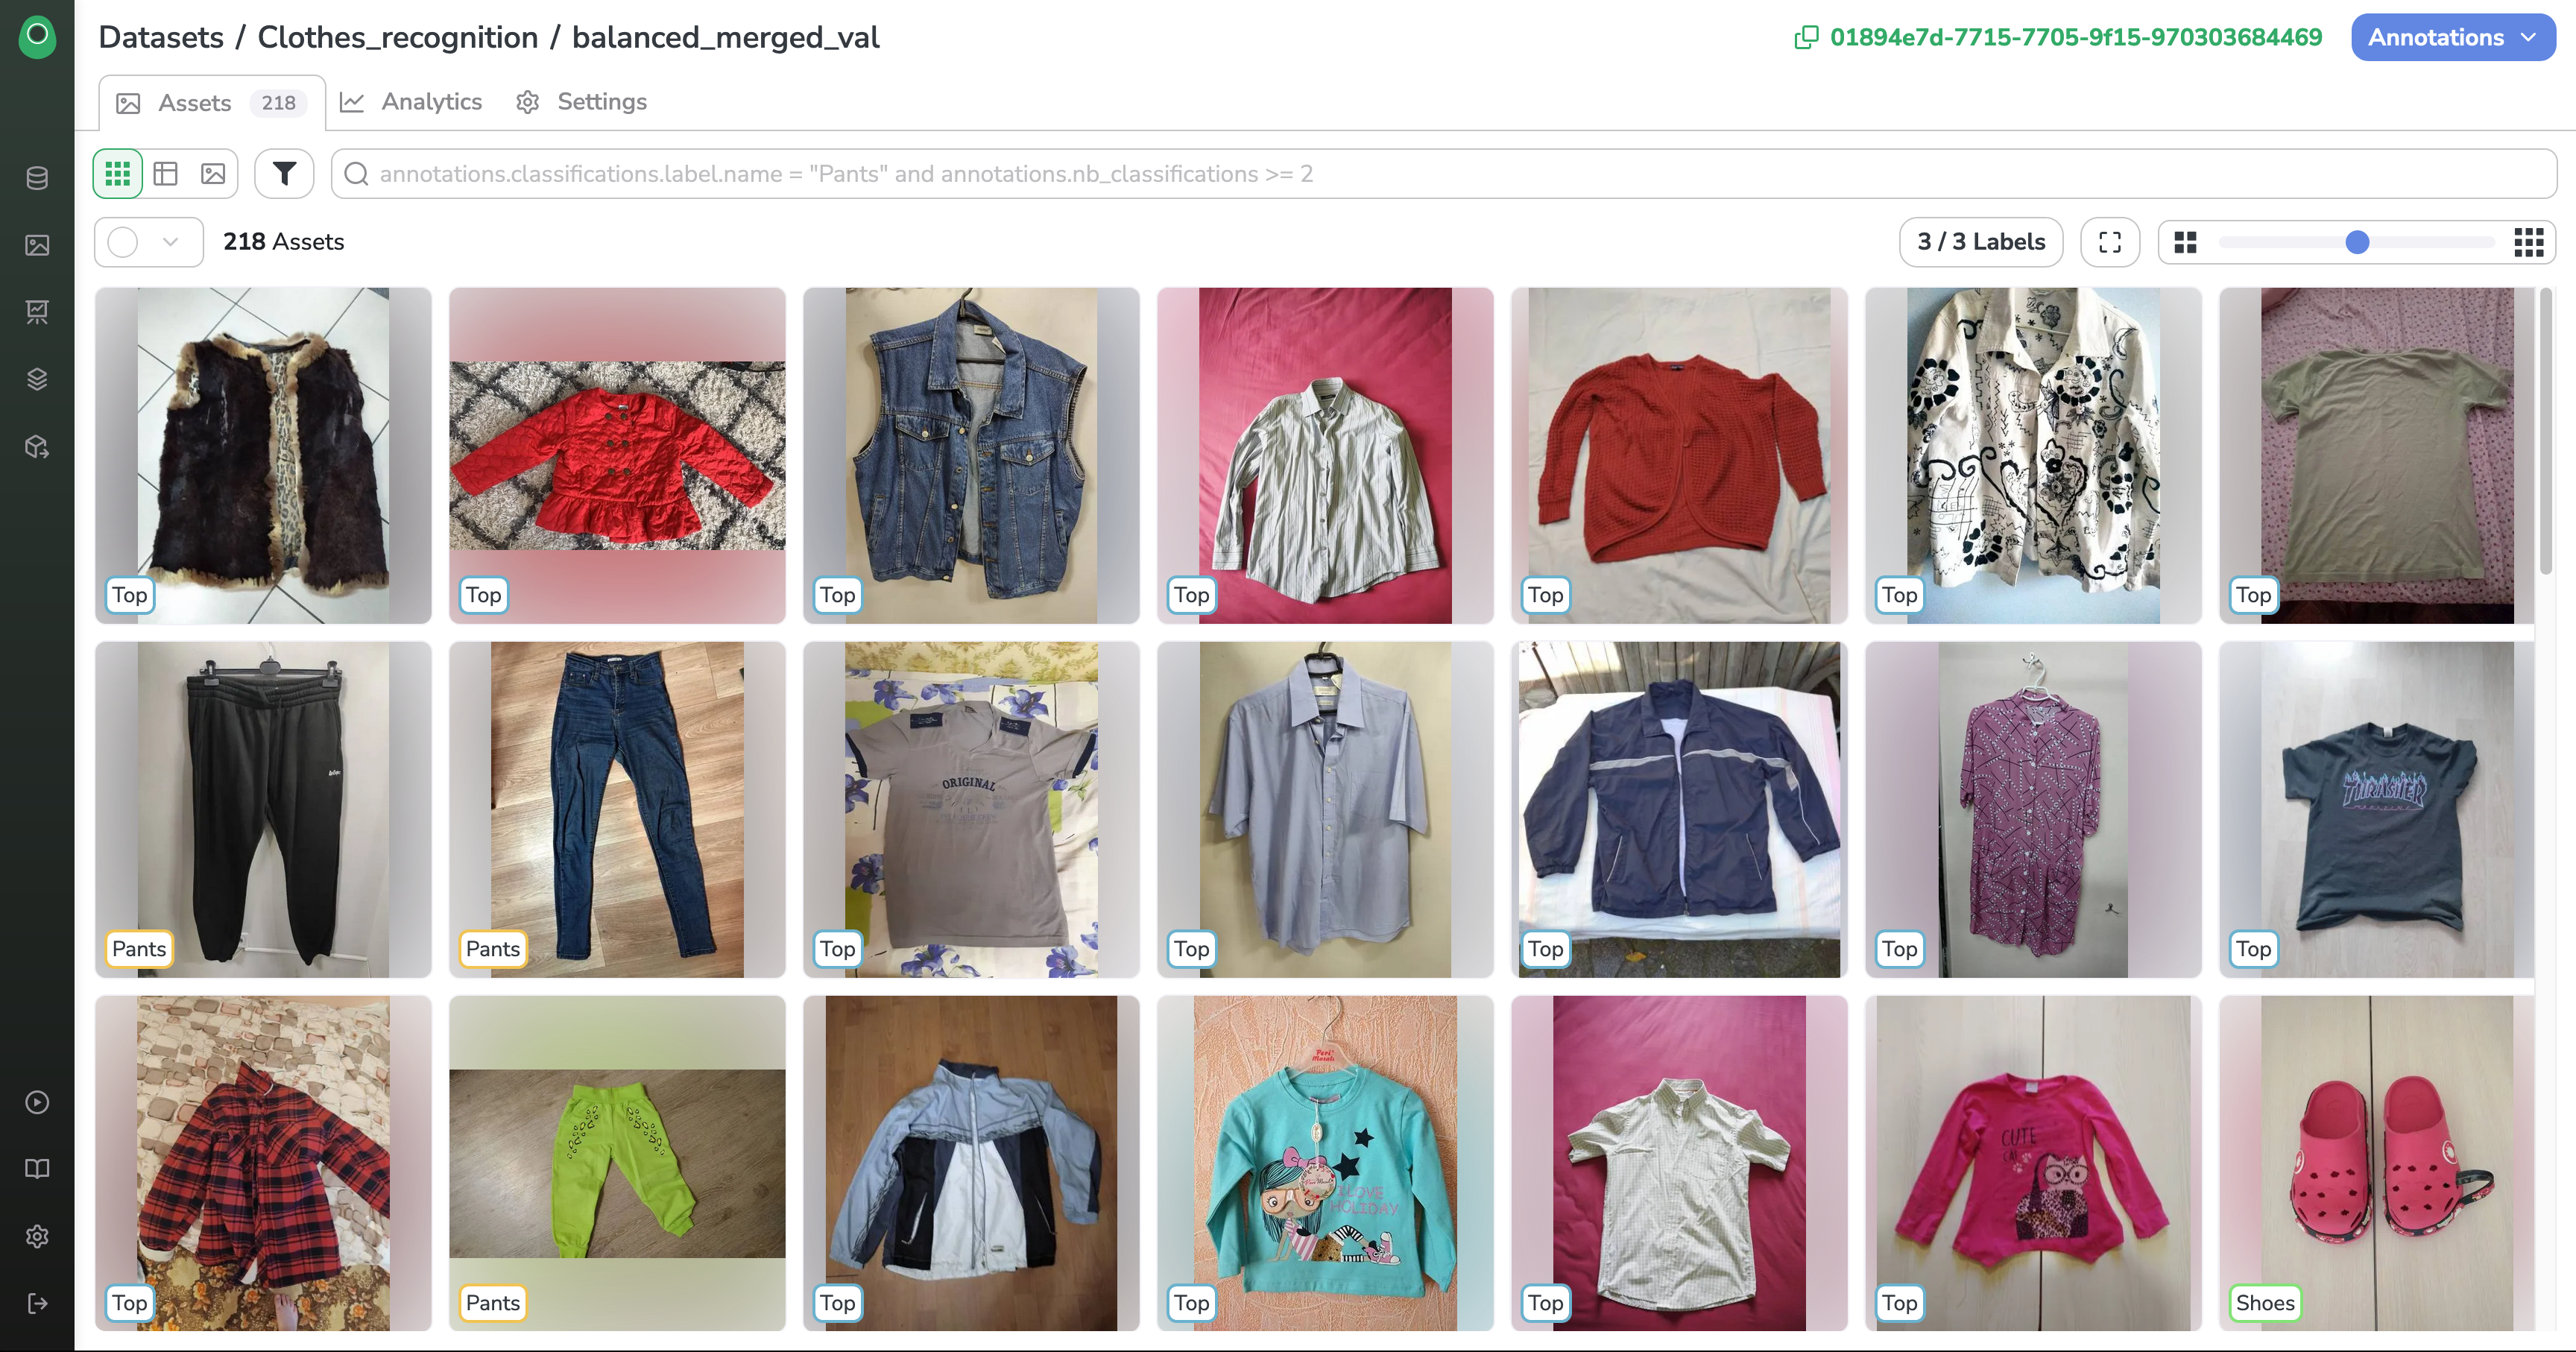
Here is what our two Datasets look like:
Training
Imports
First, let's install all the libraries needed for our experiment.
%pip install -q mlflow databricks-sdk torchmetrics torchinfo picselliaand import our packages
import json
import os
import torch
from torch import nn
from torch.utils.data import DataLoader, Dataset
from torchinfo import summary
from torchmetrics import Accuracy
from torchvision import datasets, transforms
import numpy as np

import mlflow

from picsellia import Client
from picsellia.types.enums import InferenceType
from PIL import Image
Retrieve Datasets and create Dataloaders
We want to download the two Datasets linked to our Experiment and create Pytorch Dataloaders using the images and the labels.
Retrieve Datasets and classes
api_token = "YOUR_API_TOKEN"
client = Client(api_token=api_token)

picsellia_experiment_id = "YOUR_EXPERIMENT_ID"
experiment = client.get_experiment_by_id(picsellia_experiment_id)

train_dataset = experiment.get_dataset("train")
test_dataset = experiment.get_dataset("test")
label_list = test_dataset.list_labels()
Create Dataloaders
We are going to create custom Pytorch Dataloaders that will download images and link them with the corresponding annotations for a given dataset.
class PicselliaDataset(Dataset):
    def __init__(self, dataset, transform=None):
        self.dataset = dataset
        self.transform = transform
        self.asset_file_map = {}
        self.data = self.load_data()


    def load_data(self):
        data = []
        assets = self.dataset.list_assets()
        assets.download(self.dataset.name)
        self.asset_file_map = {os.path.join(self.dataset.name, asset.filename): asset for asset in assets}
        annotation_path = self.dataset.export_annotation_file("COCO", "./")
        with open(annotation_path) as ann_file:
          annotations = json.load(ann_file)

        for image, annotation in zip(annotations["images"], annotations["annotations"]):
          file_path = os.path.join(self.dataset.name, image["file_name"])
          data.append((file_path, annotation["category_id"]))

        return data

    def __len__(self):
        return len(self.data)

    def __getitem__(self, idx):
        image, label = self.data[idx]
        image = Image.open(image)
        if self.transform:
            image = self.transform(image)
        return image, label
We define a basic Transform for our Dataloaders and instantiate them.
transform = transforms.Compose([
    transforms.Resize((400, 400)),
    transforms.ToTensor(),
])
training_data = PicselliaDataset(train_dataset, transform)
test_data = PicselliaDataset(test_dataset, transform)

train_dataloader = DataLoader(training_data, batch_size=64)
test_dataloader = DataLoader(test_data, batch_size=64)
Define our Model
class ImageClassifier(nn.Module):
    def __init__(self):
        super().__init__()
        self.model = nn.Sequential(
            nn.Conv2d(3, 8, kernel_size=3),
            nn.ReLU(),
            nn.Conv2d(8, 16, kernel_size=3),
            nn.ReLU(),
            nn.Flatten(),
            nn.LazyLinear(len(label_list)),  # 3 classes in total.
        )

    def forward(self, x):
        return self.model(x)
Connect to MLFlow Tracking Server
You will have to login using your Databricks CE username and password.
mlflow.login()
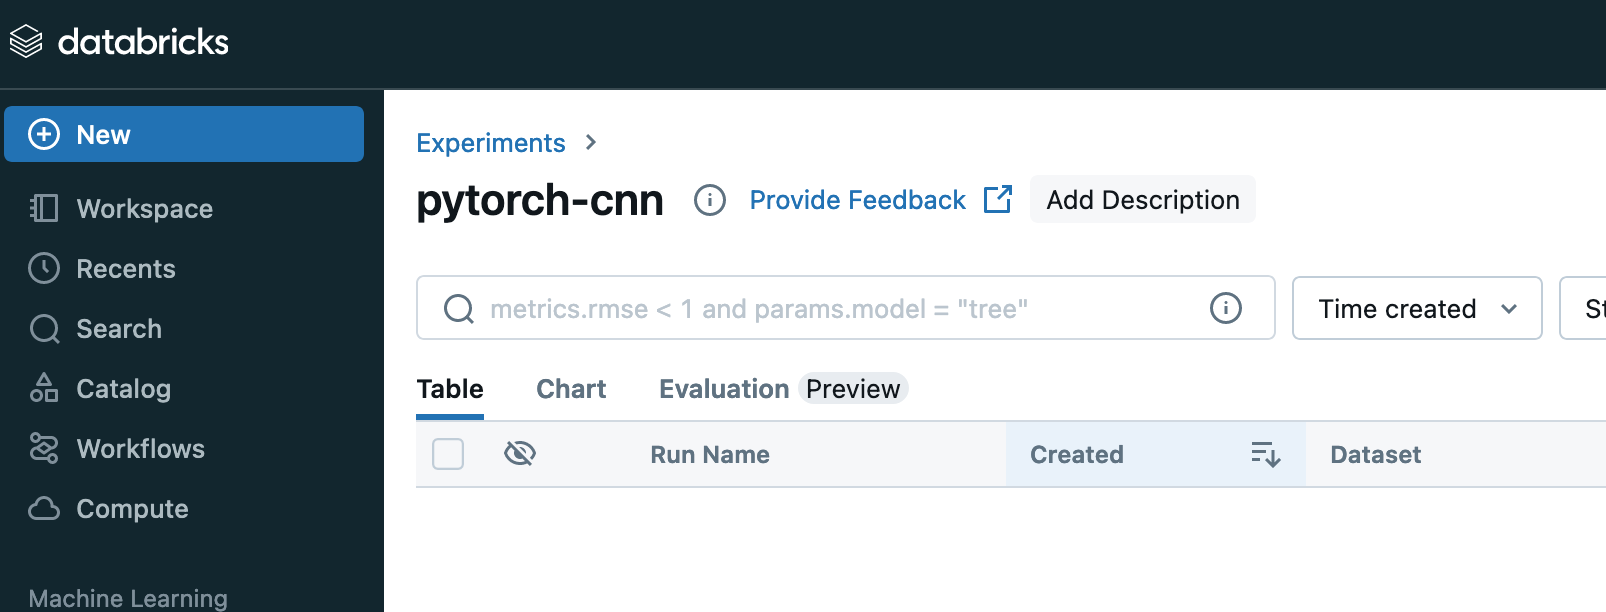
mlflow.set_experiment(f"/{experiment.name}")An experiment has been created on Databricks CE
Implement the Training Loop
We are using the original training loop and just added the lines to log the metrics to Picsellia after logging to MLFlow.
device = "cuda" if torch.cuda.is_available() else "cpu"

def train(dataloader, model, loss_fn, metrics_fn, optimizer, epoch):
    """Train the model on a single pass of the dataloader.

    Args:
        dataloader: an instance of `torch.utils.data.DataLoader`, containing the training data.
        model: an instance of `torch.nn.Module`, the model to be trained.
        loss_fn: a callable, the loss function.
        metrics_fn: a callable, the metrics function.
        optimizer: an instance of `torch.optim.Optimizer`, the optimizer used for training.
        epoch: an integer, the current epoch number.
    """
    model.train()
    for batch, (X, y) in enumerate(dataloader):
        X, y = X.to(device), y.to(device)

        pred = model(X)
        loss = loss_fn(pred, y)
        accuracy = metrics_fn(pred, y)

        # Backpropagation.
        loss.backward()
        optimizer.step()
        optimizer.zero_grad()

        if batch % 100 == 0:
            loss, current = loss.item(), batch
            step = batch // 100 * (epoch + 1)
            mlflow.log_metric("loss", f"{loss:2f}", step=step)
            mlflow.log_metric("accuracy", f"{accuracy:2f}", step=step)

            #### Also log your metrics to Picsellia ####
            experiment.log("loss", float(loss), "LINE")
            experiment.log("accuracy", float(accuracy), "LINE")

            print(f"loss: {loss:2f} accuracy: {accuracy:2f} [{current} / {len(dataloader)}]")
We do the same for the evaluation loop
def evaluate(dataloader, model, loss_fn, metrics_fn, epoch):
    """Evaluate the model on a single pass of the dataloader.

    Args:
        dataloader: an instance of `torch.utils.data.DataLoader`, containing the eval data.
        model: an instance of `torch.nn.Module`, the model to be trained.
        loss_fn: a callable, the loss function.
        metrics_fn: a callable, the metrics function.
        epoch: an integer, the current epoch number.
    """
    num_batches = len(dataloader)
    model.eval()
    eval_loss, eval_accuracy = 0, 0
    with torch.no_grad():
        for X, y in dataloader:
            X, y = X.to(device), y.to(device)
            pred = model(X)
            eval_loss += loss_fn(pred, y).item()
            eval_accuracy += metrics_fn(pred, y)

    eval_loss /= num_batches
    eval_accuracy /= num_batches
    mlflow.log_metric("eval_loss", f"{eval_loss:2f}", step=epoch)
    mlflow.log_metric("eval_accuracy", f"{eval_accuracy:2f}", step=epoch)

    #### Also log your metrics to Picsellia ####
    experiment.log("eval_loss", float(eval_loss), "LINE")
    experiment.log("eval_accuracy", float(eval_accuracy), "LINE")

    print(f"Eval metrics: \nAccuracy: {eval_accuracy:.2f}, Avg loss: {eval_loss:2f} \n")
Start Training
We first define the training parameters
epochs = 3
loss_fn = nn.CrossEntropyLoss()
metric_fn = Accuracy(task="multiclass", num_classes=len(label_list)).to(device)
model = ImageClassifier().to(device)
optimizer = torch.optim.SGD(model.parameters(), lr=1e-3)
Then we can start training.
The training parameters will be logged to either MLFlow and Picsellia.
At the end of the training the model will be logged to MLFlow and stored to Picsellia also.
with mlflow.start_run() as run:
    params = {
        "epochs": epochs,
        "learning_rate": 1e-3,
        "batch_size": 64,
        "loss_function": loss_fn.__class__.__name__,
        "metric_function": metric_fn.__class__.__name__,
        "optimizer": "SGD",
    }
    # Log training parameters.
    mlflow.log_params(params)

    #### Also log your metrics to Picsellia ####
    experiment.log("parameters", params, "TABLE")

    # Log model summary.
    with open("model_summary.txt", "w") as f:
        f.write(str(summary(model)))
    mlflow.log_artifact("model_summary.txt")

    for t in range(epochs):
        print(f"Epoch {t+1}\n-------------------------------")
        train(train_dataloader, model, loss_fn, metric_fn, optimizer, epoch=t)
        evaluate(test_dataloader, model, loss_fn, metric_fn, epoch=0)

    # Save the trained model to MLflow.
    mlflow.pytorch.log_model(model, "model")

    #### Also store your artifacts on Picsellia ####
    model_path = "trained_model.pth"
    torch.save(model.state_dict(), model_path)
    experiment.store("model", model_path)
Here are the results in both our dashboards
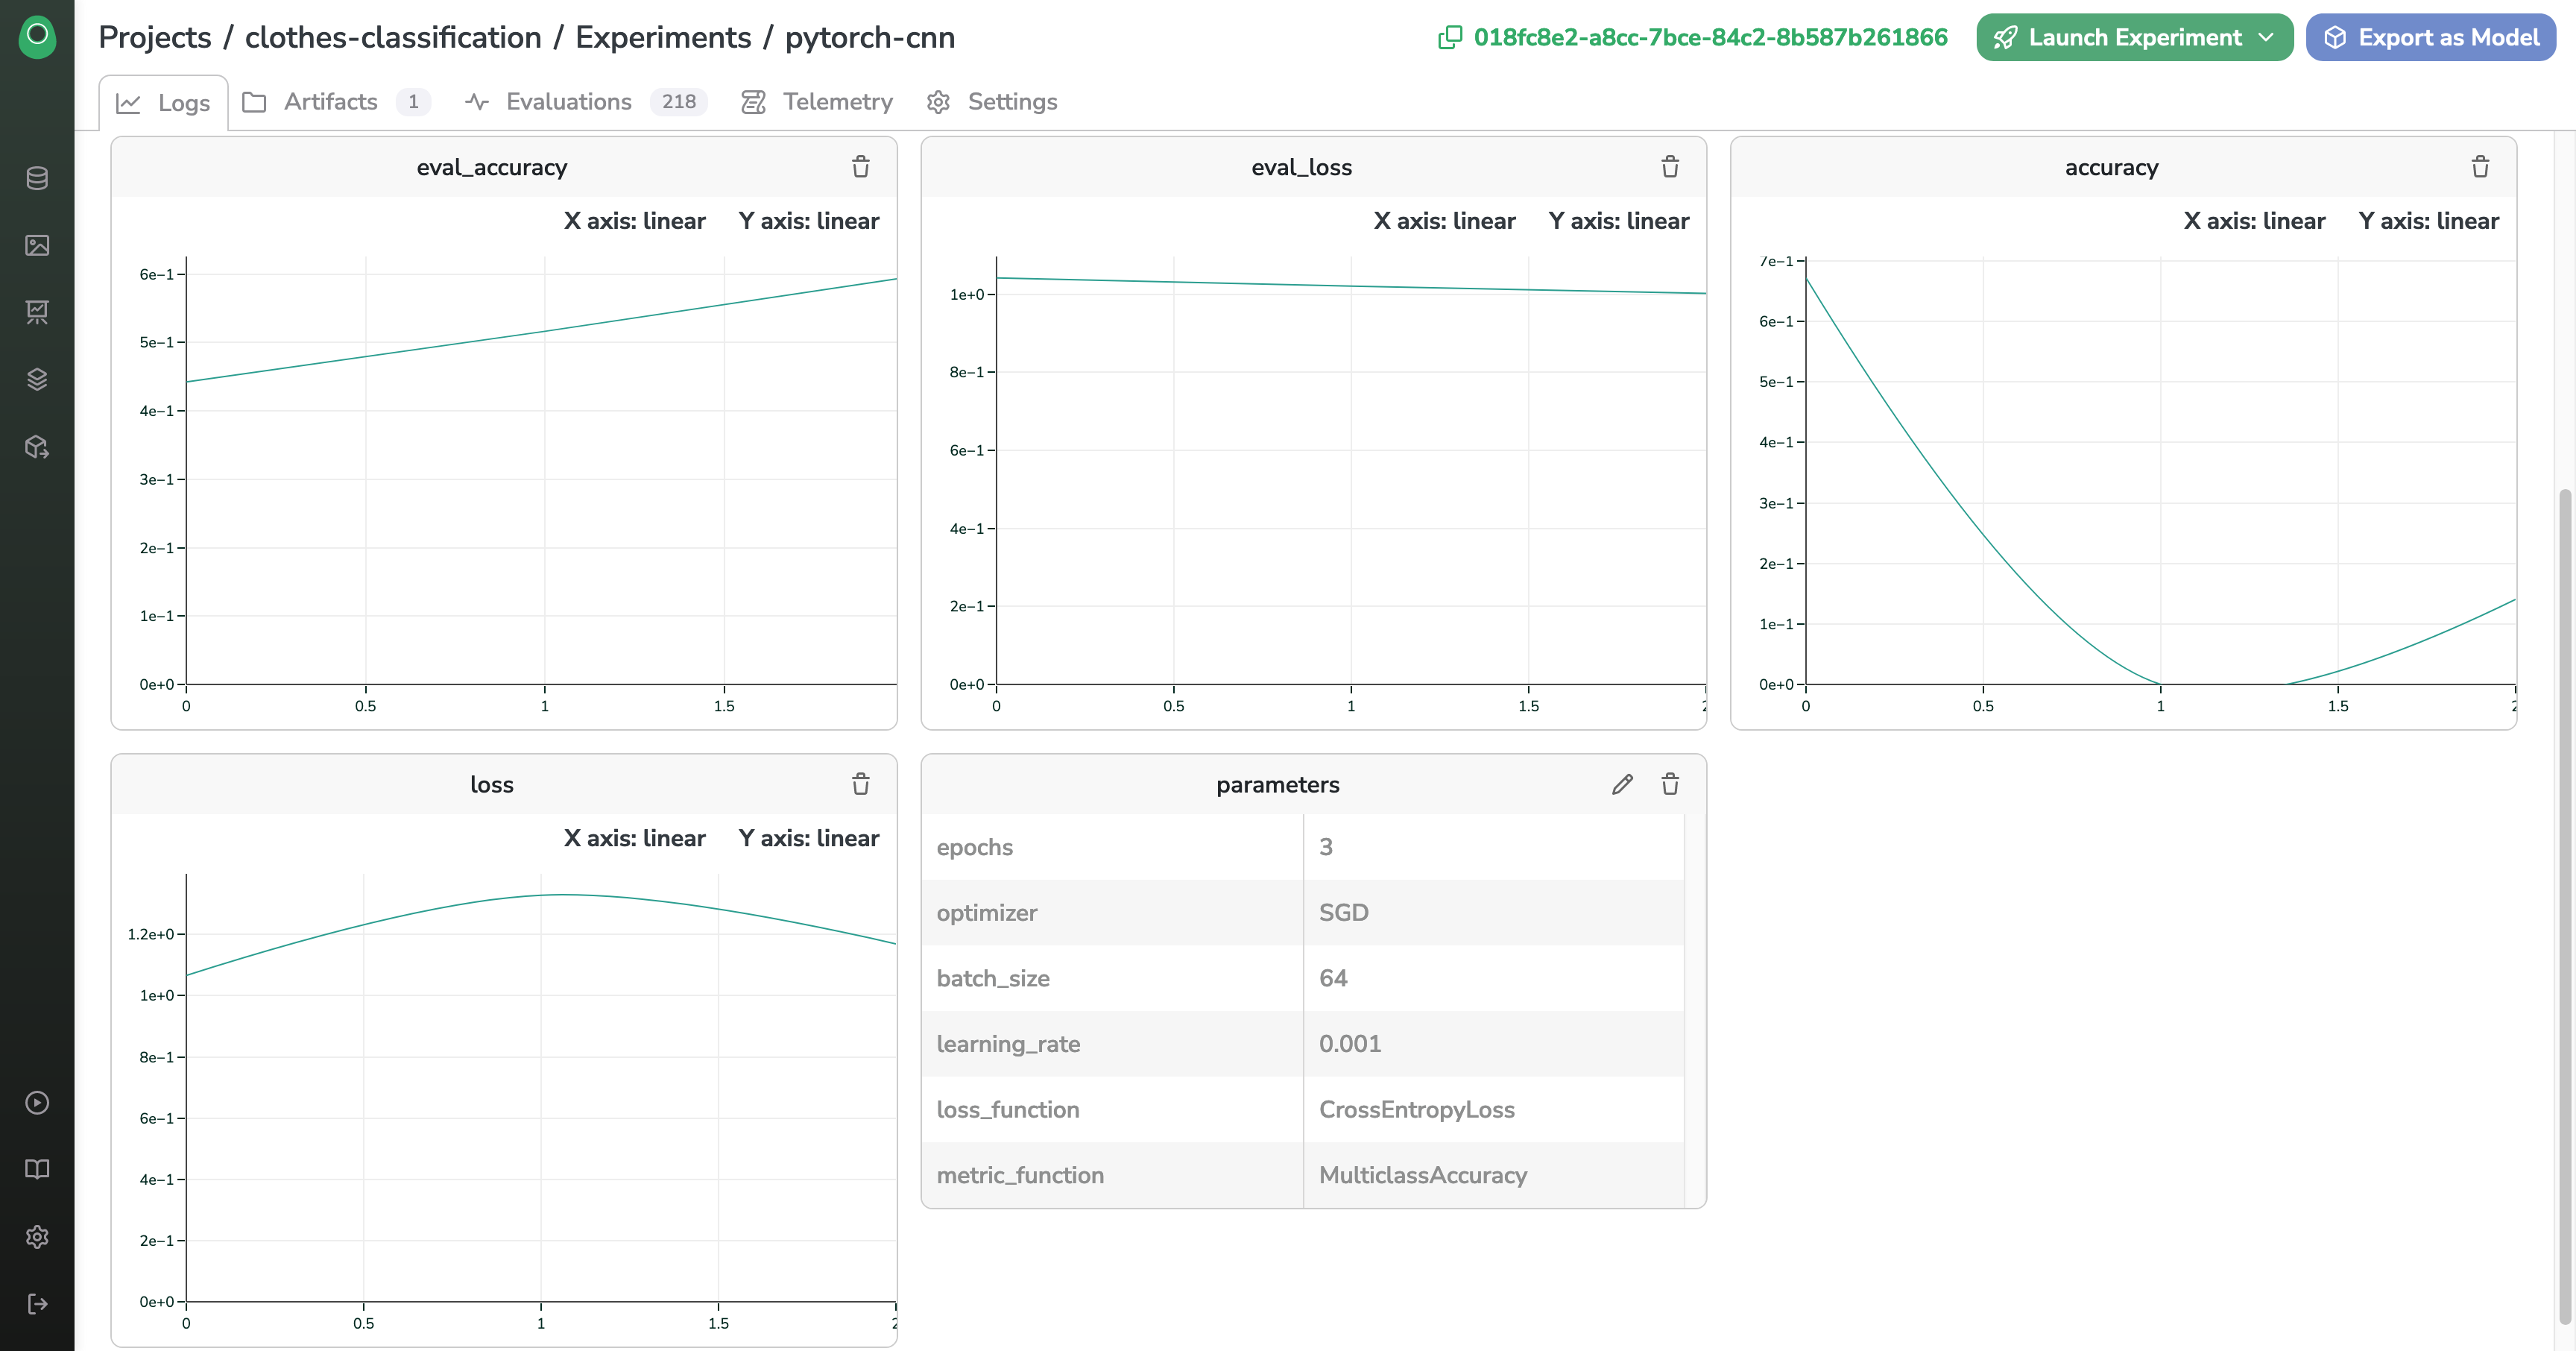

Congrats 🎉 You made your Training run registered both on Picsellia and MLFlow !
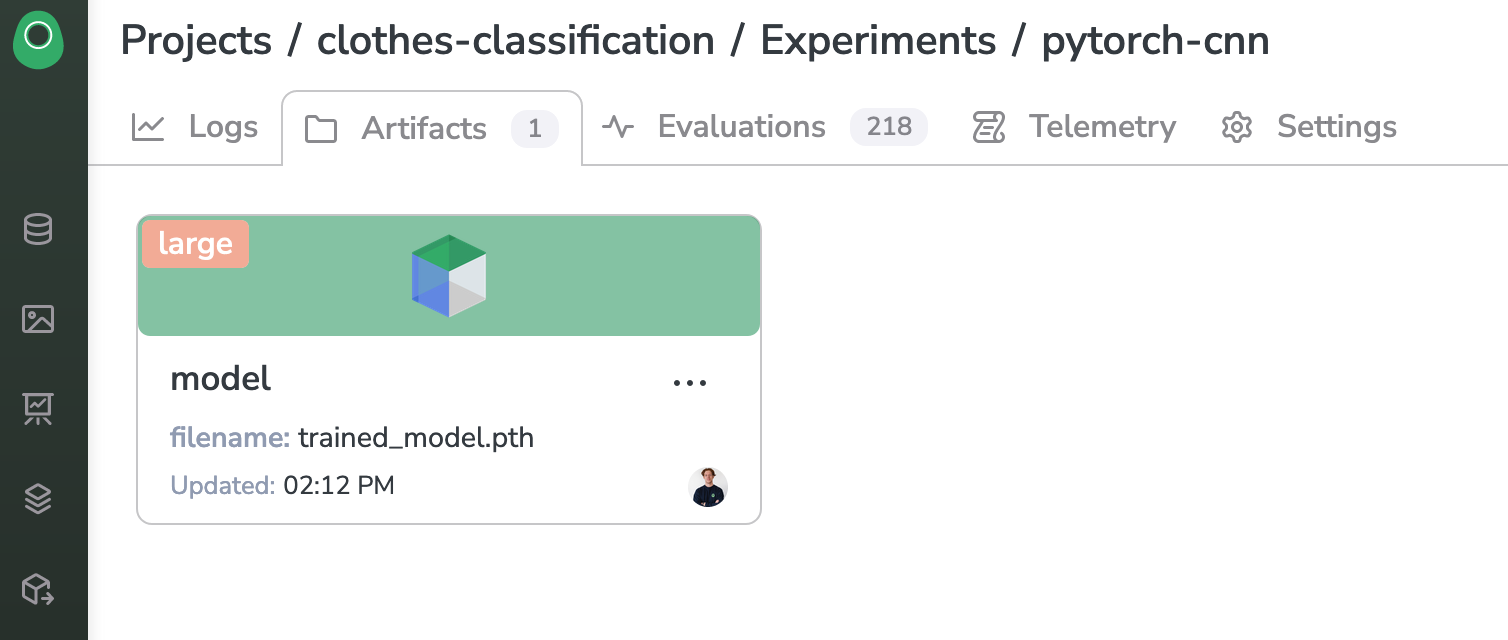
Model Store
In the Artifacts panel of the Experiment, we can see that our model weights has been saved properly
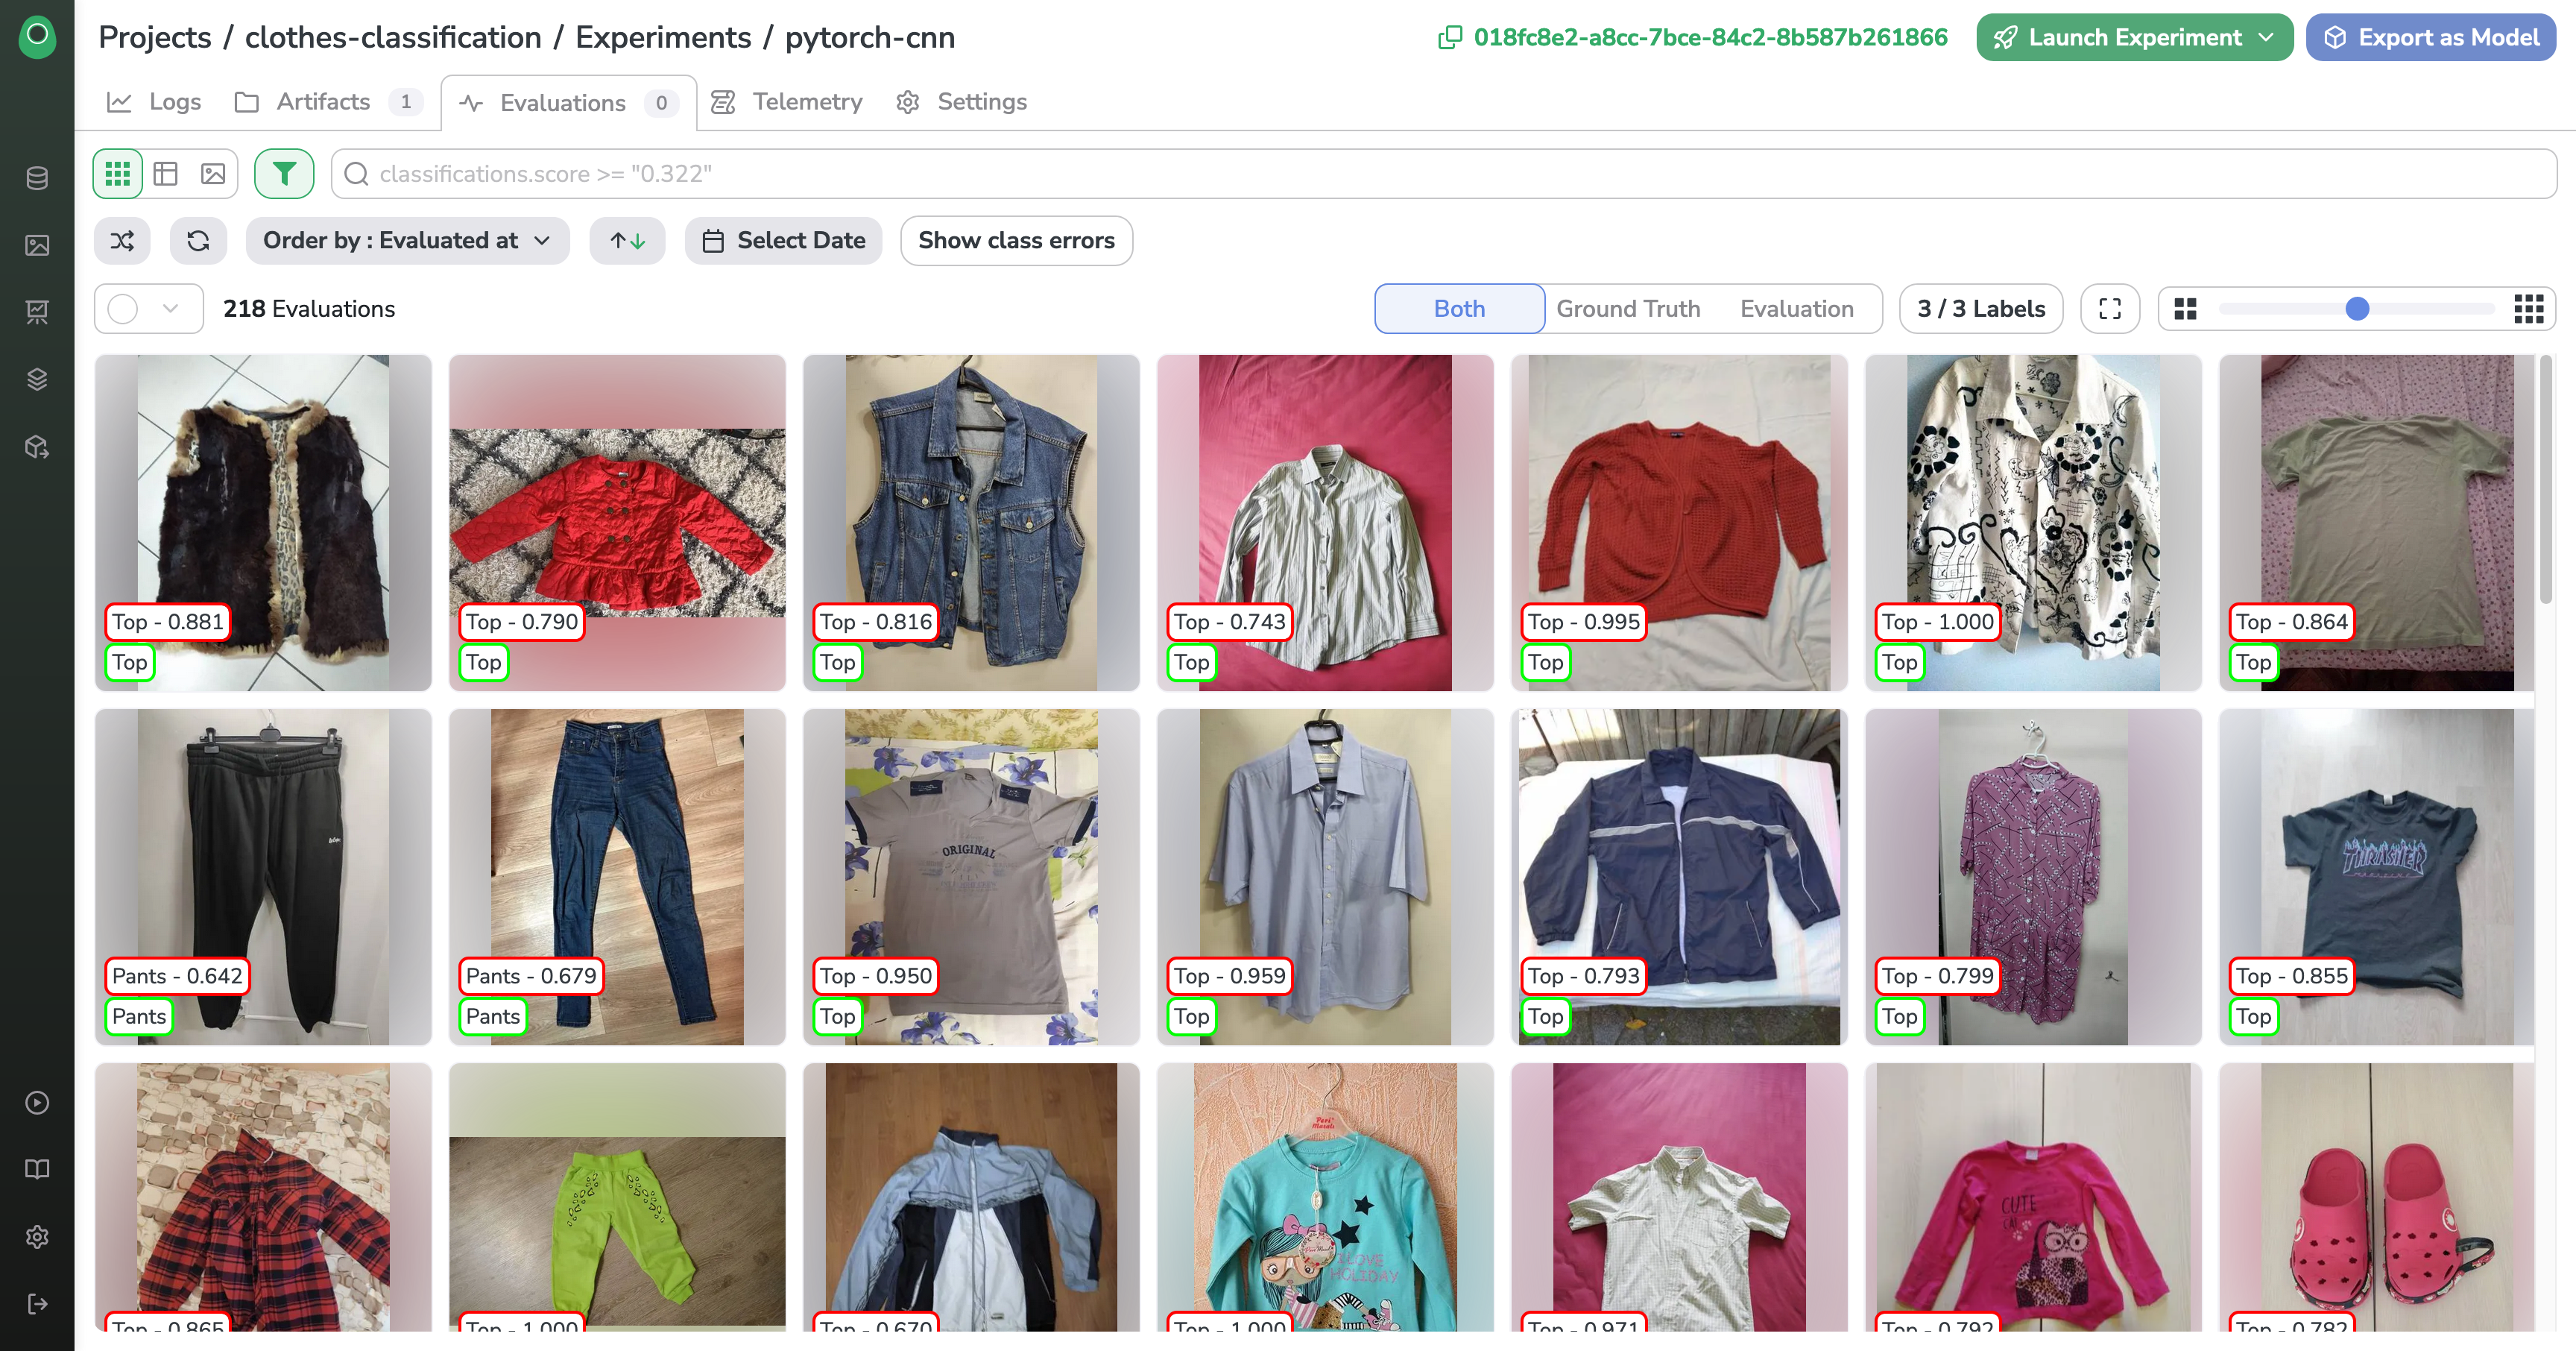
Evaluation
The last part of our script will be dedicated to making predictions with our freshly trained model and save the evaluations in Picsellia dedicated tool
for i, image in enumerate(test_data):
  outputs = loaded_model.predict(image[0][None, :].numpy())
  predicted_class = np.argmax(outputs[0])
  probs = [el for el in outputs[0] if el > 0]
  score = float(max(outputs[0])/sum(probs))
  asset = test_data.asset_file_map[test_data.data[i][0]]
  experiment.add_evaluation(asset, classifications=[(label_list[predicted_class], score)])
 experiment.compute_evaluations_metrics(InferenceType.CLASSIFICATION)
Here are the results
Conclusion
You've just followed an integration example between Picsellia and MLFlow. Remember that you can push the integration further and use features from either platforms as you wish to suit your use-case.
If you have questions about what you can do between the two platforms or need help with your custom integration, do not hesitate to reach out!