In case you want to annotate your DatasetVersion using the Annotation Tool but without going through an Annotation Campaign you can use the raw Annotation Tool as explained below:
1. Access the Annotation tool
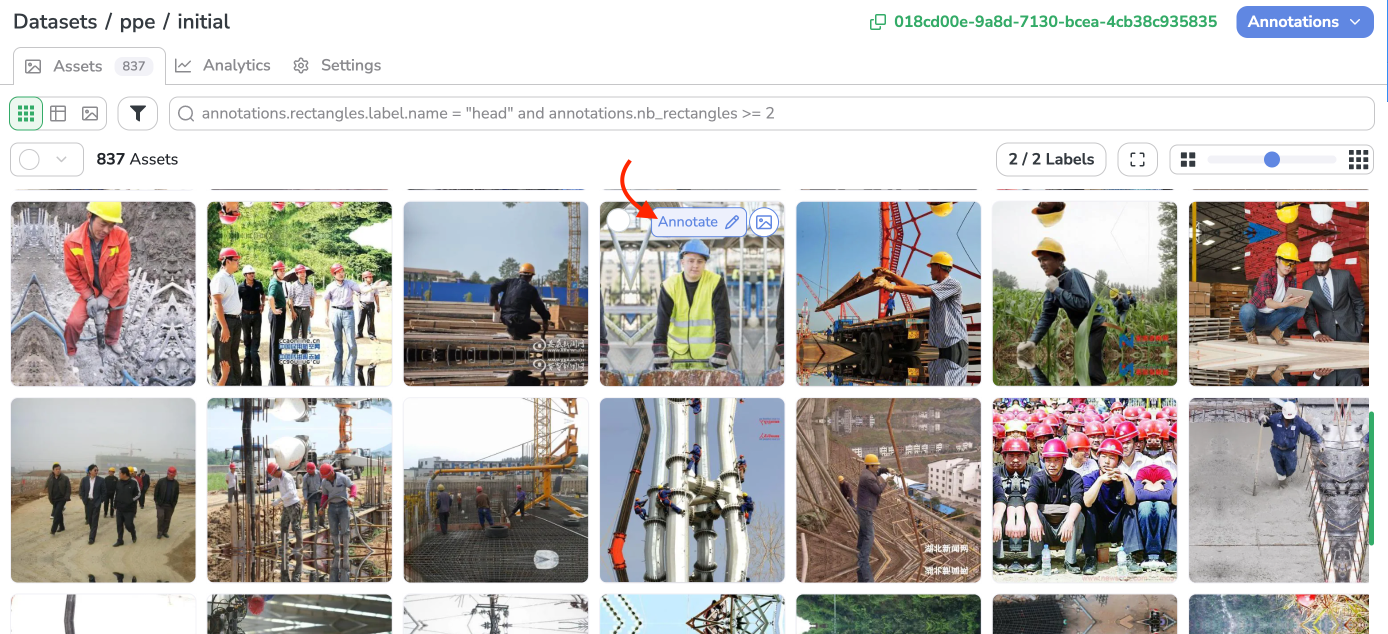
Access to the Annotation tool can be done from the Details and Grid views on any DatasetVersion through the pen icon when hovering on any Asset:
Open Annotation Tool
🚧
What if an Annotation Campaign is ongoing on this DatasetVersion ?
In case an Annotation Campaign is ongoing on the current DatasetVersion, if you click on the Annotate button, you will be redirected to the Task associated to the Asset in the frame of this Campaign.
2. Create or edit an Annotation
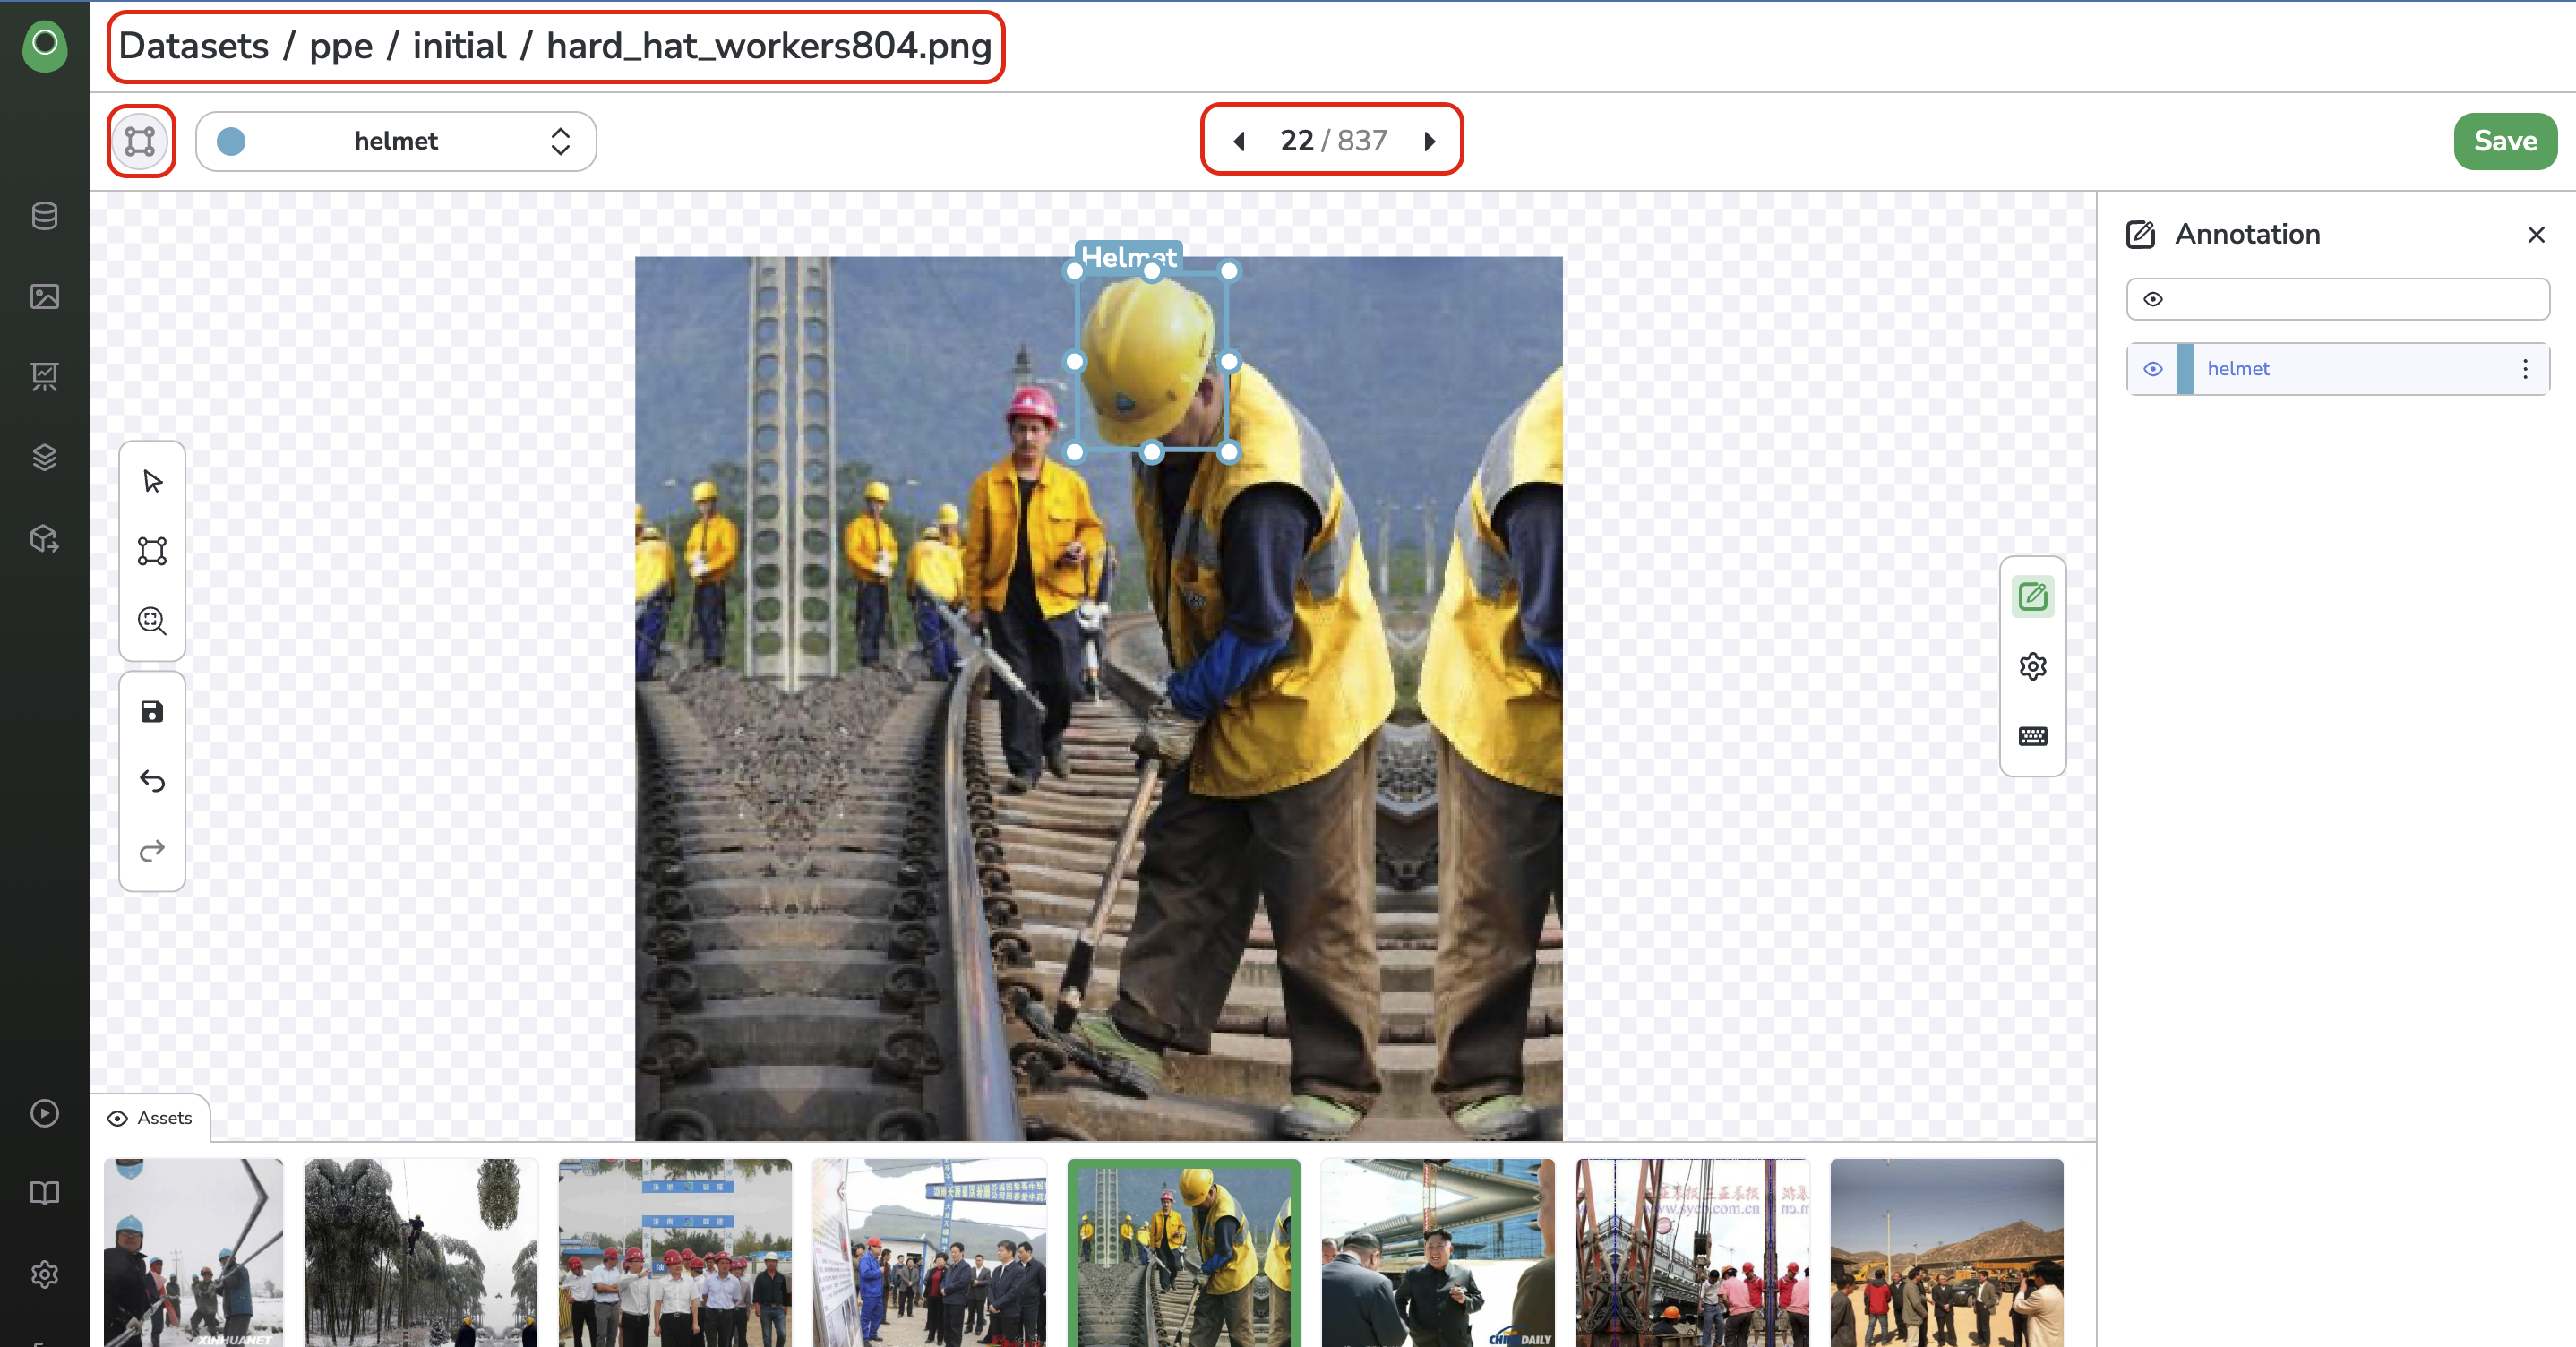
The Annotation tool opens. As shown below, the header of the Annotation tool provides you with the path of the currently displayed Asset, the Detection Type of the DatasetVersion, and the position of the current Asset in the queue:
Annotation Tool
As a reminder, each Asset can only have up to one Annotation related. In case want to have a more modular way to annotate your DatasetVersion, it is advised to leverage Annotation Campaigns.
3. Navigation
A. Across the current Asset
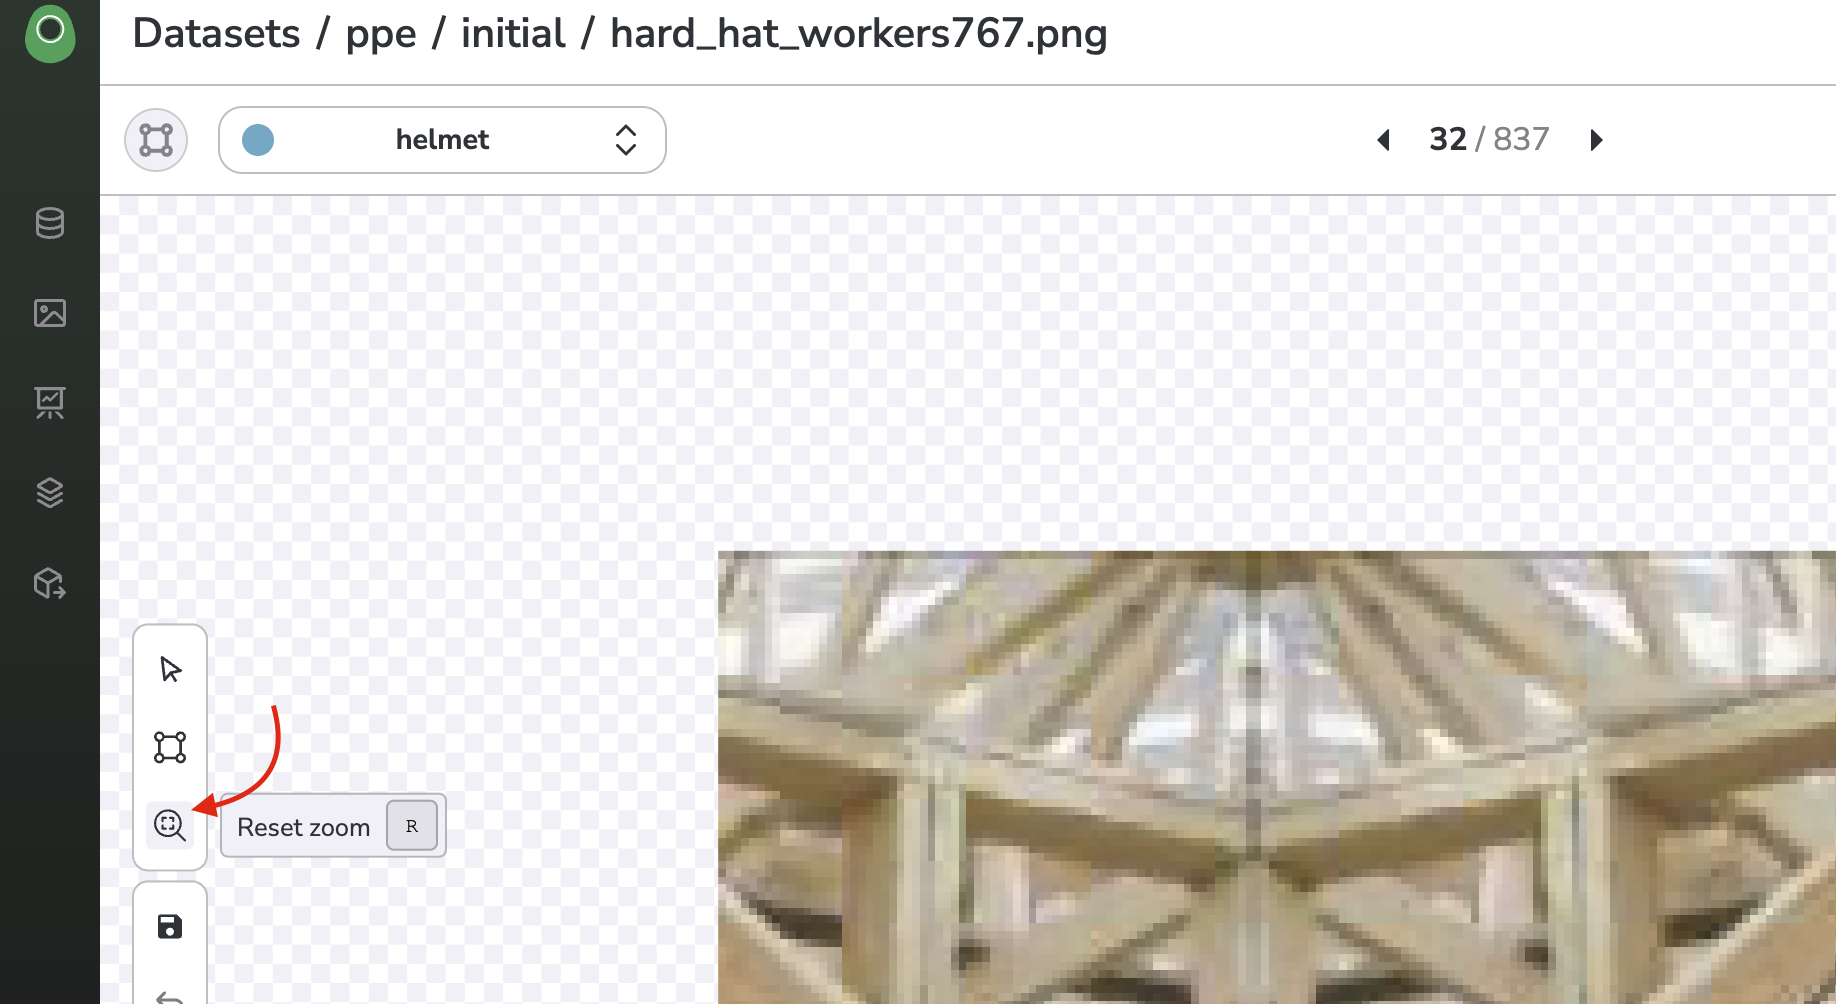
The Annotation tool offers smooth navigation across the displayed Asset. You can use the scroll wheel of your mouse or trackpad to zoom in/out and press the spacebar to drag and move around on the Asset.
The initial view of the Asset can be retrieved through the Reset Zoom button (keyboard shortcut: R):
Reset Zoom
B. Across the Asset of the DatasetVersion
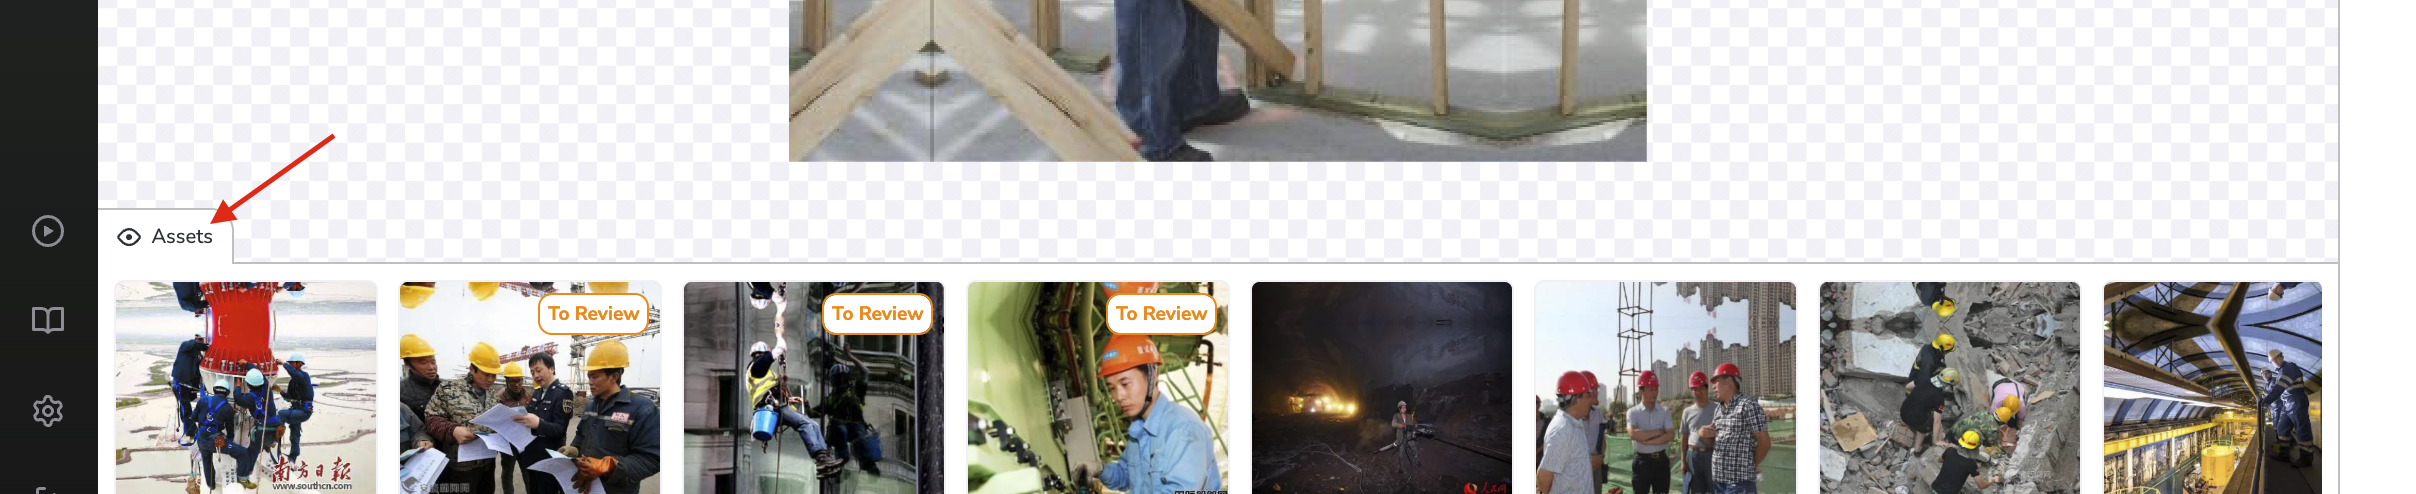
At the bottom of the Annotation tool, you can click on Assets to open the gallery displaying the Assets queue of your DatasetVersion and click on any of them to open it in the Annotation tool.
Assets gallery
You can navigate across the Asset displayed in the Asset gallery using the O and P keys.
4. Draw a Shape
While hovering over the displayed image in the Annotation tool, you can be in two modes:
Selection to select and edit existing Shape, this mode is the default one when opening the tool (keyboard shortcut: Esc)
Draw to create a new Shape (keyboard shortcut: D)
🚧
Configure DatasetVersion first
Before using the Annotation tool, you must ensure that your Dataset Version is set up with a Detection Type and Labels.
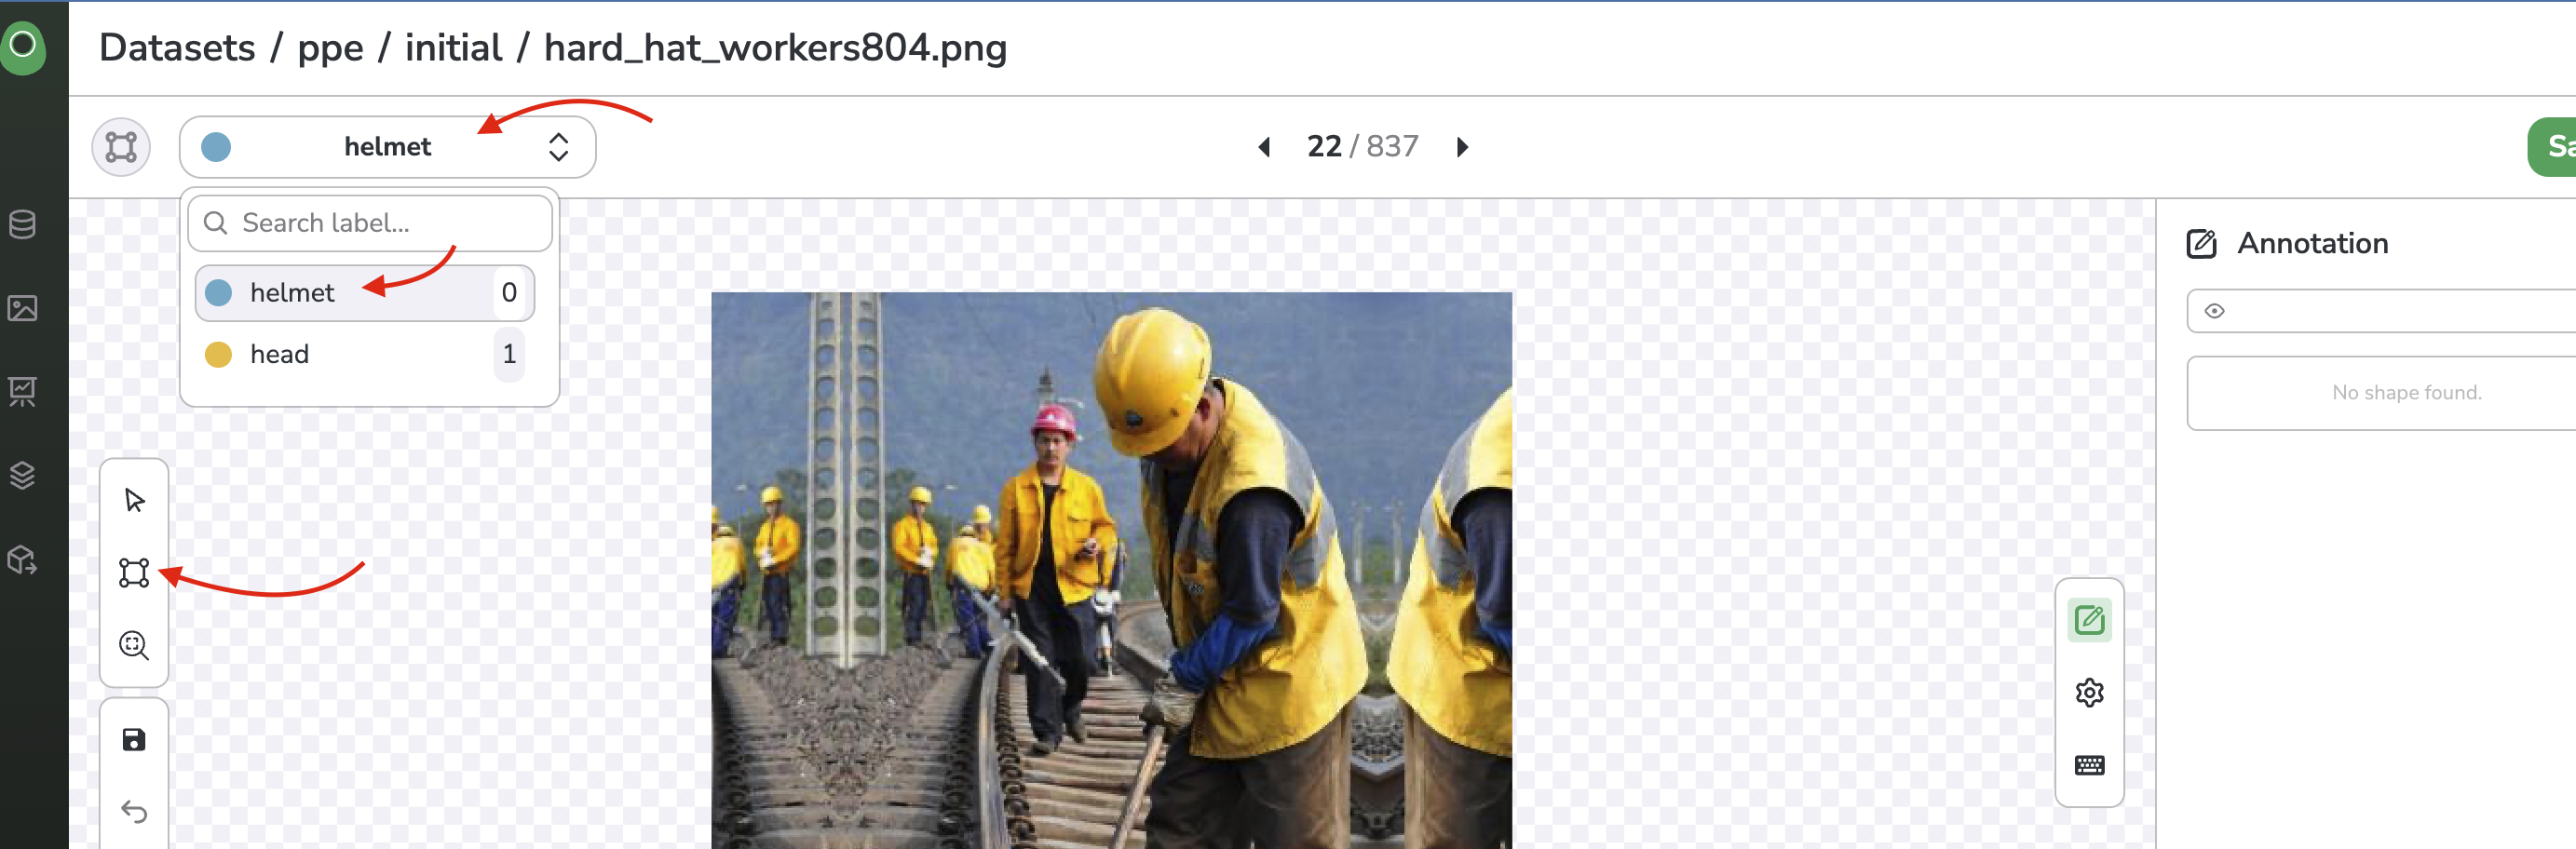
To draw a new Shape in the current Annotation, you just need to select the drawing mode (keyboard shortcut: D), select the Label of the new Shape, and draw it. For instance, let's create a helmetShape:
Draw a Shape
Draw a Shape
You can abort the drawing of a Shape while doing it using the Esc key.
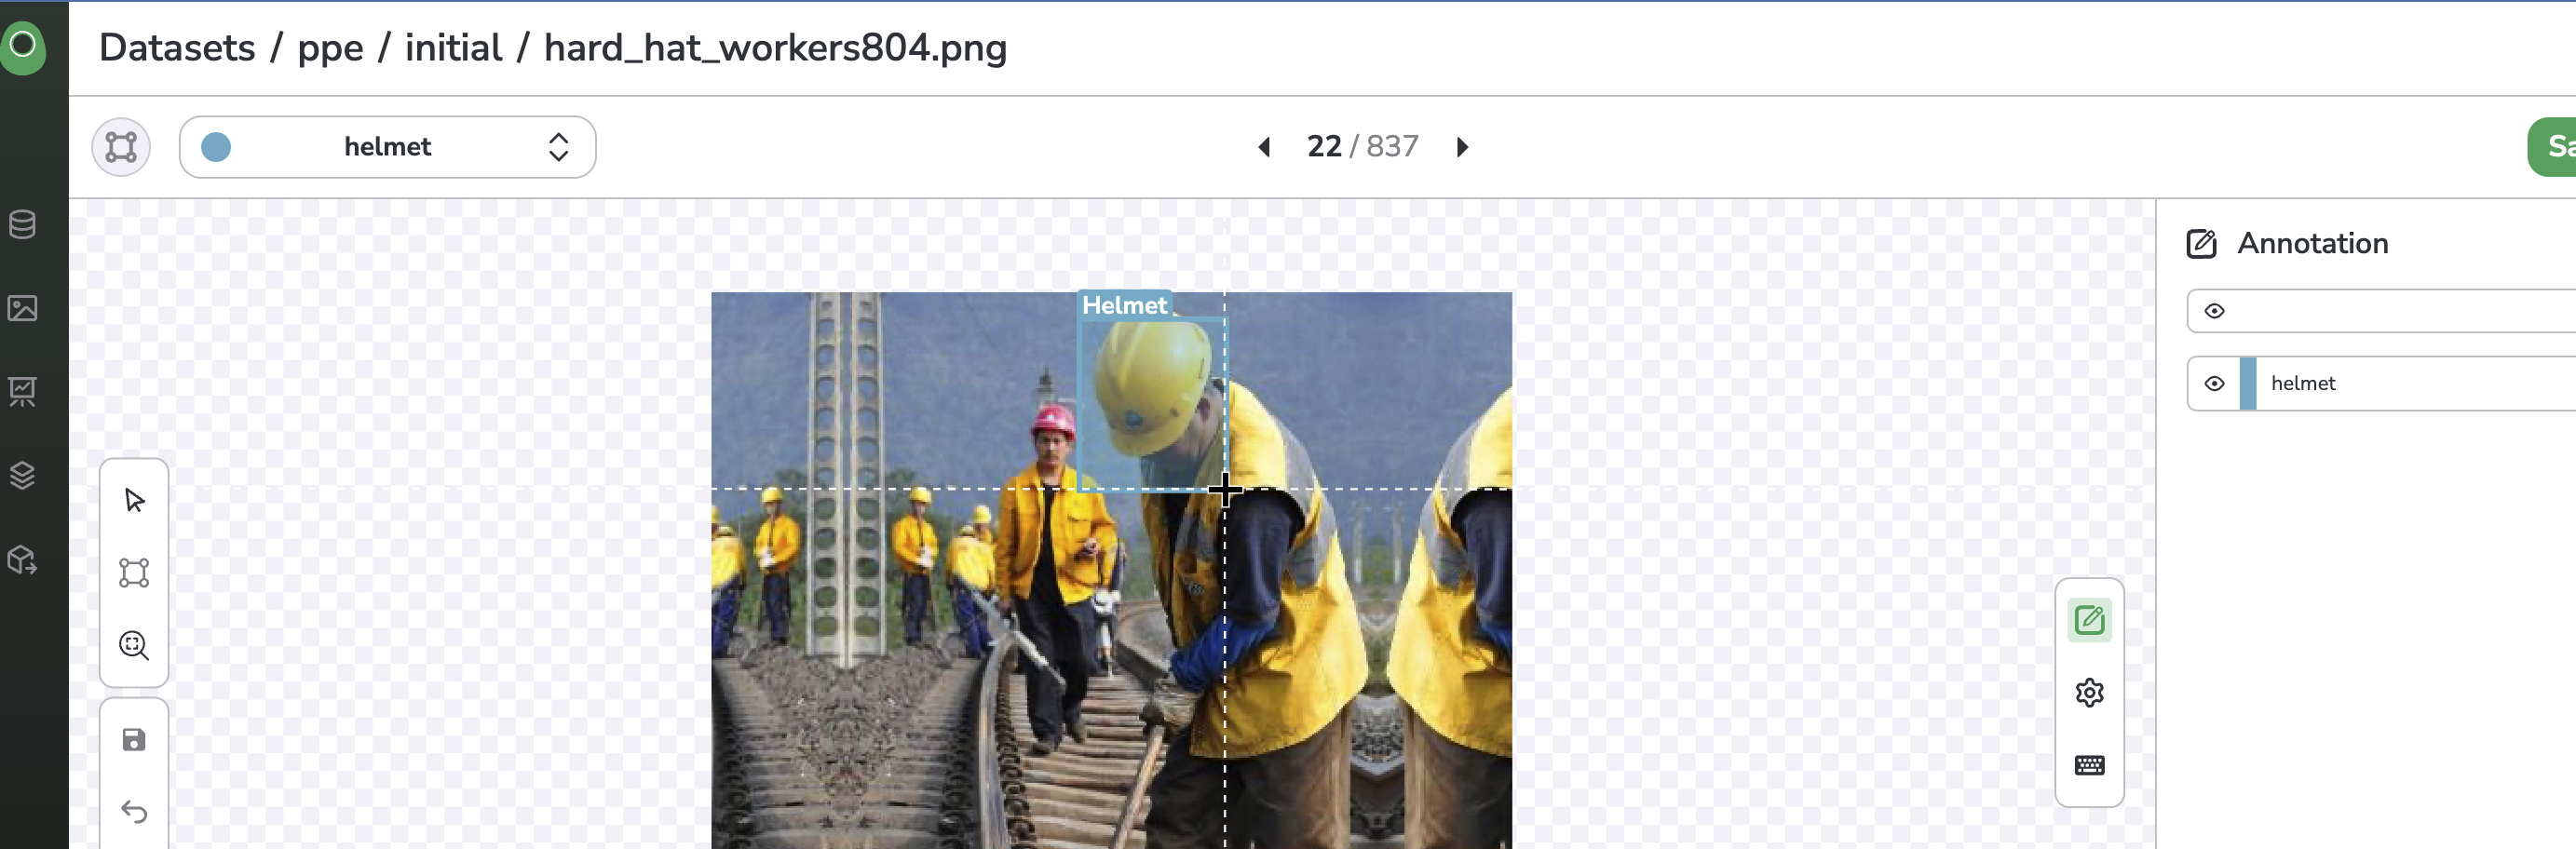
When the Shape is created, a new line is added to the Shapes list on the right side of the Annotation tool, and you can visualize the Shape and its Label on the Asset.
Visualize a Shape
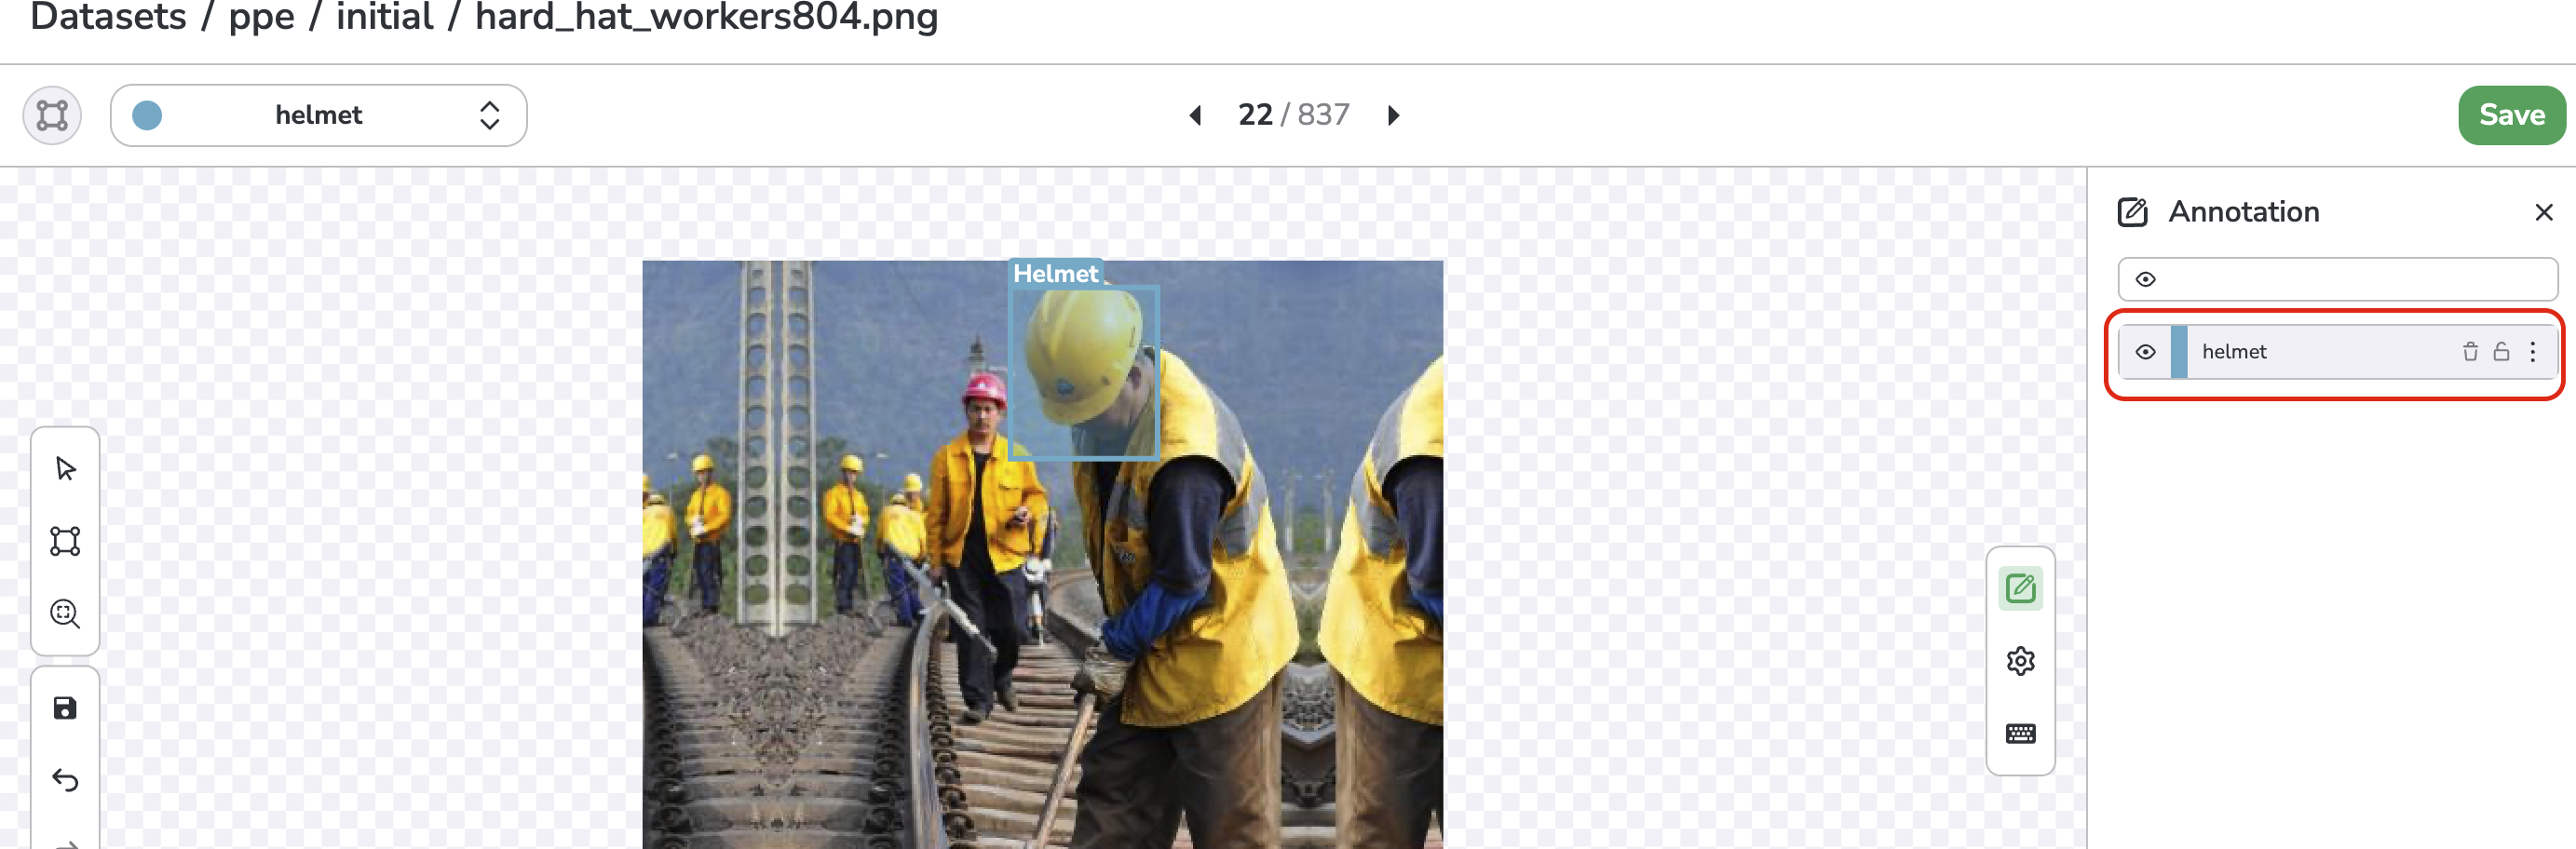
You can keep creating Shape on your Annotation. Before switching to another Asset or leaving the Annotation tool, you must save your modifiedAnnotation with the save icon or with the keyboard shortcut Ctrl/Cmd + S. The annotation will saved in To Review status.
Save Annotation
Now let's have a quick view of the characteristics for Shape creation depending on the Detection Type.
A. Object Detection
For a DatasetVersion in Object Detection mode, the Annotation tool allows you to create bounding box Shape.
To do so, in drawing mode, the first click will create the top-left corner of the bounding box, and the second one will close the bounding box with the bottom-right corner.
Bounding box
B. Segmentation
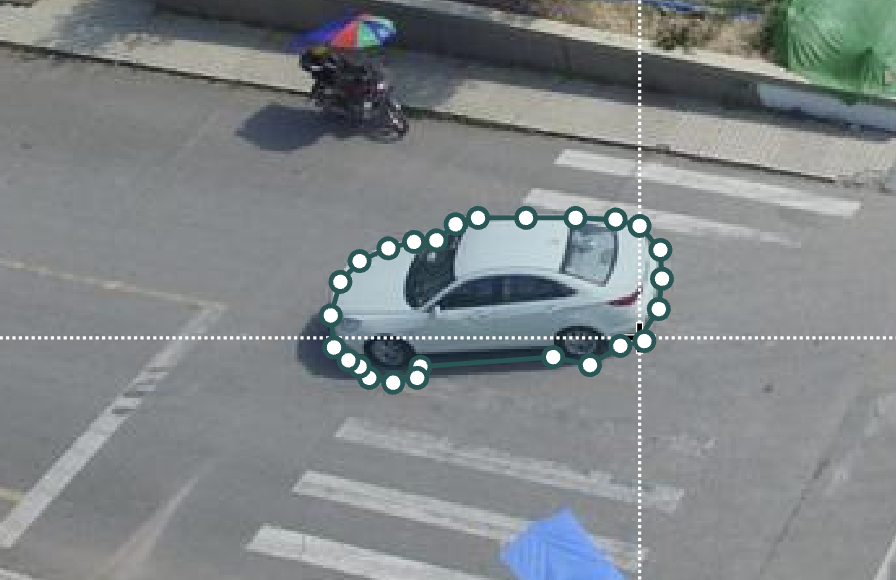
For a DatasetVersion in Segmentation mode, the Annotation tool allows you to create polygon Shape.
To do so, in drawing mode, the first click will create the first point of the polygon, then each click will create a new point of the polygon. To close the polygon, you just need to click again on the first point of the polygon.
Polygon
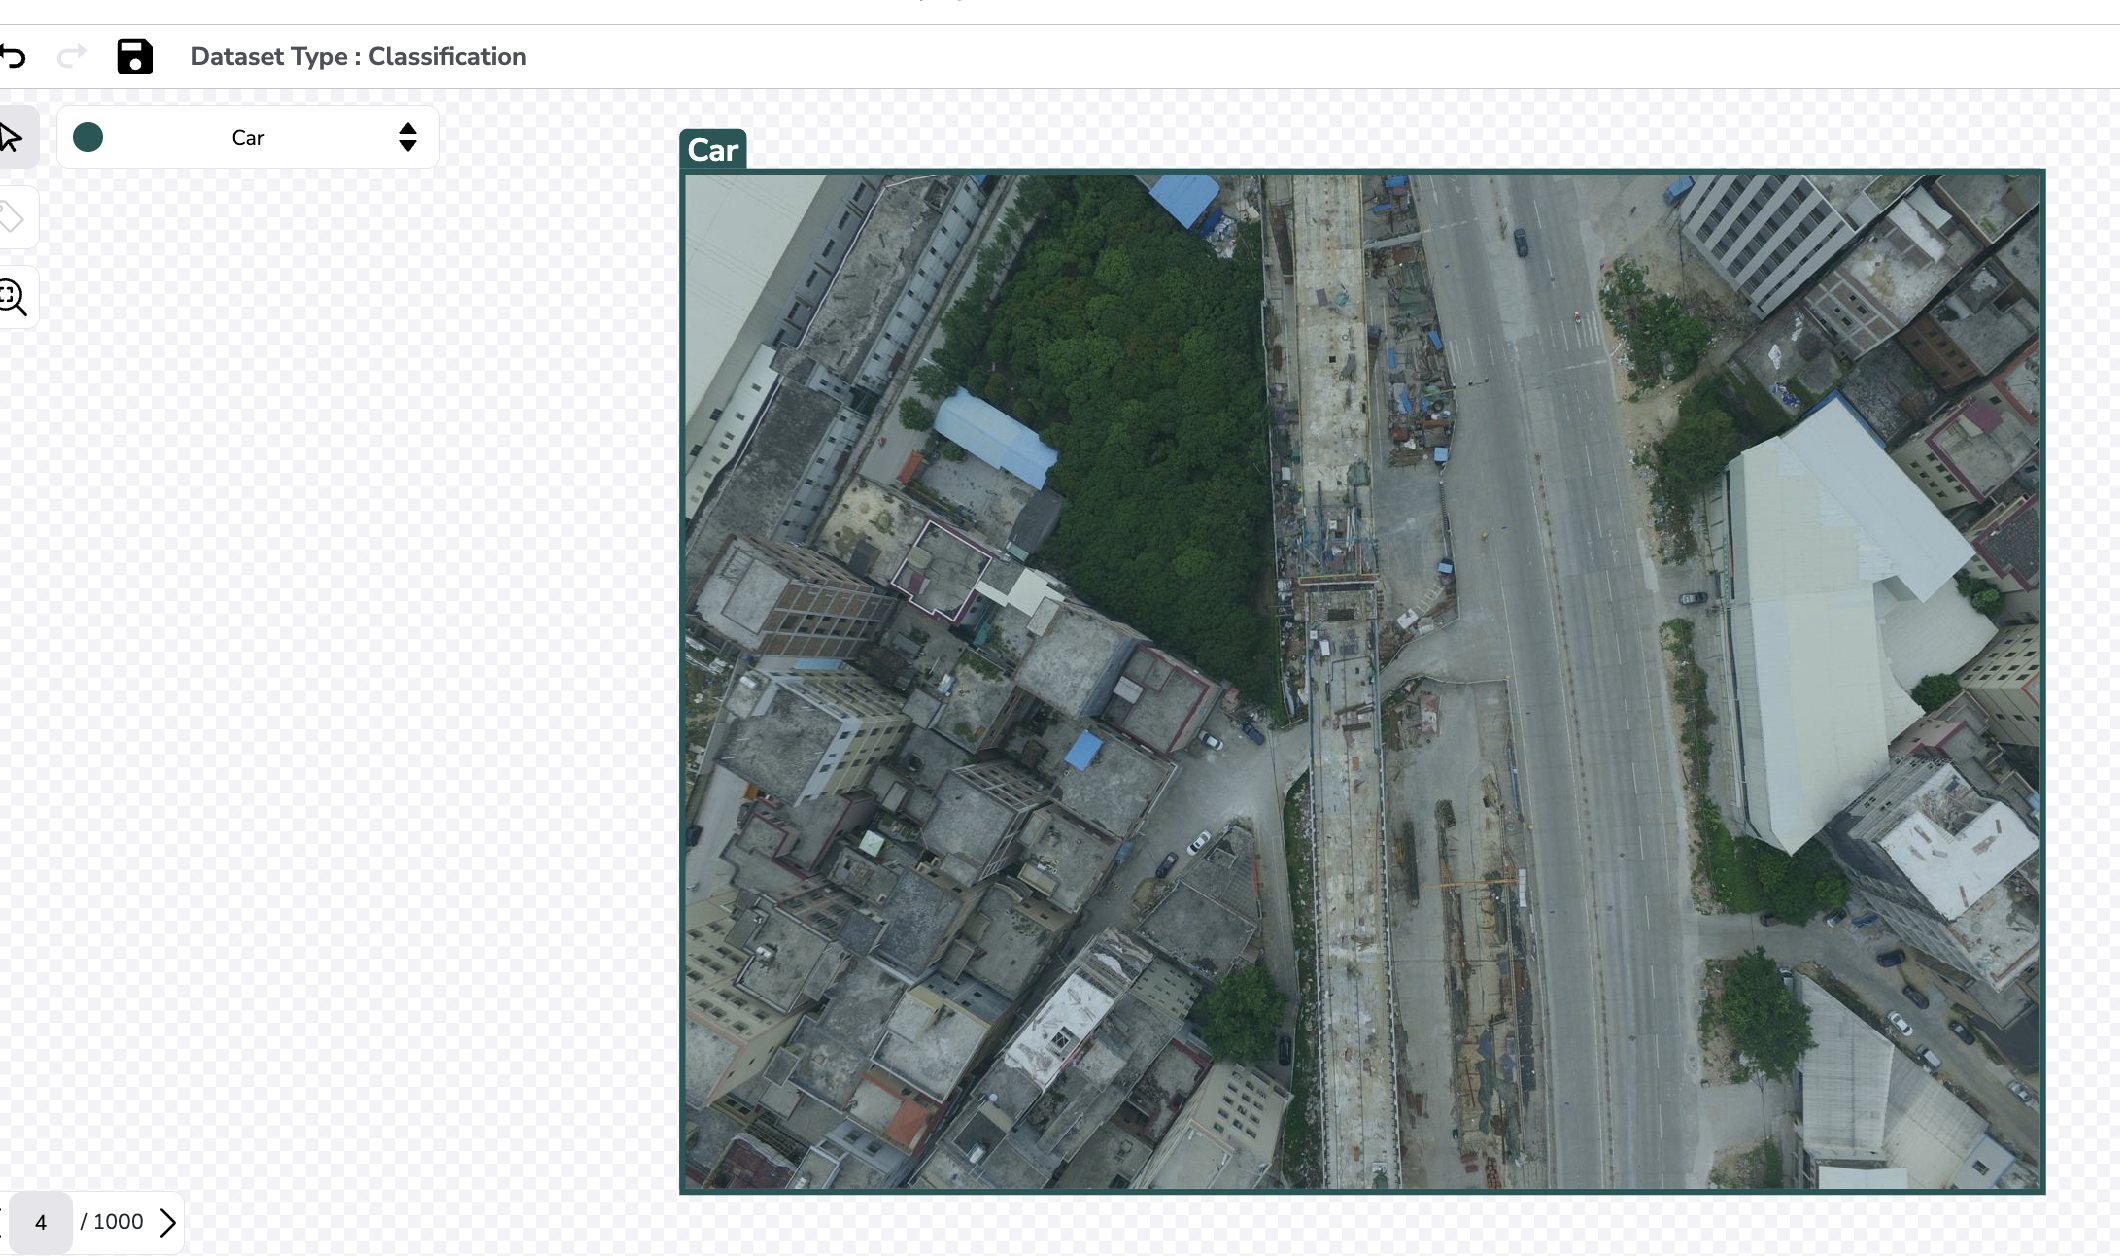
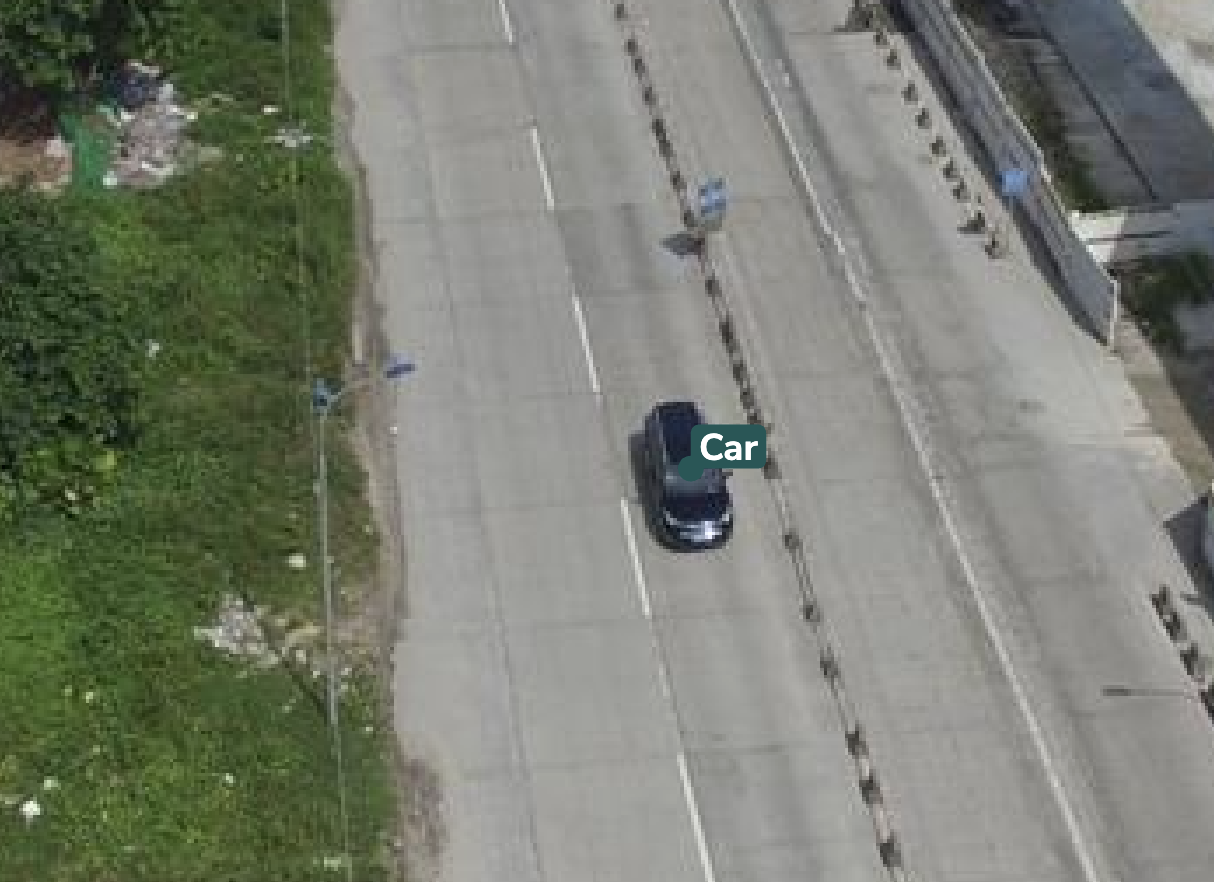
C. Classification
For a DatasetVersion in Classification mode, the Annotation tool allows you to classify each Asset among the available Labels.
1️⃣
By definition, an Annotation in Classification mode will contain only one Shape.
To do so, in drawing mode, the first click on the image will classify the Asset with the selected Label.
Classification
D. Point
For a DatasetVersion in Point mode, the Annotation tool allows you to create point Shape.
To do so, in drawing mode, a click will create a point Shape.
Point
E. Line
For a DatasetVersion in Line mode, the Annotation tool allows you to create line Shape.
To do so, in drawing mode, the first click will create the beginning of the line, then each new click will create a new segment of the line, and a double-click will close the line Shape.
Line
5. Modify a Shape
Now that you cand create Shape in different Detection Types, let's see how to modify them.
A. Select the Shape
First of all, you need to select the to-be-modified Shape. It can be done:
Directly in Selection mode by clicking on the Shape directly on the Asset.
By clicking on the Shape name in the Shapes list located on the right side.
Shape selection
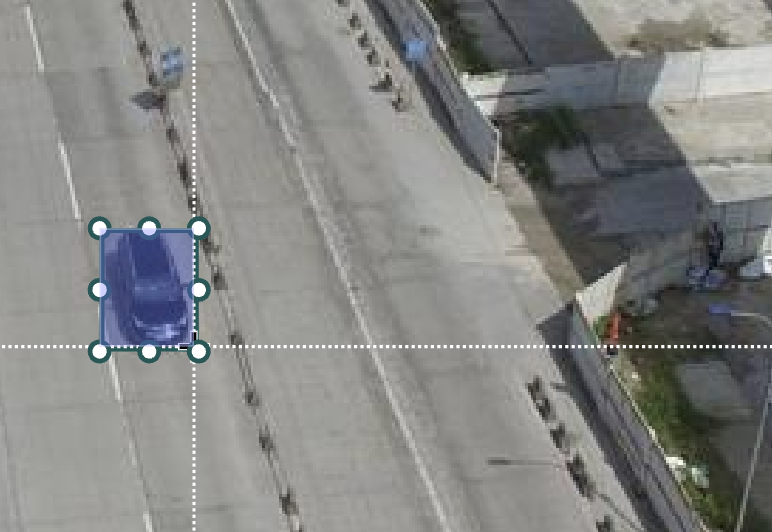
In both cases, the selected Shape will be highlighted in blue, with all the potential points composing the Shape.
👍
Focus on a Shape
To directly zoom in the selected Shape, you can click on Focus in the right-click menu.
Focus on a Shape
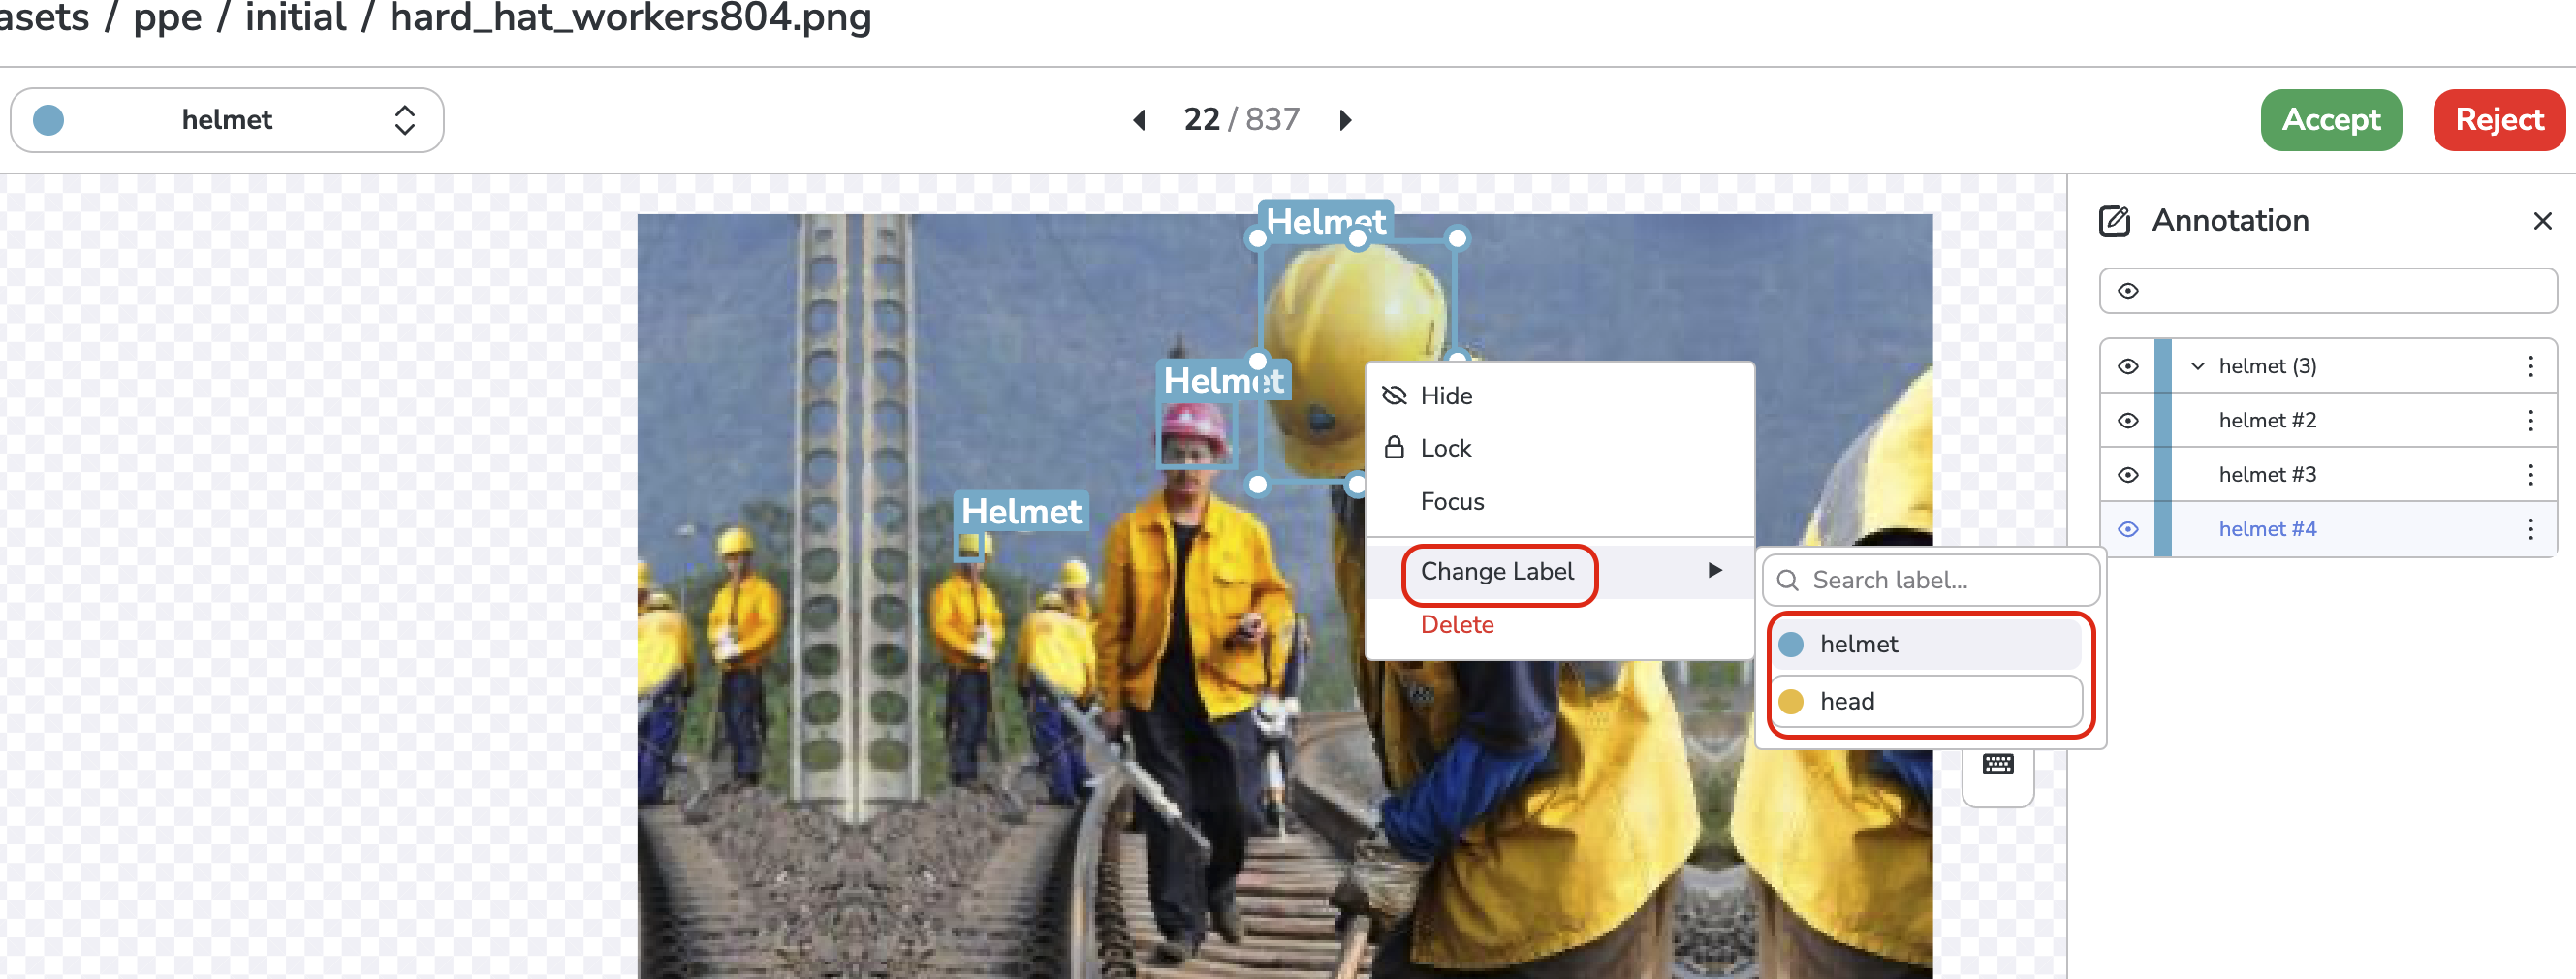
B. Label
You can change the Label of the selected Shape by:
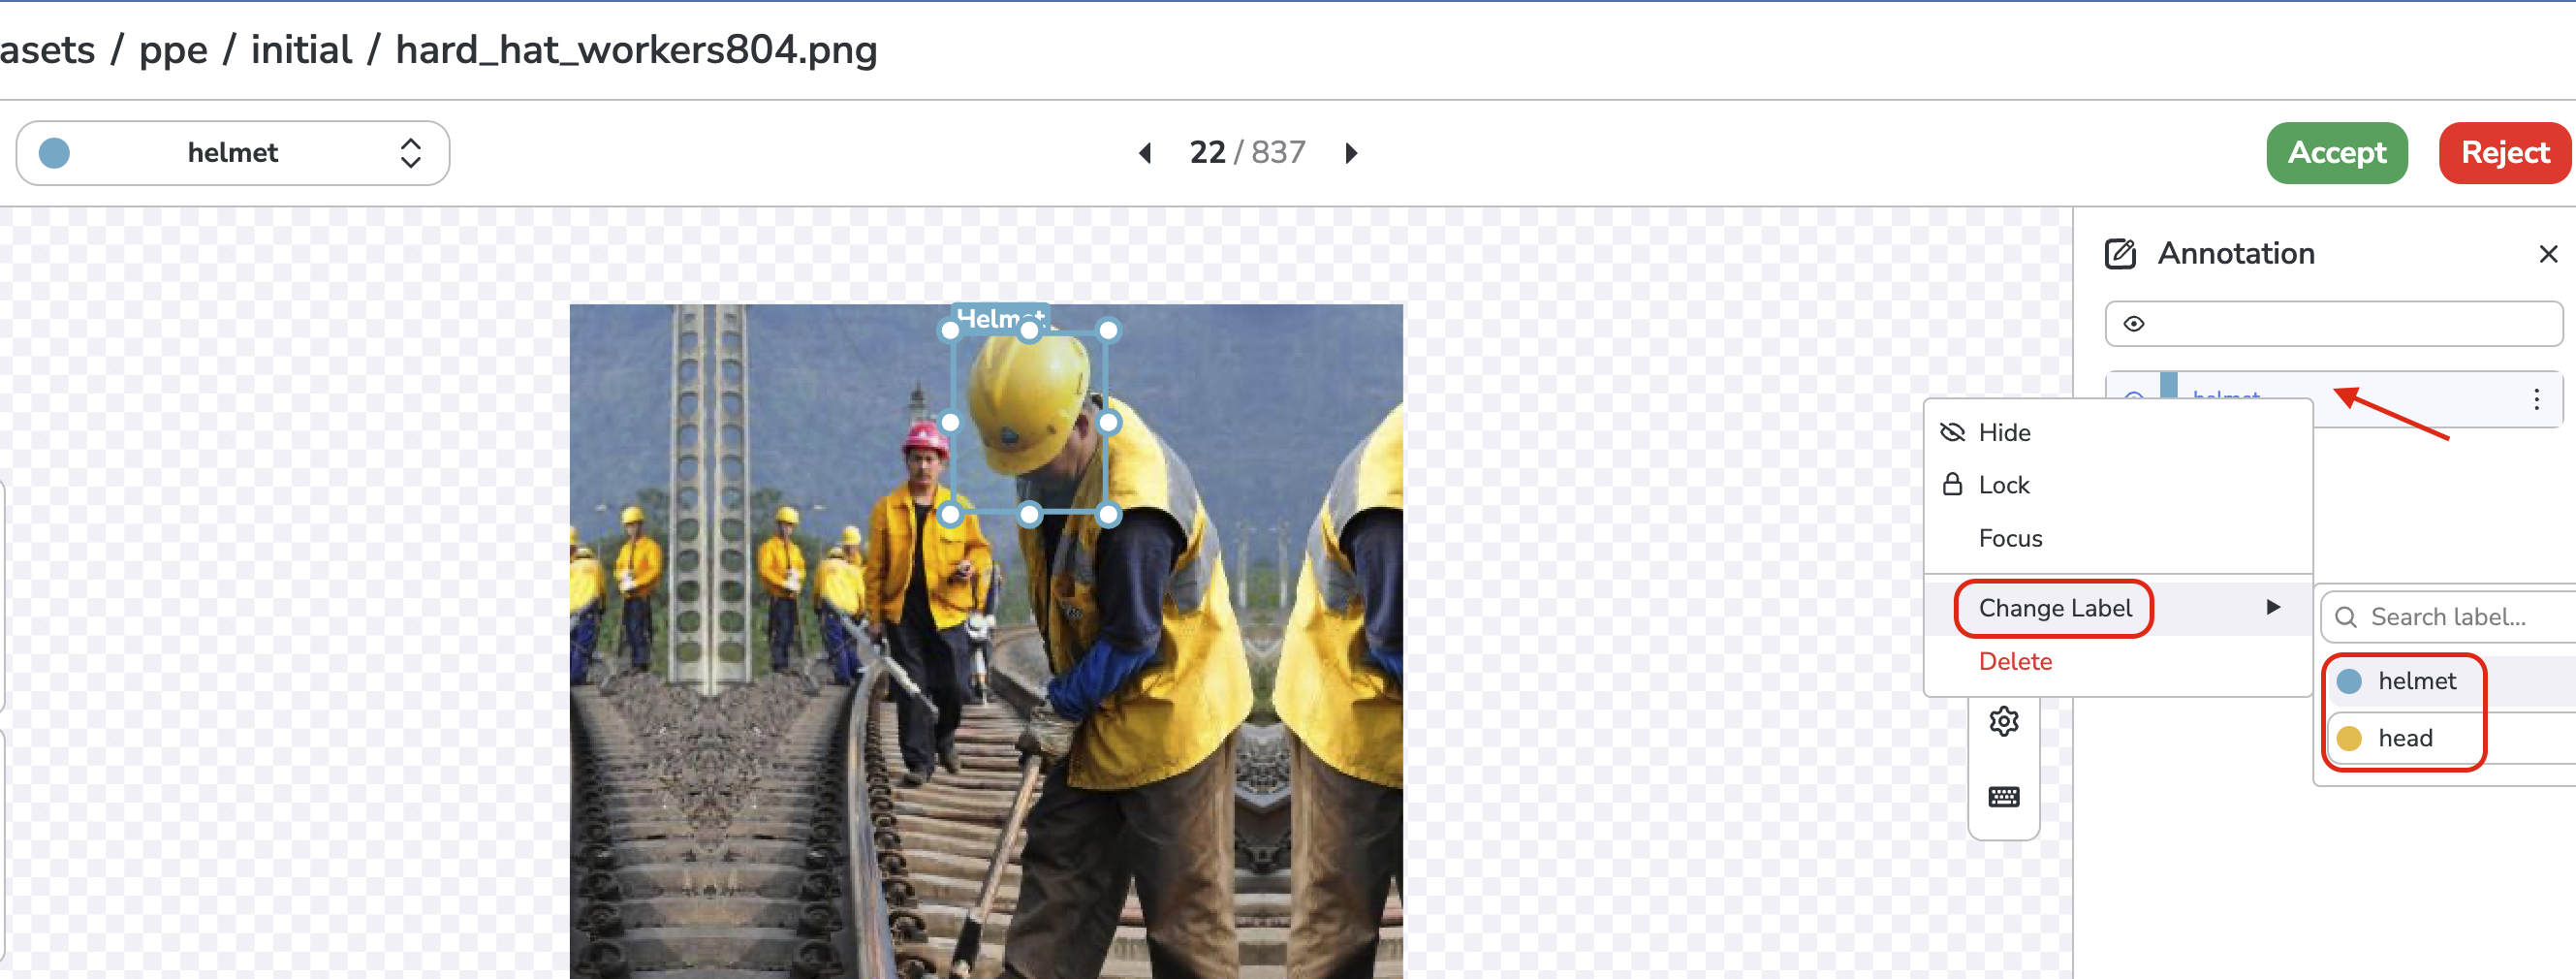
Right-clicking on the selected Shape on the Asset, hover Change Label action and click on the new Label
Change Label
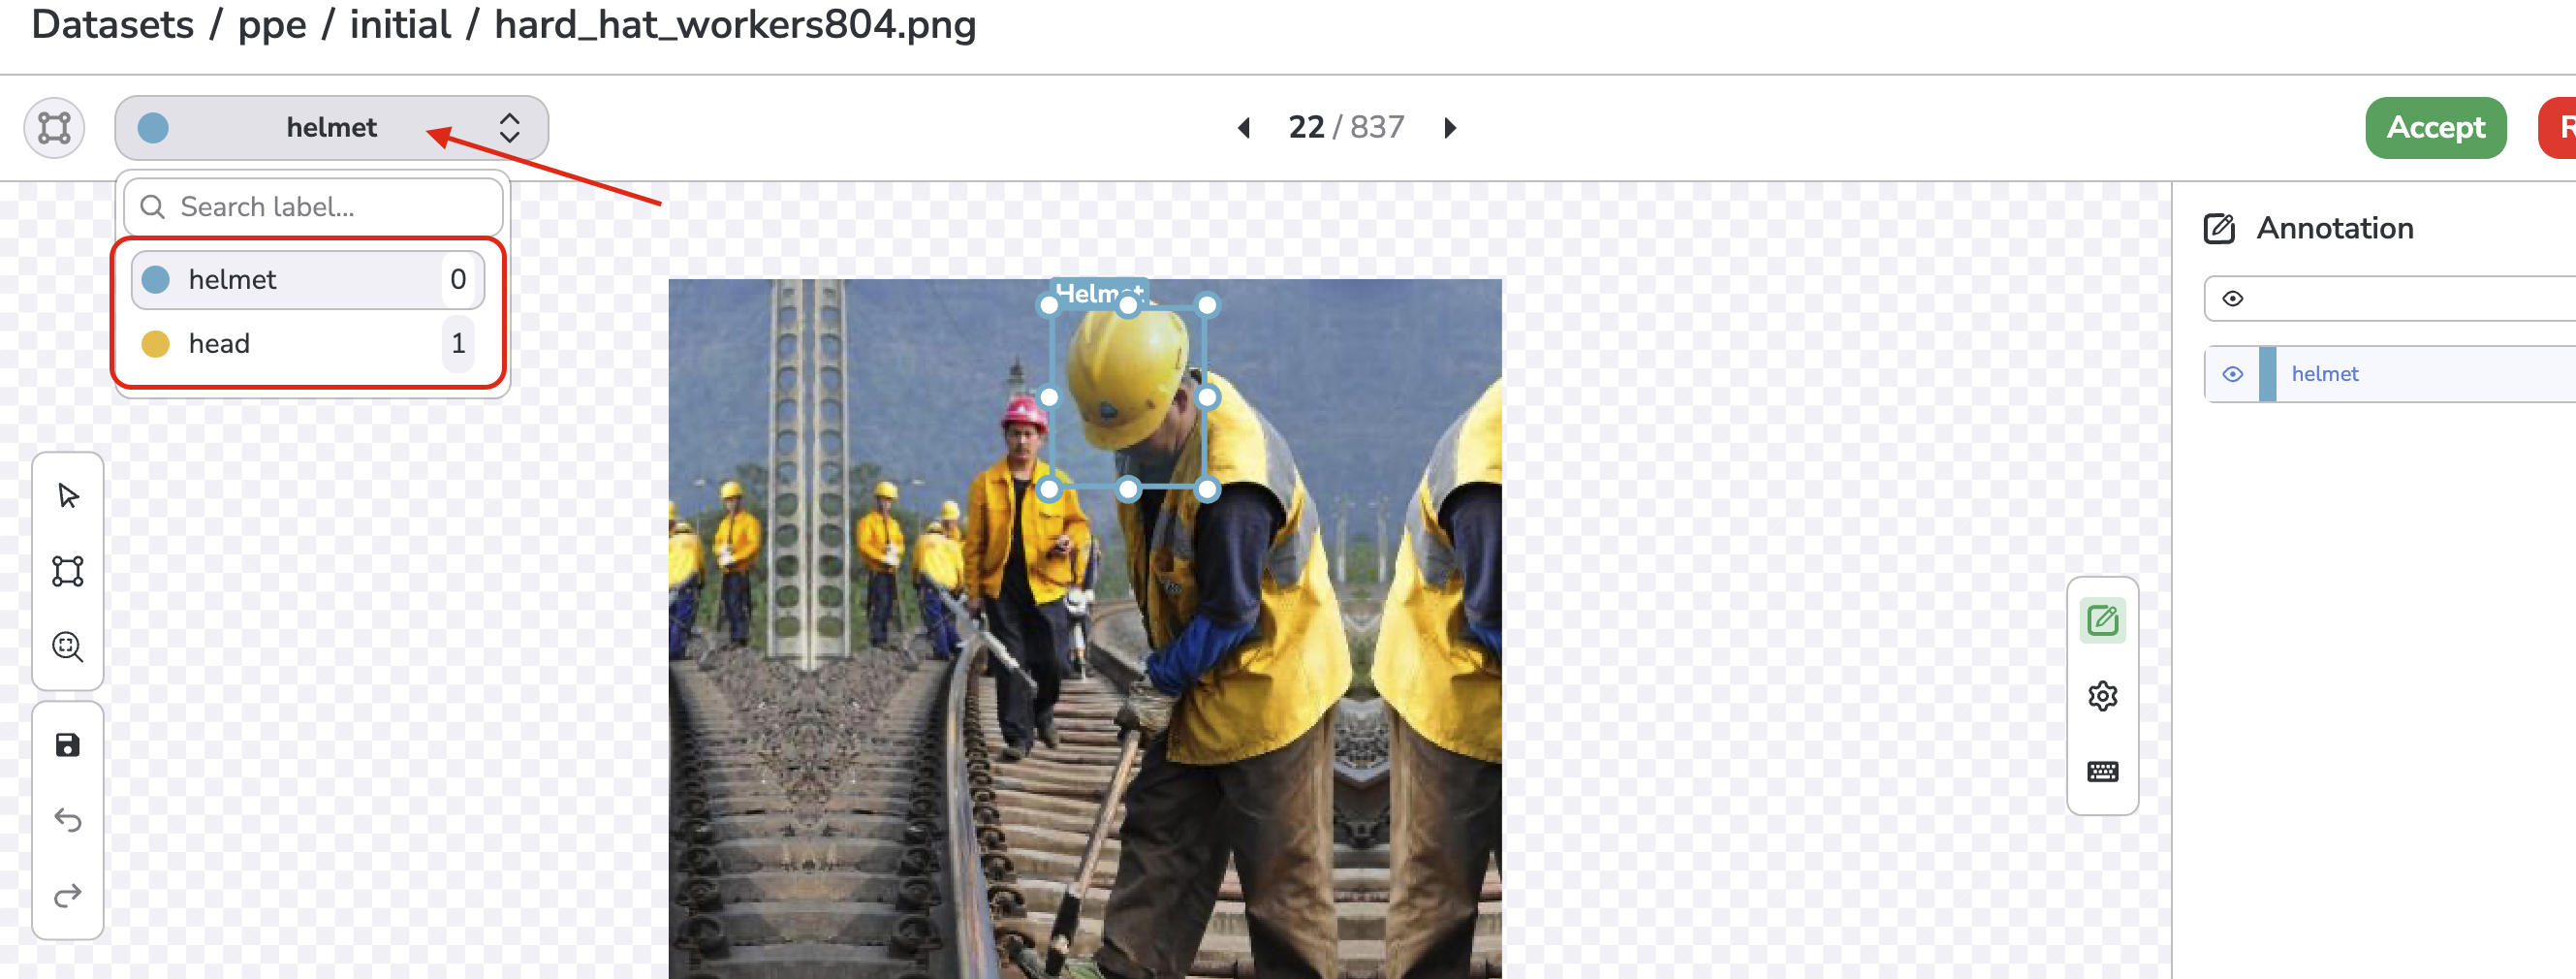
Selecting the new Label in the dropdown located at the top-left corner
Change Label
Right-clicking on the selected Shape on the Shapes list , hover Change Label action and click on the new Label
Change Label
C. Dimensions and position
When a Shape is selected, all the points composing this Shape are displayed. With your mouse, you can then click on those points to modify the Shape dimensions. You can also move the Shape anywhere in the frame of the Asset.
📘
It is not applicable to Classification
Obviously, the modification of dimensions and position of a classification Shape is not possible.
D. Delete
You can also delete any Shape on an Annotation. Once selected, it can be done in several ways as soon as the Shape is selected:
Press the delete key
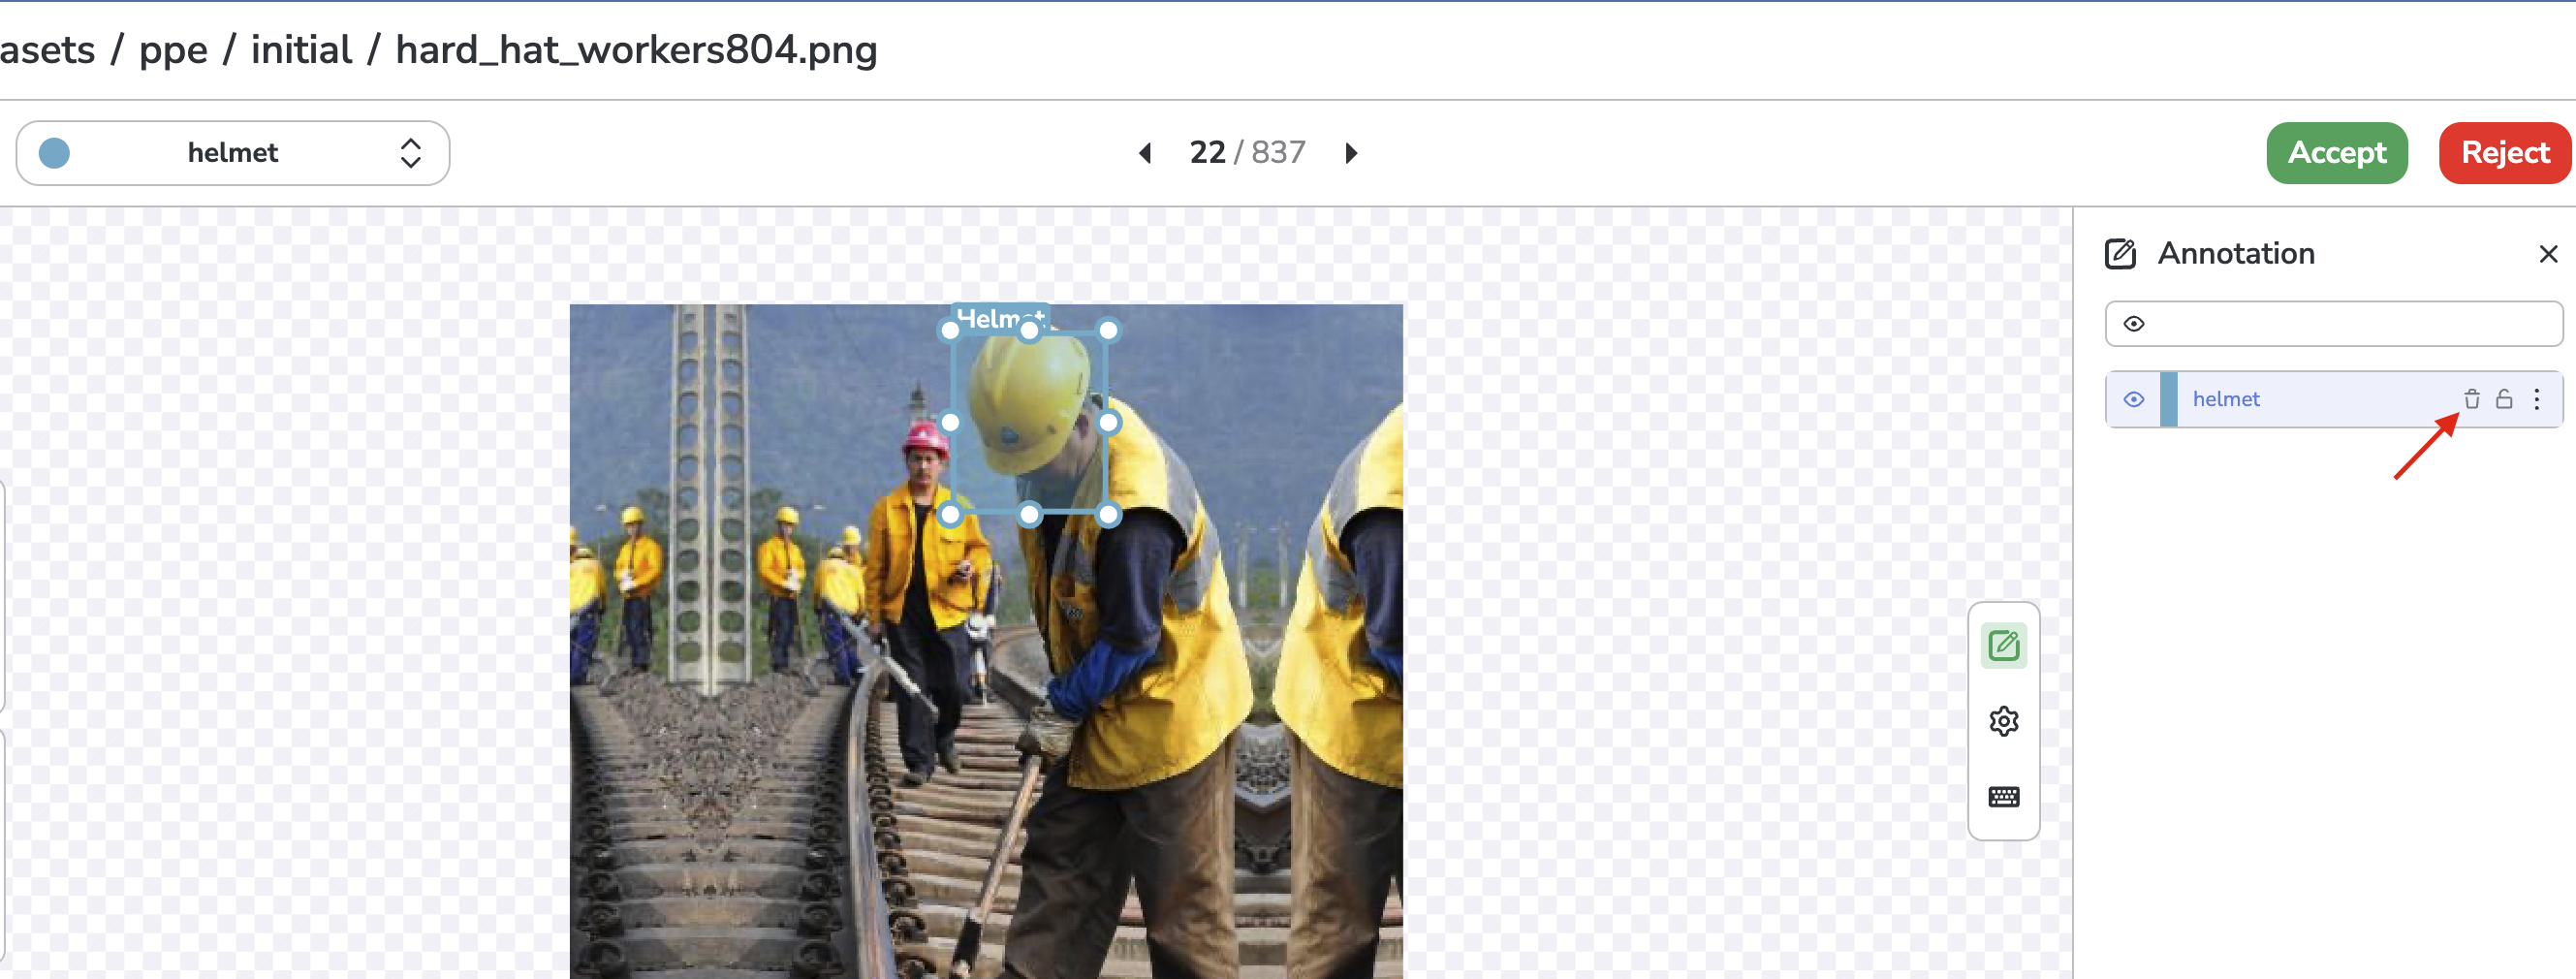
Click on the trash icon
Delete a Shape with trash icon
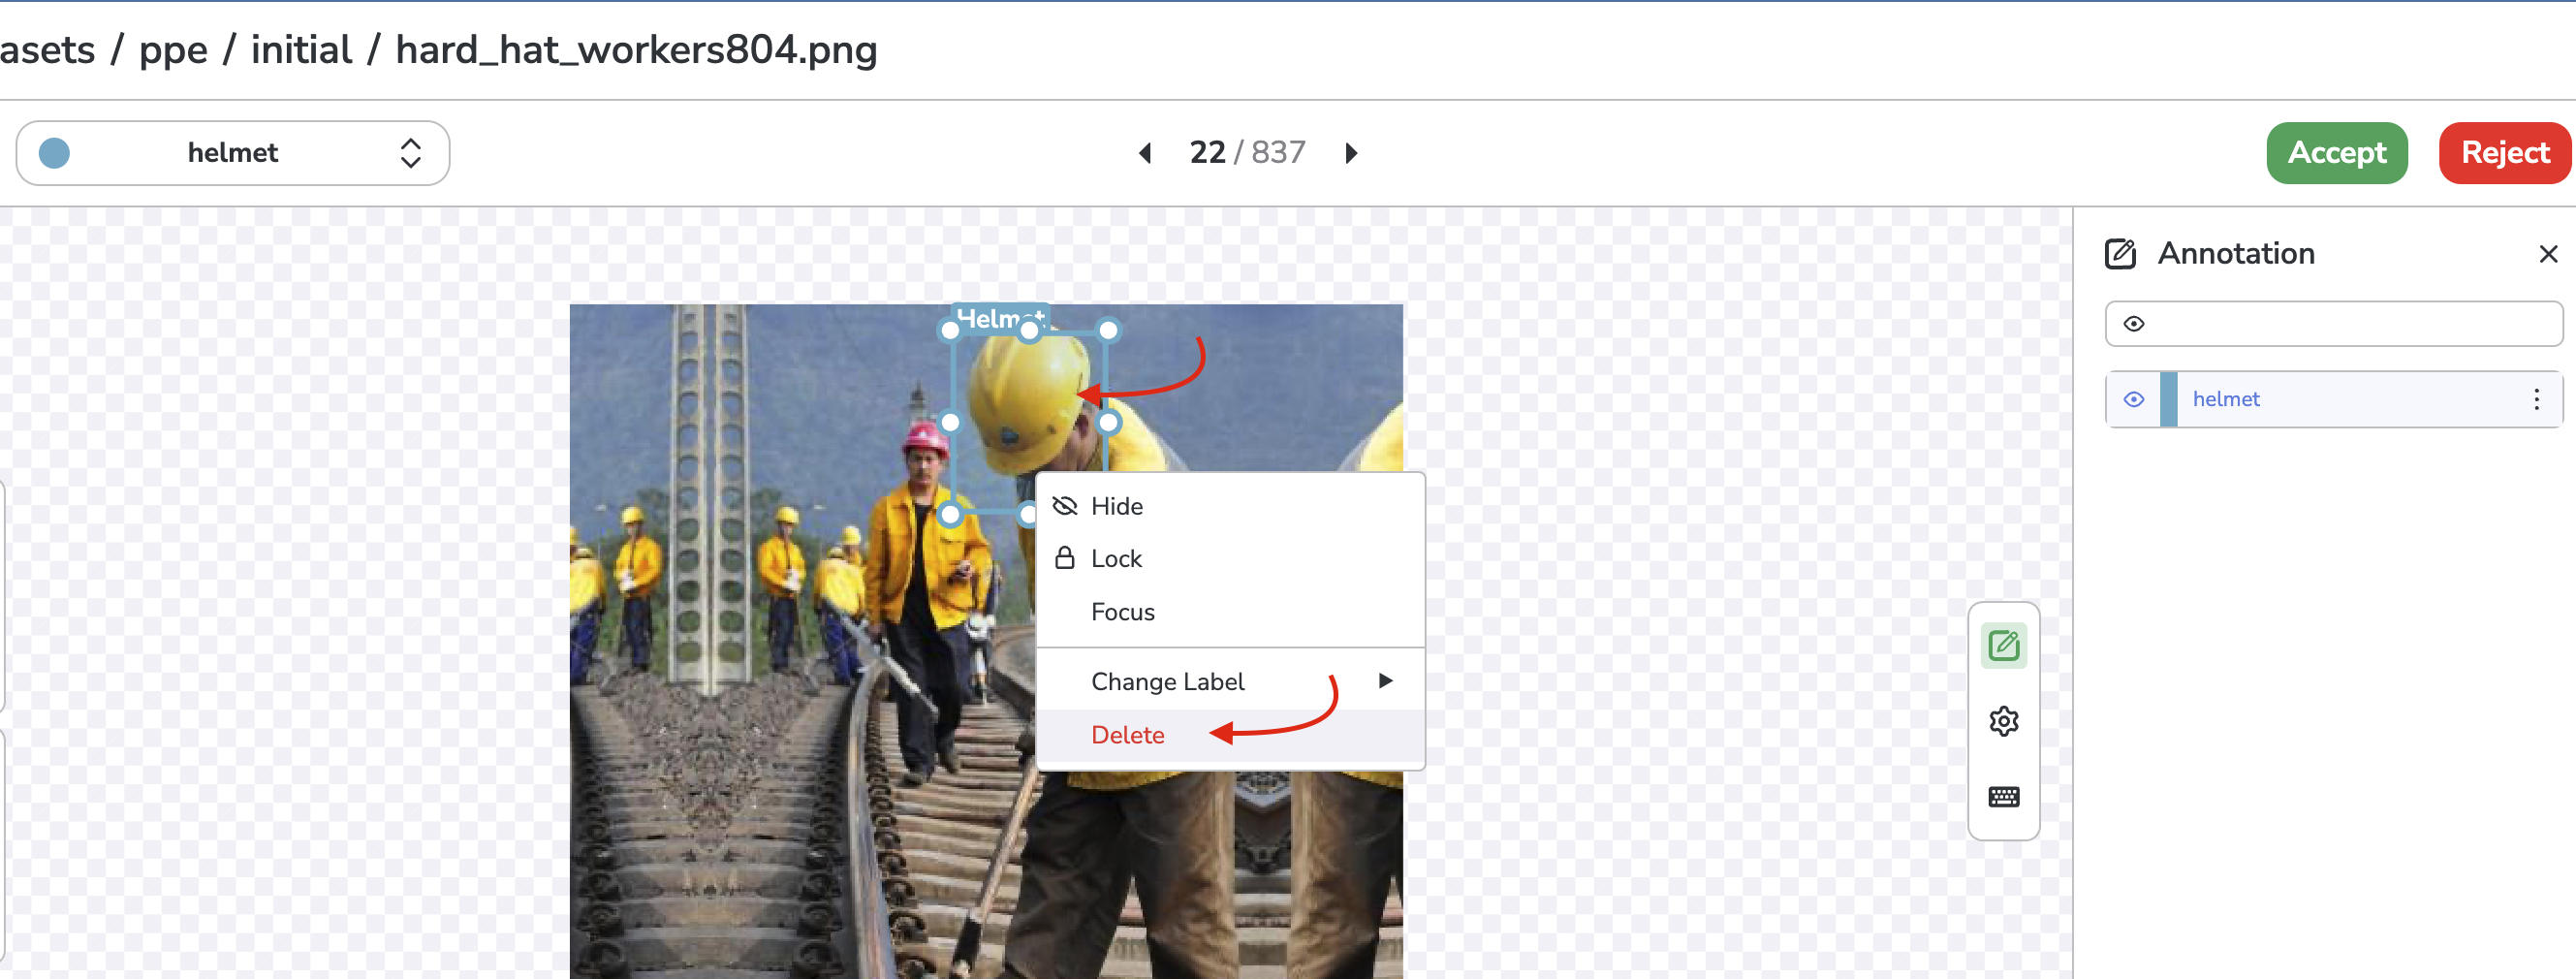
Right-click on the Shape in the Shapes list or on the image and click on Delete
Delete a Shape with the right-click menu
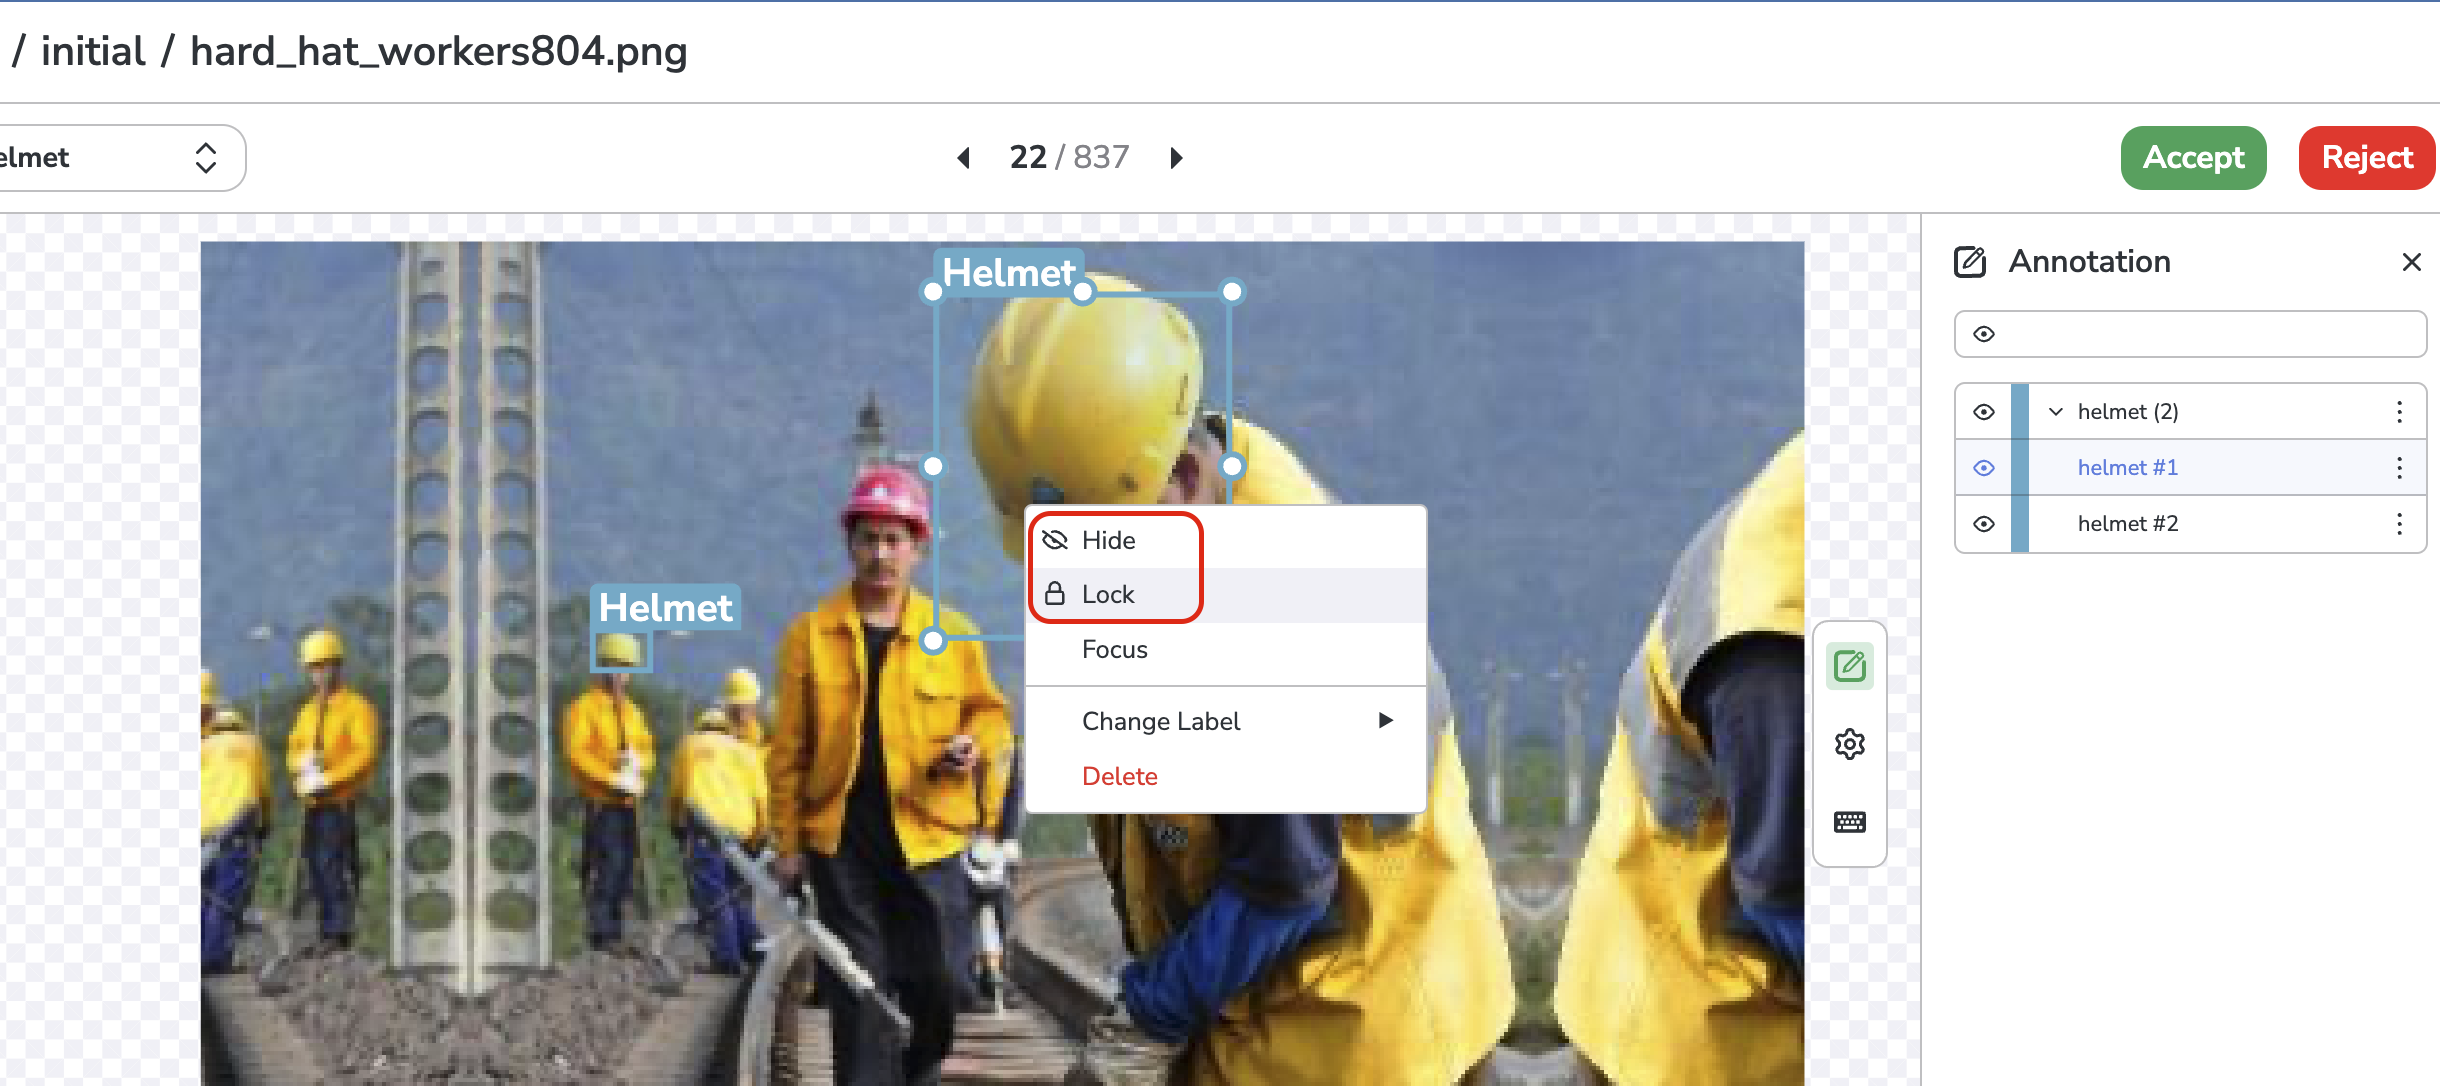
6. Lock and Hide Shape
To ease the Annotation process, you can either lock or hide a Shape. It can be done, by right-clicking on a Shape or by using the icon the Shapes list as shown below:
Lock & Hide Shape
Lock & Hide Shape
Obviously, a hidden Shape is not deleted, it is only not displayed. Locking a Shape prevents anyone from editing it. To unlock or make a Shape visible, you just need to click again on the Hide or Lock icon.
You can also lock or hide all the Shape of an Annotation with the same Label, as the Shape are all grouped together in the Shapes list on the right side.
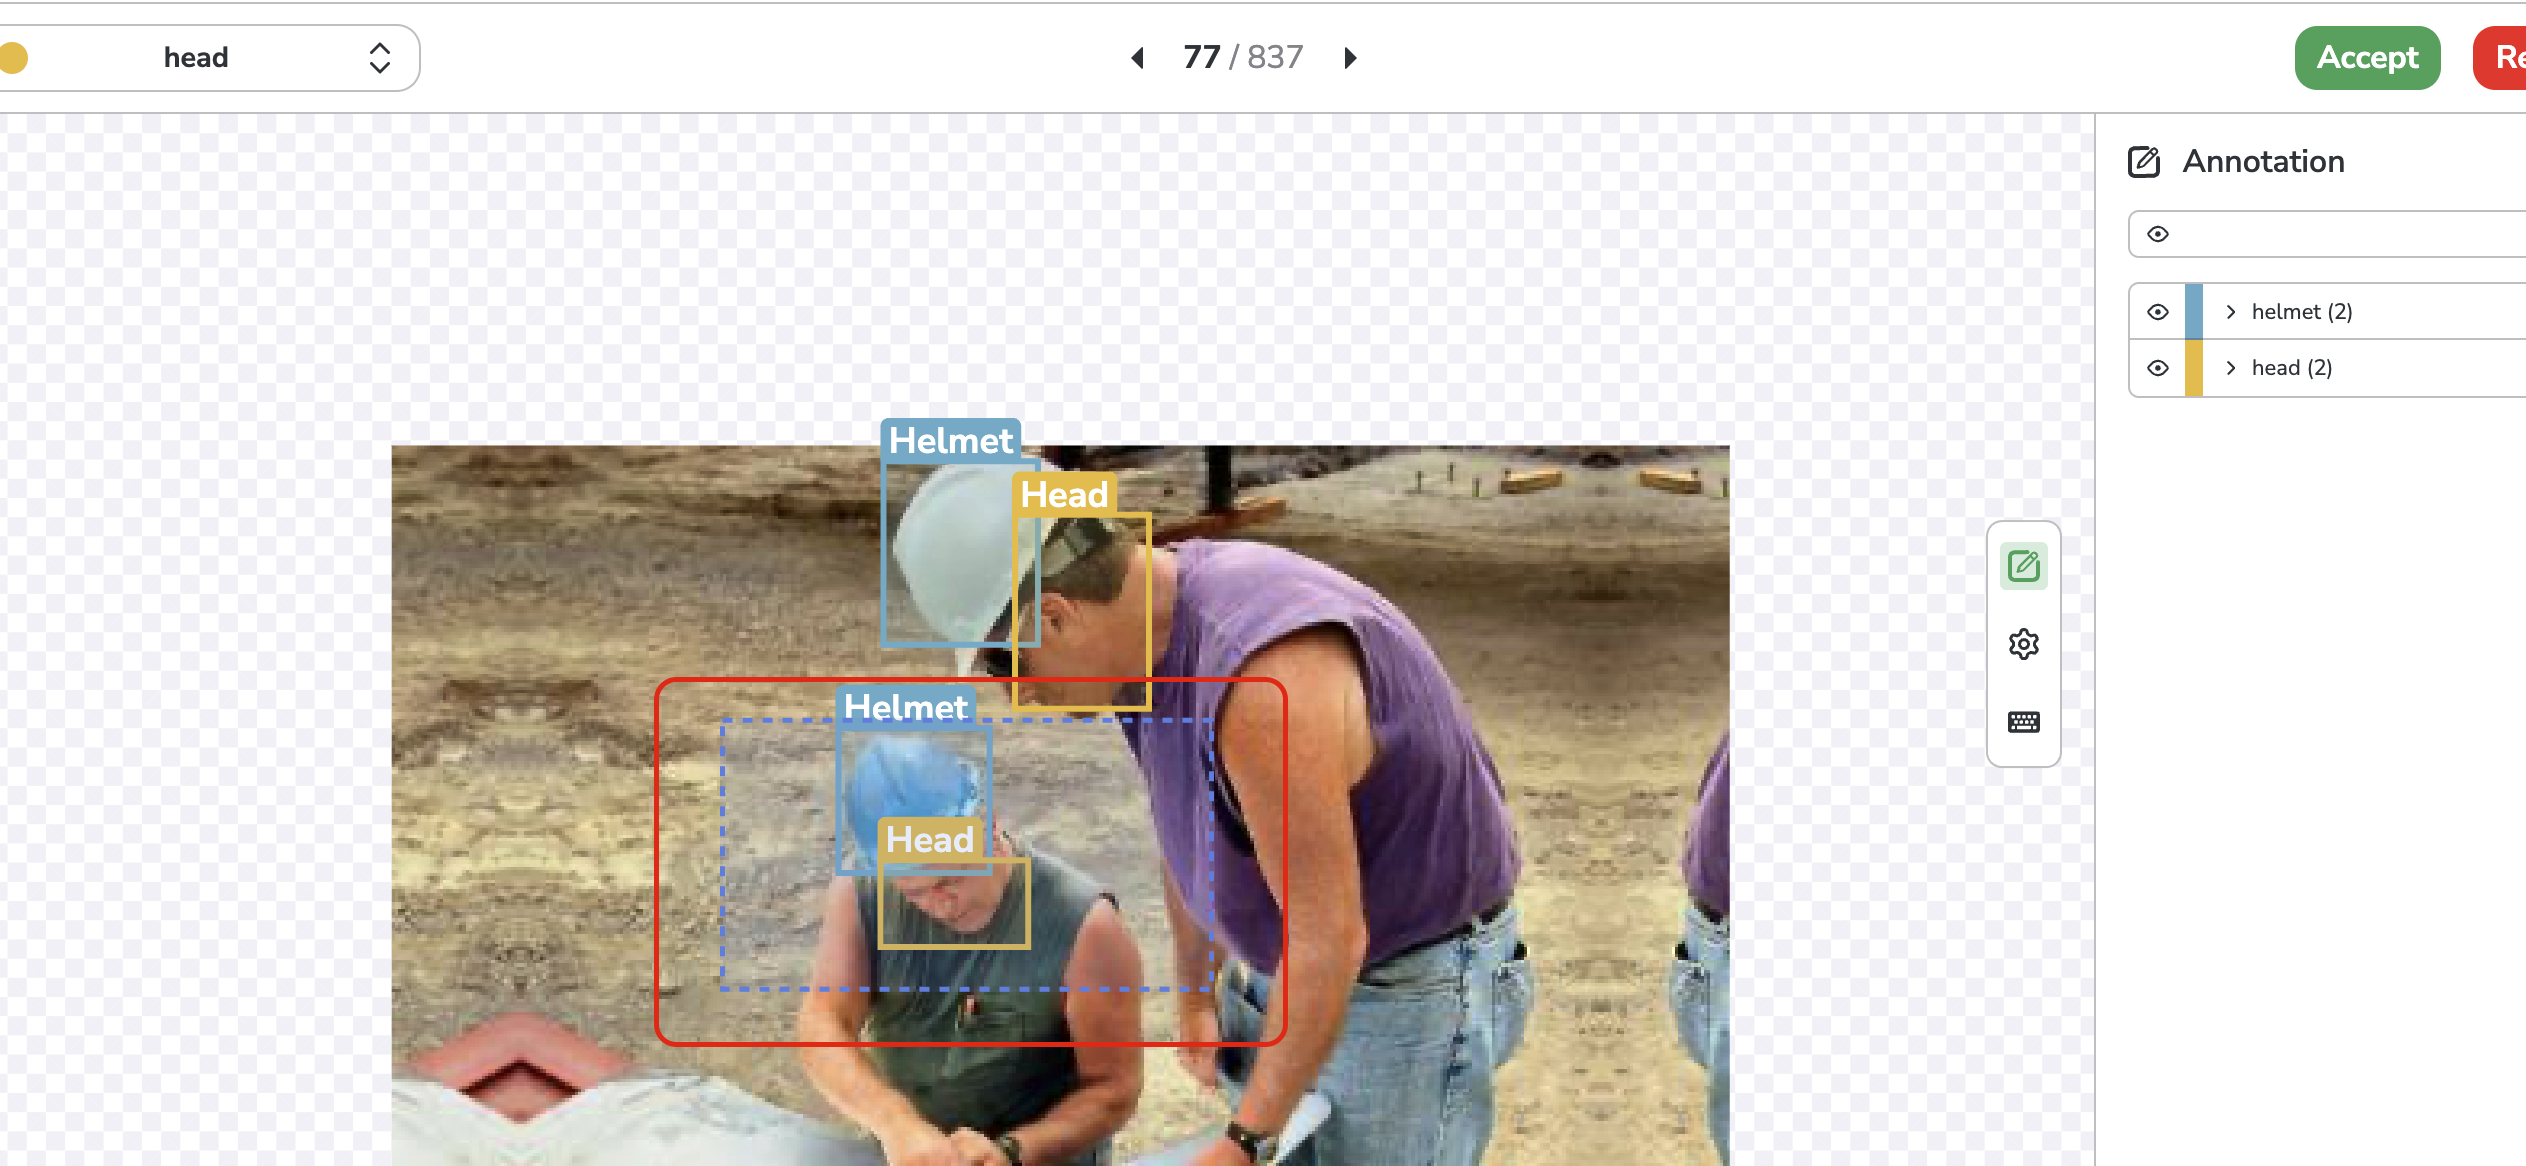
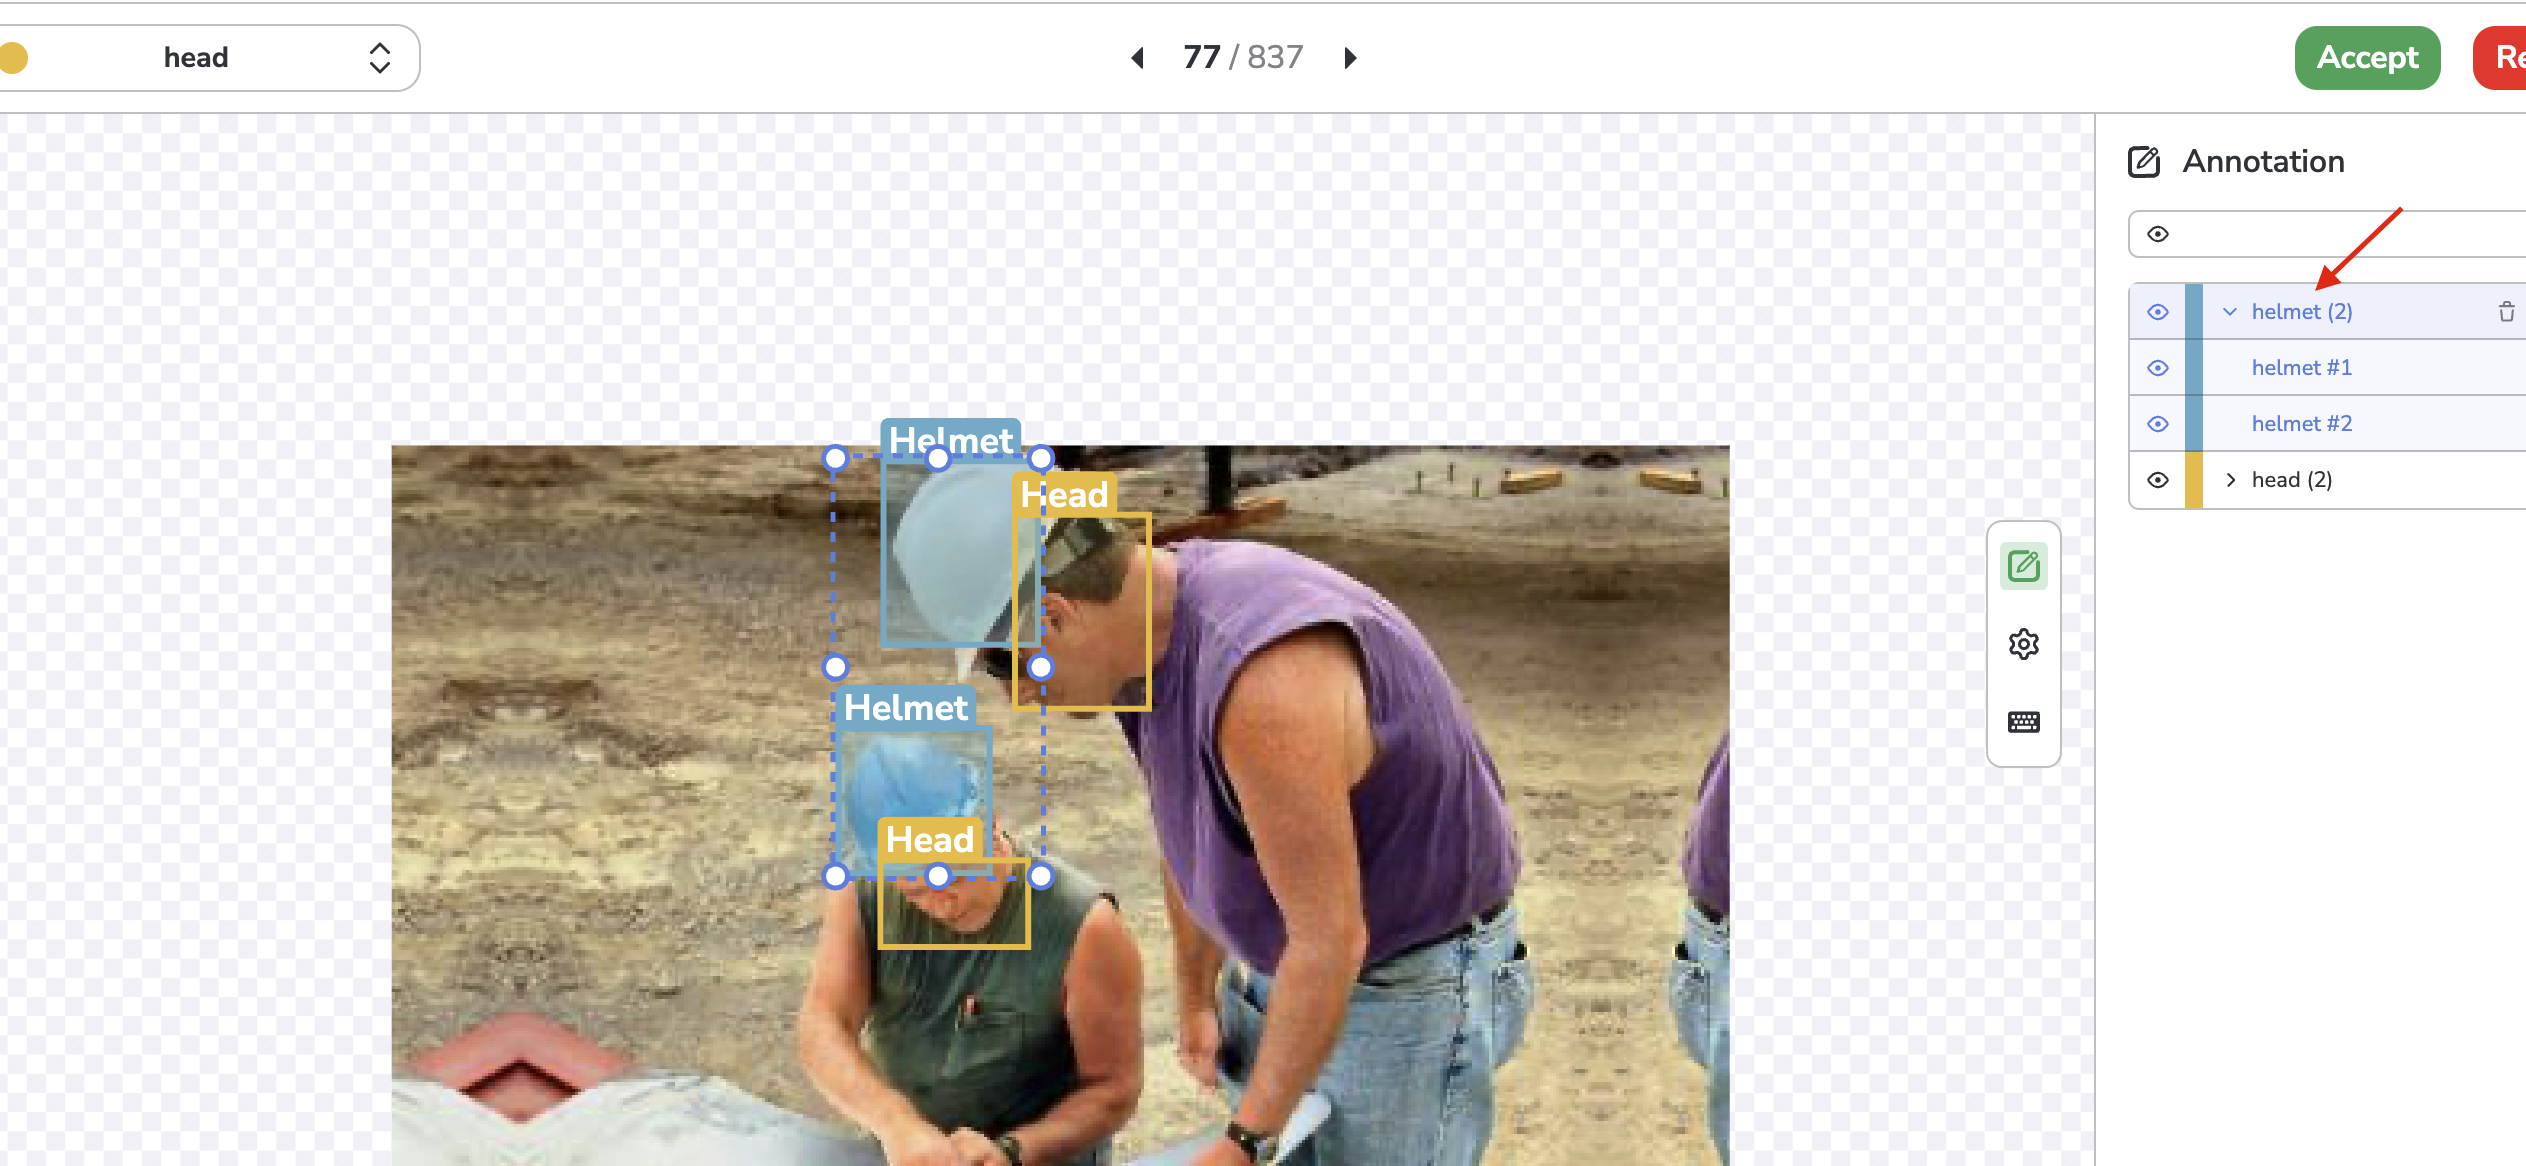
7. Group Selection
For practical reasons, the Picsellia Annotation tool offers the possibility to select several Shape at a time and make modifications to a group of Shape.
Multiple Shape selection can be done:
On the Asset by drawing within the Selection mode a rectangle over the to-be-selected Shape, the selected Shape will be highlighted with blue in the Shapes list.
Manual group selection
By selecting all the Shape with a specific Label directly from the Shapes list, as Shape with the same Label are grouped. So selecting the Label will automatically select all the Shape with this Label, for instance, helmet:
Group selection by Label
Once a group of Shape is selected, you can:
Change the dimension and the position of those Shape
Change the Label of all the selected Shape with the right-click or the Labels dropdown (located in the top-left corner)
Delete the selected Shape with the delete key, the trash icon or the right-click menu
Lock or hide them with the icons or the right-click menu
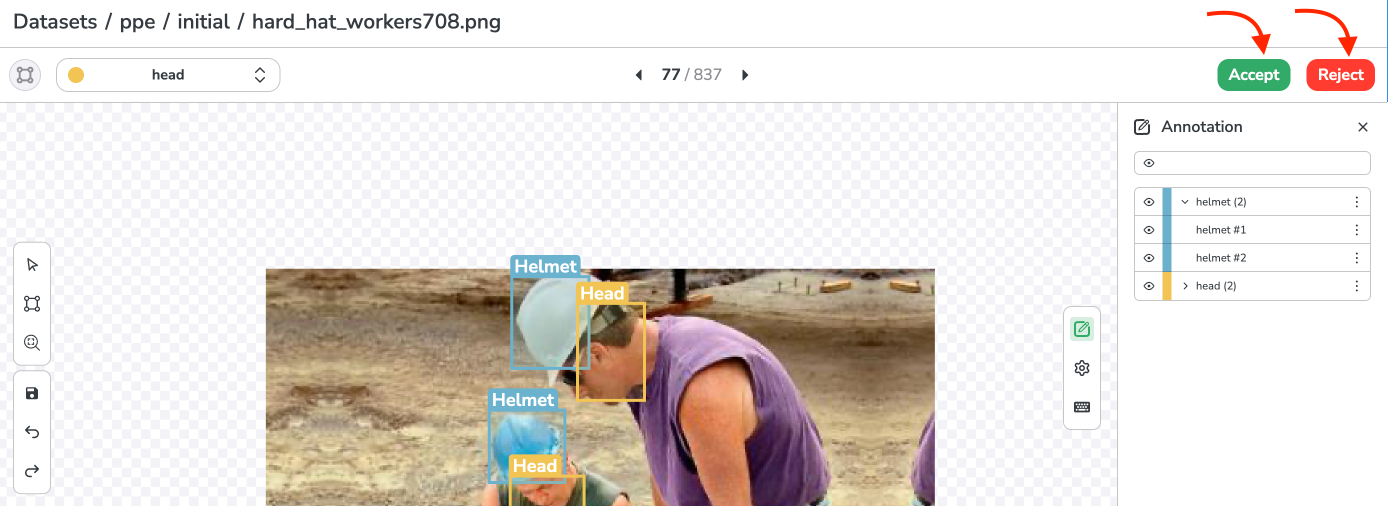
8. Quality review
To ensure the quality of your Annotation and as Picsellia is a collaborative platform, you can review Annotation. The idea is to leverage the Annotation status field. This field can have three values:
To Review
Accepted
Rejected
When an Annotation is created and saved, either through the Annotation tool or via Annotation import, Annotation are by default with the status To Review.
To Accept or Reject an Annotation, you just need to open the Annotation Tool on the Asset that has the Annotation to be reviewed and click on Accept annotation or Reject annotation.
Annotation review
Please be aware that any user that has access to the DatasetVersion can review any of its Annotation.
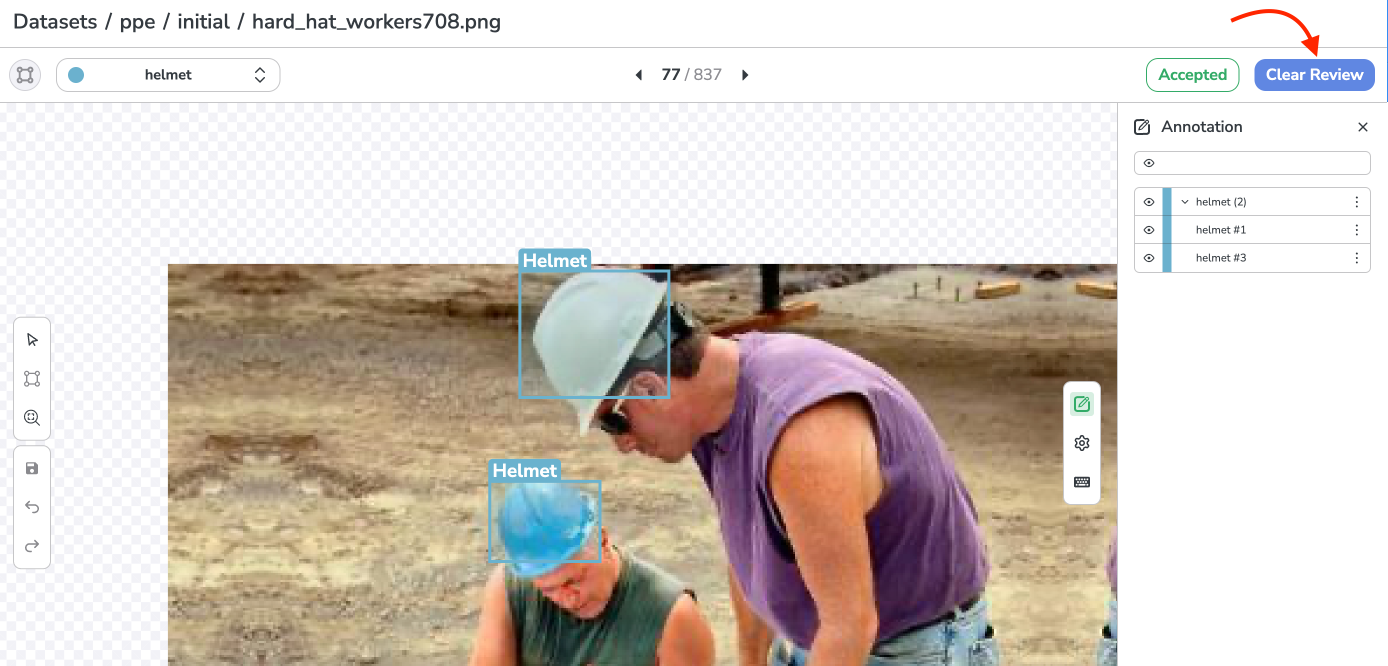
Once done, the Annotation is considered reviewed, and as a consequence, it cannot be modified anymore (all Shape will be automatically locked). However, if you want to be back to editing mode on a reviewed Annotation, you just need to click on Clear review. The Annotation will be back in To Review status, and all the Shape unlocked.
Clear Review
✅
Review status
The review status field is displayed in all Assets views and as a badge in the Annotation tool gallery.
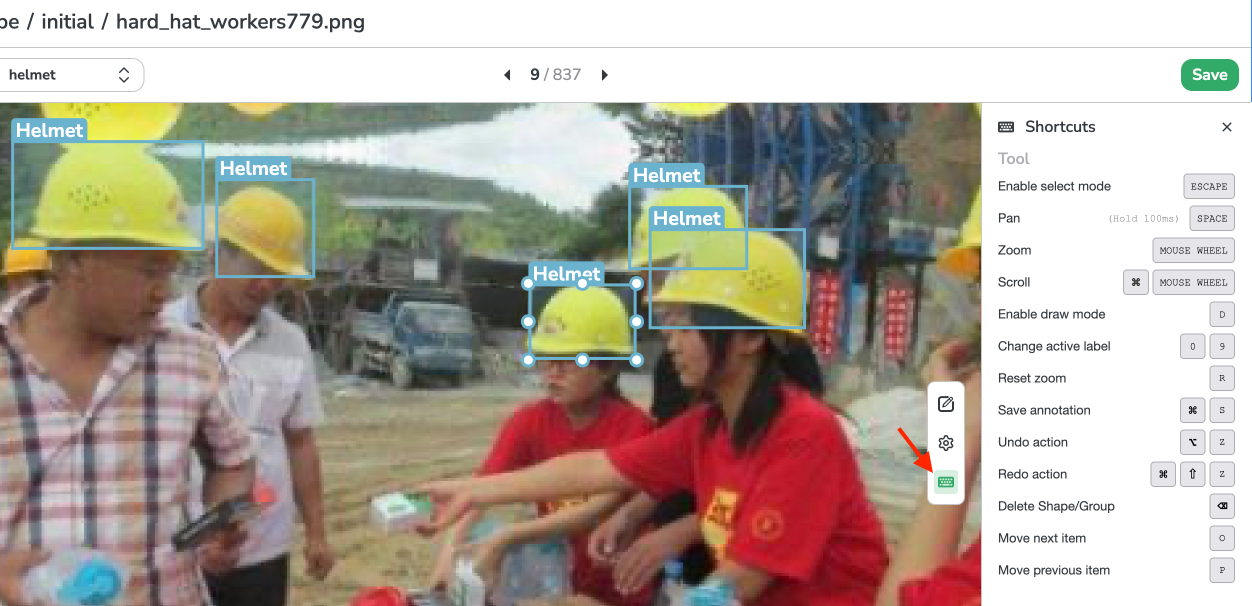
9. Settings & Keyboard shortcut
To make the Annotation process as smooth and efficient as possible on Picsellia, most of the actions related to the Annotation tool can be done using buttons on the tool but also through keyboard shortcuts.
The list of available shortcuts can be displayed through the keyboard icon:
Keyboard shortcuts
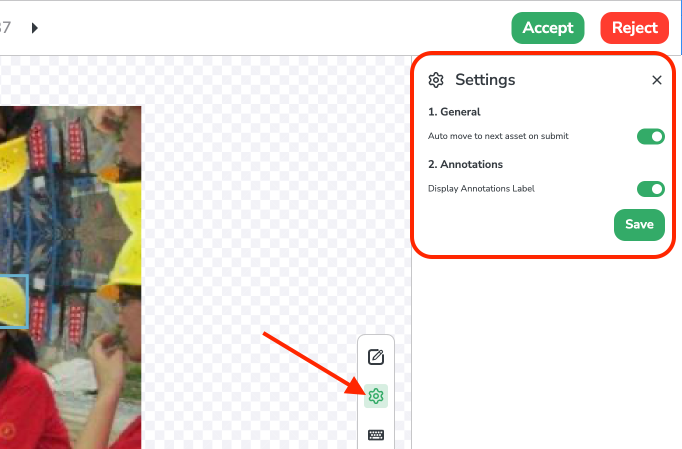
You can also define your preferences in the Annotation Tool Settings page: