Datalake - Overview
The Datalake is a shared place to access, and organize your images. It provides a simple way to view and manage your images and their associated information.
With Picsellia, you have three different viewing options within your Datalake:
- Grid View: A visual layout that displays multiple images at once.
- Table View: A view that focuses on the information associated with each image.
- Details View: A comprehensive view that shows all the elements of a specific image, including the image itself and its related details.
You can easily switch between these views.
The sames visualization features can be retrieved across the other image overviews availble on the platform (i.e.Dataset,Evaluation, andPredictionoverviews.
1. Understanding Data in Picsellia
Data in PicselliaData refers to an image that is part of your Datalake. Any image used within any Picsellia feature is always associated with Data stored in the Datalake. For example, the Asset composing a Dataset or the Predictions made within a Deployment are always linked to Data stored in the Datalake.
The Data in Picsellia's Datalake includes both the image and its linked Metadata. This Metadata can be viewed using the Table button, which opens the Table view.
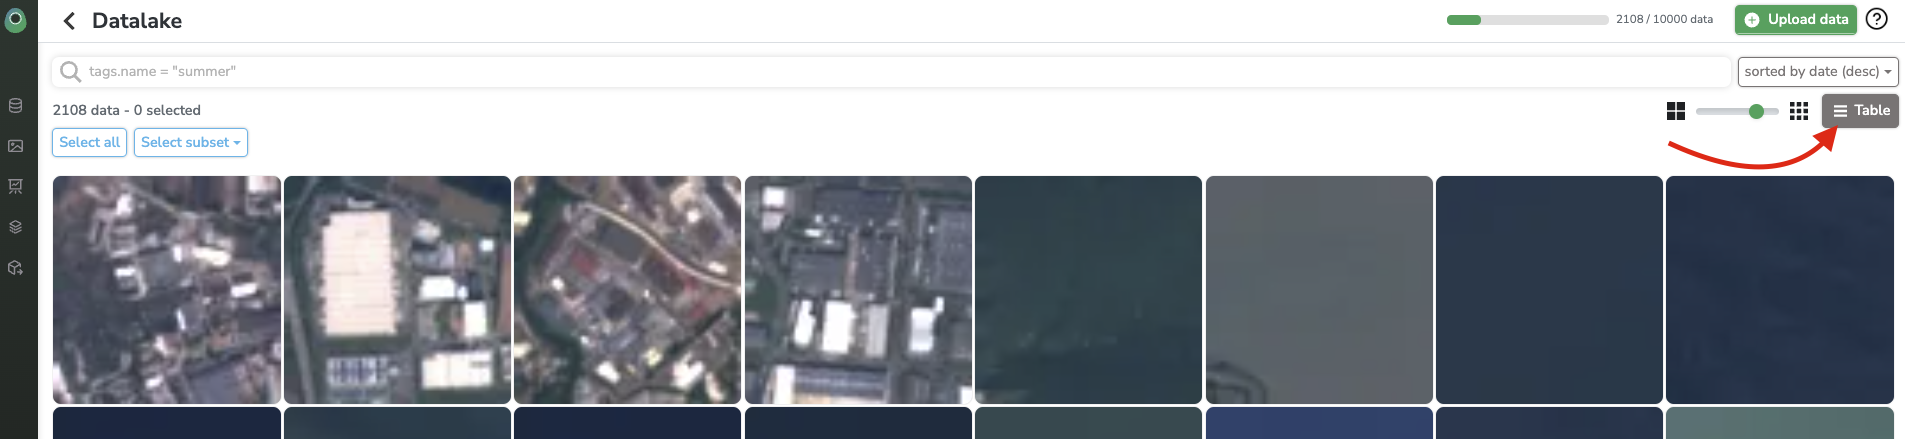
Switch from Grid view to Table view
The Table view provides access to the following Metadata:
- preview: thumbnail of your image
- filename: complete filename of your
Data - shape: dimensions in pixels of your
Data - source: source of your
Data(e.g., direct_upload, AWS_bucket, serving....) - tags:
DataTagassociated with theData(more about tags here) - created at: creation date of the
Dataon Picsellia - created by: Picsellia user who created the
Data - Personalized Metadata

Table view
All Metadata can be customized and personalized using the SDK. However, as Picsellia relies on this Metadata to handle images, modifying them may lead to unexpected outcomes.
Searching forDataThe search bar is the most effective way to leverage Metadata and navigate through your
Datalake. More information is available here.
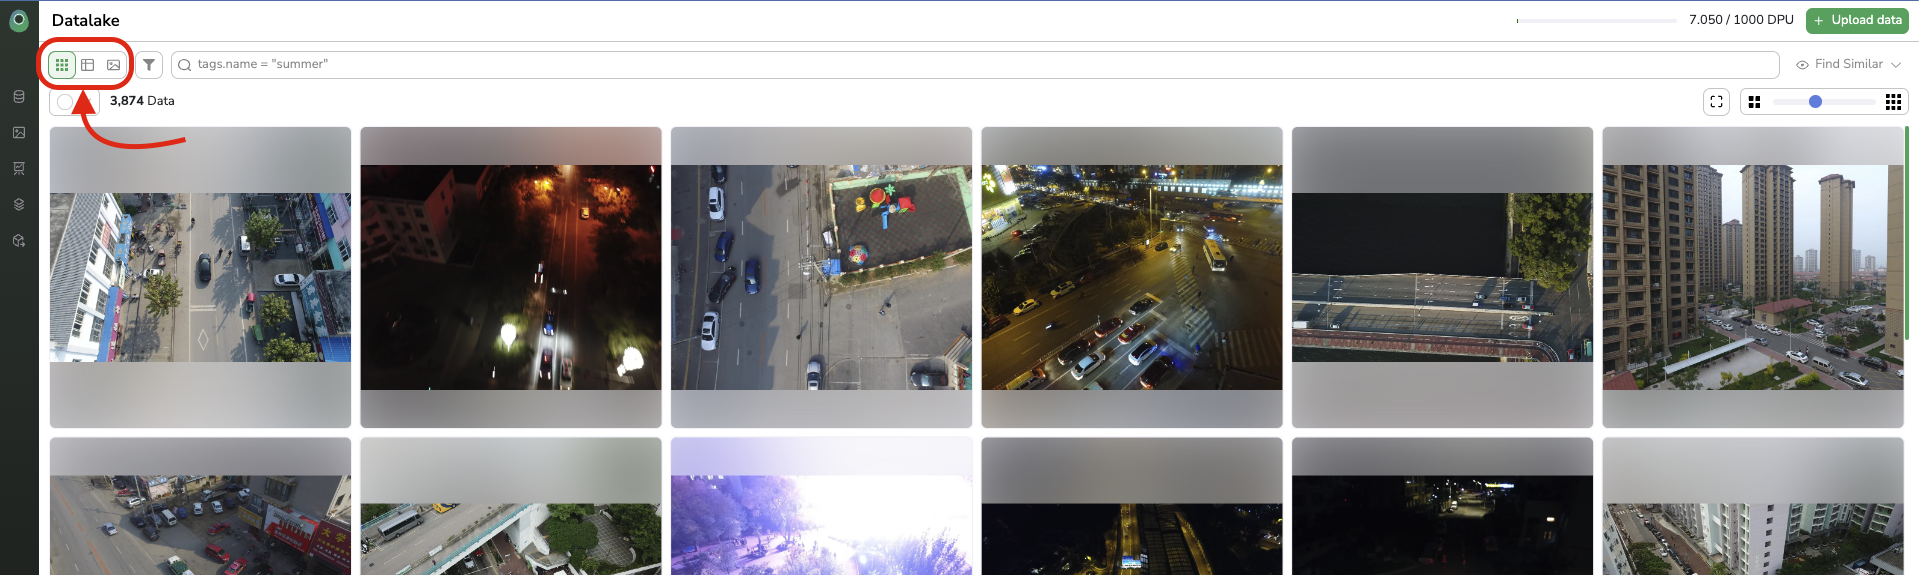
2.Data visualization
Data visualizationInside the Datalake, you can switch between views using the appropriate button.
Switch between Datalake views
Optimize loading timeThumbnails are generated to ensure smooth navigation and reduce loading times for all views.
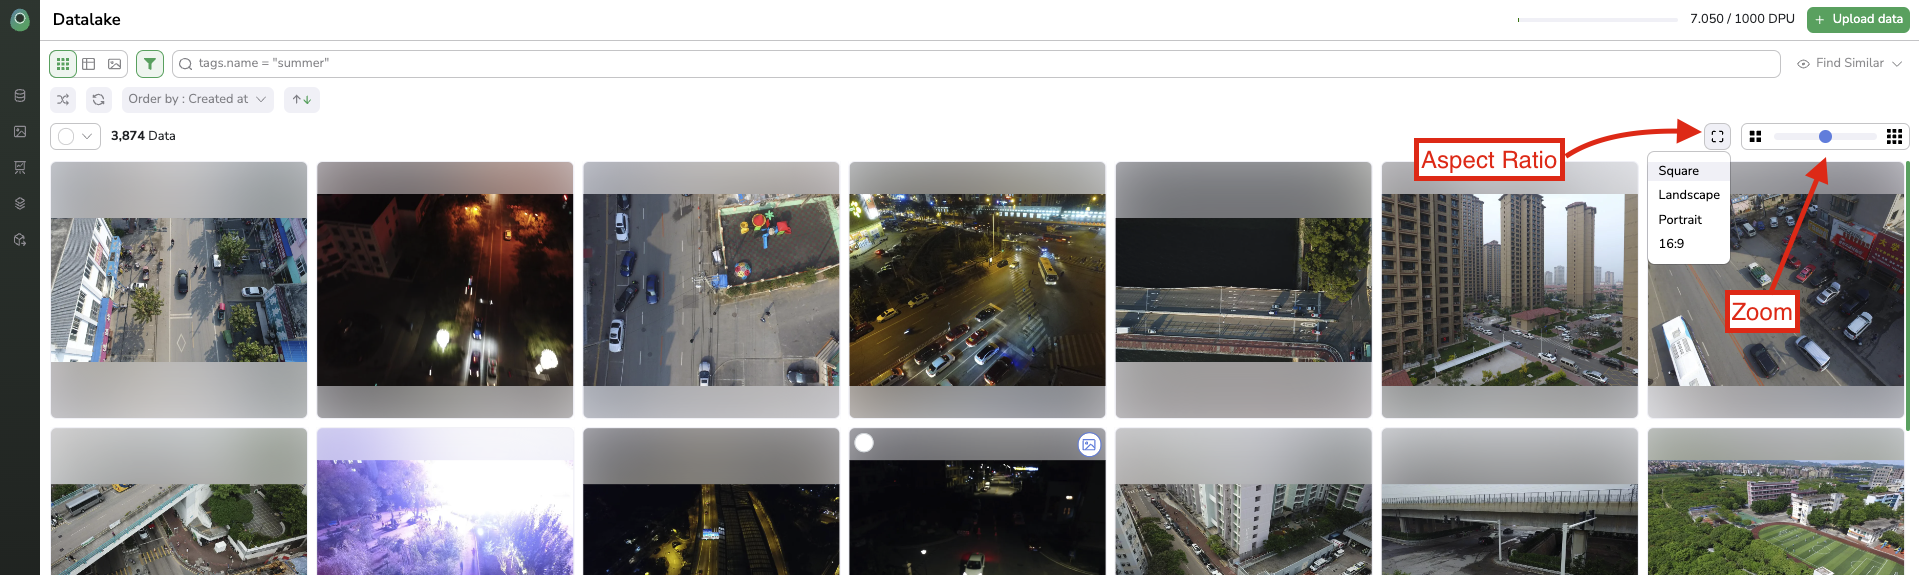
A.Grid View
The Grid View lets you visualize multiple images from the Datalake at once. You can adjust the zoom and change the aspect ratio (Square, Landscape, Portrait, 16:9) to match your images' format.
Grid view
Hovering over any image will display a badge, allowing you to visualize the image in the Details view.
B.Table View
The Table View primarily focuses on displaying all the information associated with each image from the Datalake.
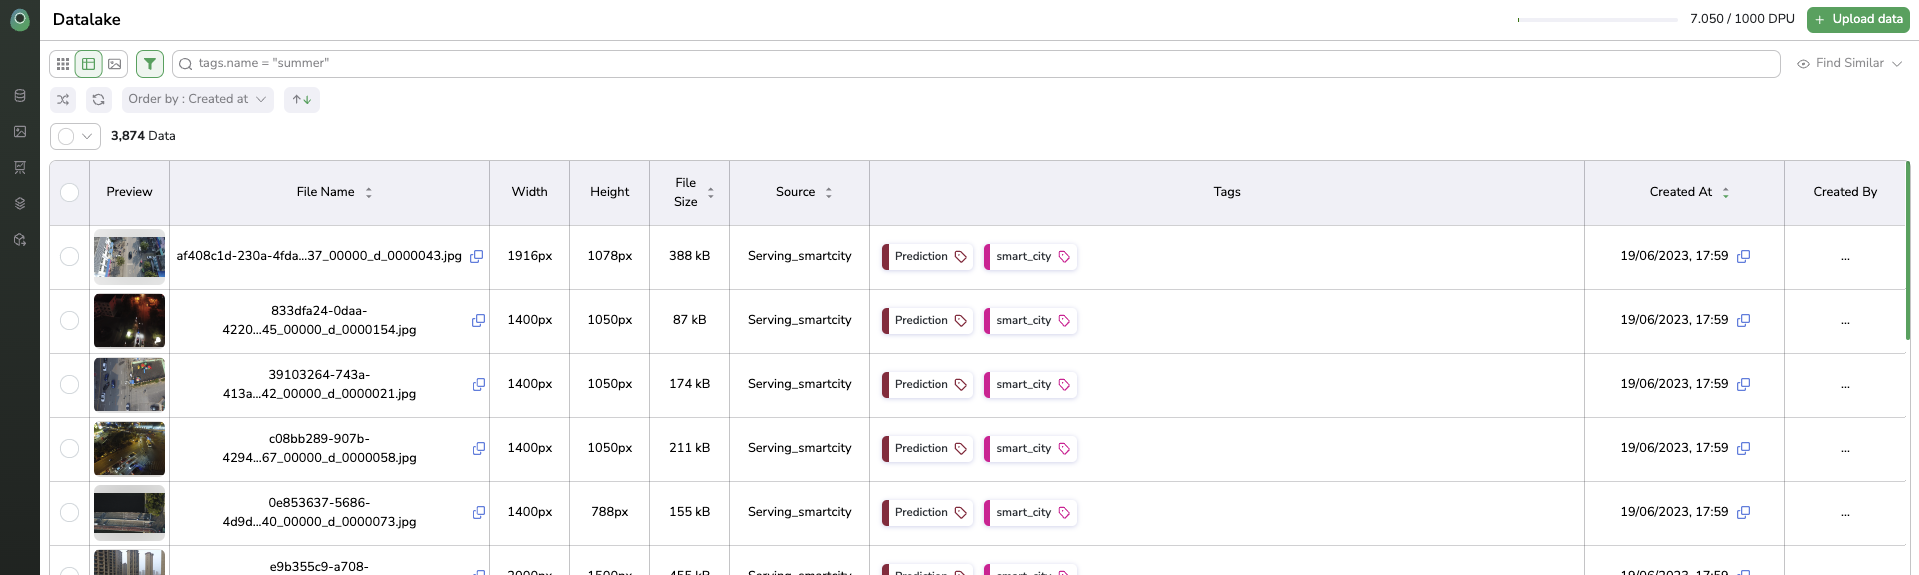
Table view
Clicking on any image's Preview will switch to the Details view of that image.
C.Details View
The Details view aims to show all the elements of a specific image from the Datalake. You can choose the aspect ratio (Square, Landscape, Portrait, 16:9) and zoom in/out on the image.
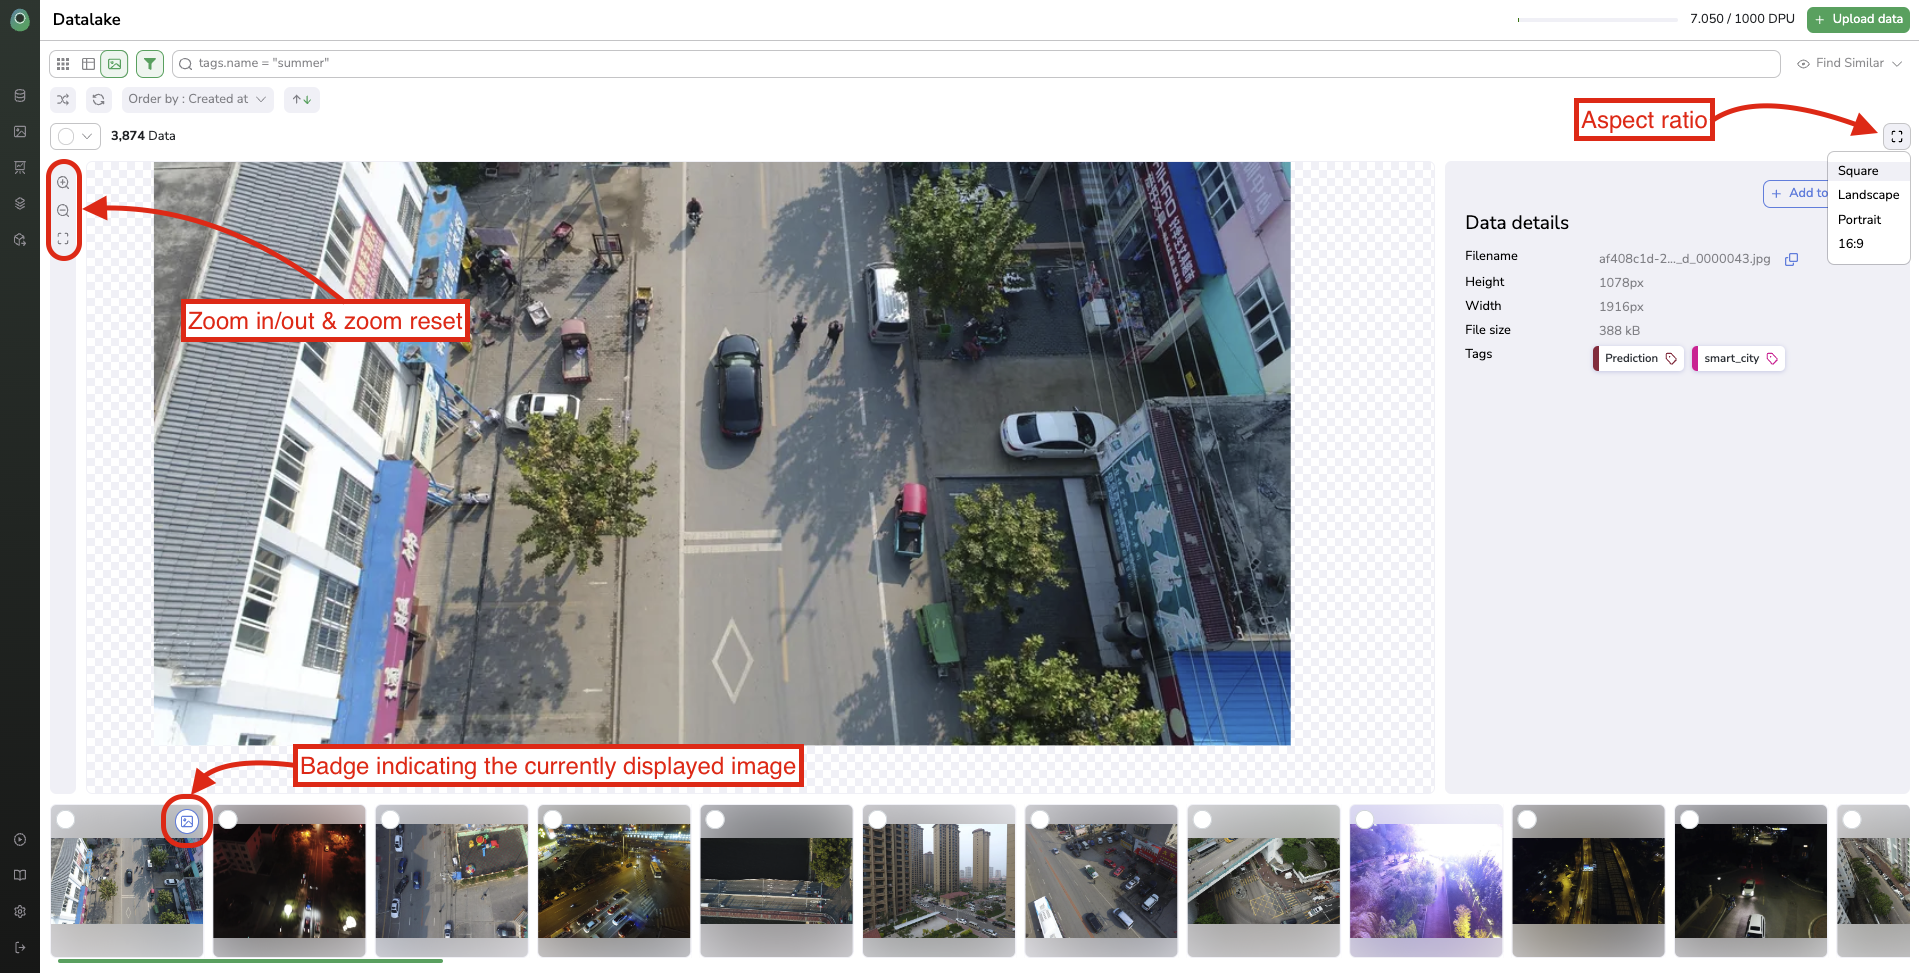
Details view
NavigationLeft/right arrow keys allow smooth navigation between images.
3.Data ordering
Data orderingFrom any Datalake view, you can select the sorting button to access more sorting options.
You can sort the images in the Datalake by:
- Random order
- Creation Date (ascending or descending)
- File Name (ascending or descending)
- File Size (ascending or descending)
- Source (ascending or descending)
4.Data selection
Data selectionTo select images from the Datalake for further actions, you can:
- Manually select by checking the tick box on each image.
- Select all or the first x displayed images from your
Datalake.
The number of selected images against the total number of images currently displayed/filtered in the Datalake will be shown.
Once images are selected, action buttons will appear to attach DataTag or create Dataset.
5.Data deletion
Data deletionTo delete images from your Datalake, select the images to be deleted, then click on More > Delete data.
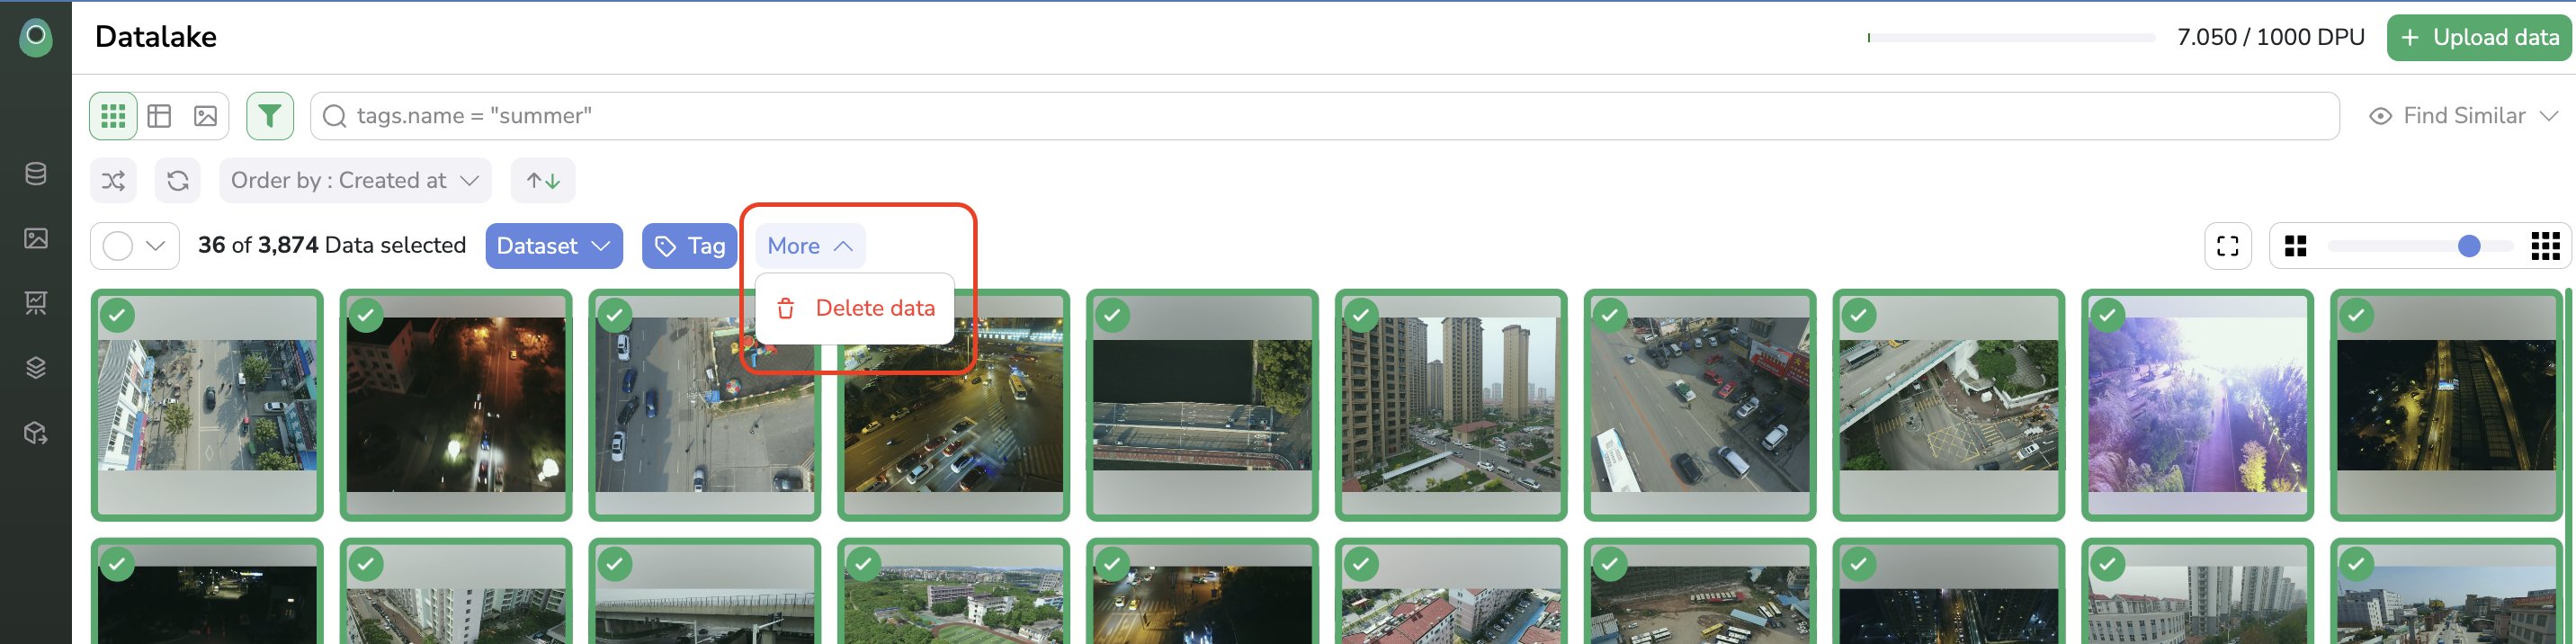
Delete Data from Datalake
Warning: Deleting images from theDatalakeis irreversible.
Updated about 1 year ago