5. Create Annotations
Objectives:
- Import your
Annotation - Use the integrated Annotation tool
- Browse among
Assetor structure them of theDatasetVersion - Download
Asset&Annotation - Orchestrate and Track Annotation Tasks
- Manipulate your
DatasetVersionusingProcessing - Assess the quality of your
DatasetVersion
1. Import your Annotation
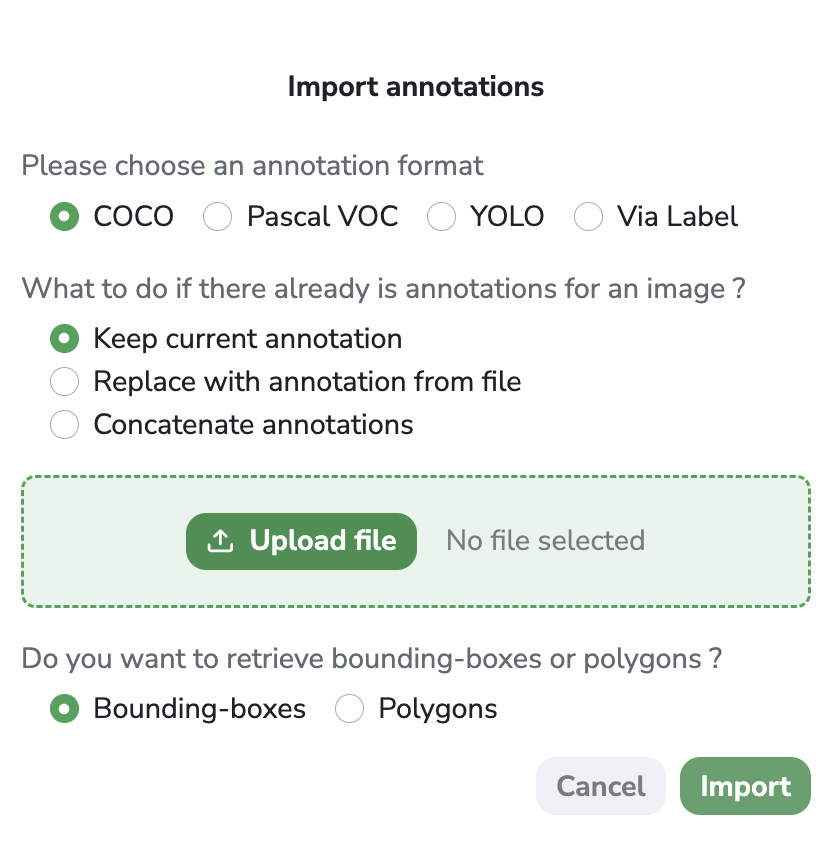
AnnotationIf you have the Annotation already available locally, you can import them directly into yourDatasetVersion, nevertheless, they must be in COCO, YOLO, PascalVOC or ViaLabel format. To do so, press the Annotation button at the top right corner and select Import annotations. Then, follow the modal’s instructions to upload the Annotation file.

The Detection Type, the Label, and the Annotation will automatically be set up during the Annotation import process. This import task is asynchronous, so you can follow its completion in the Jobs view:
To do it with the SDK:
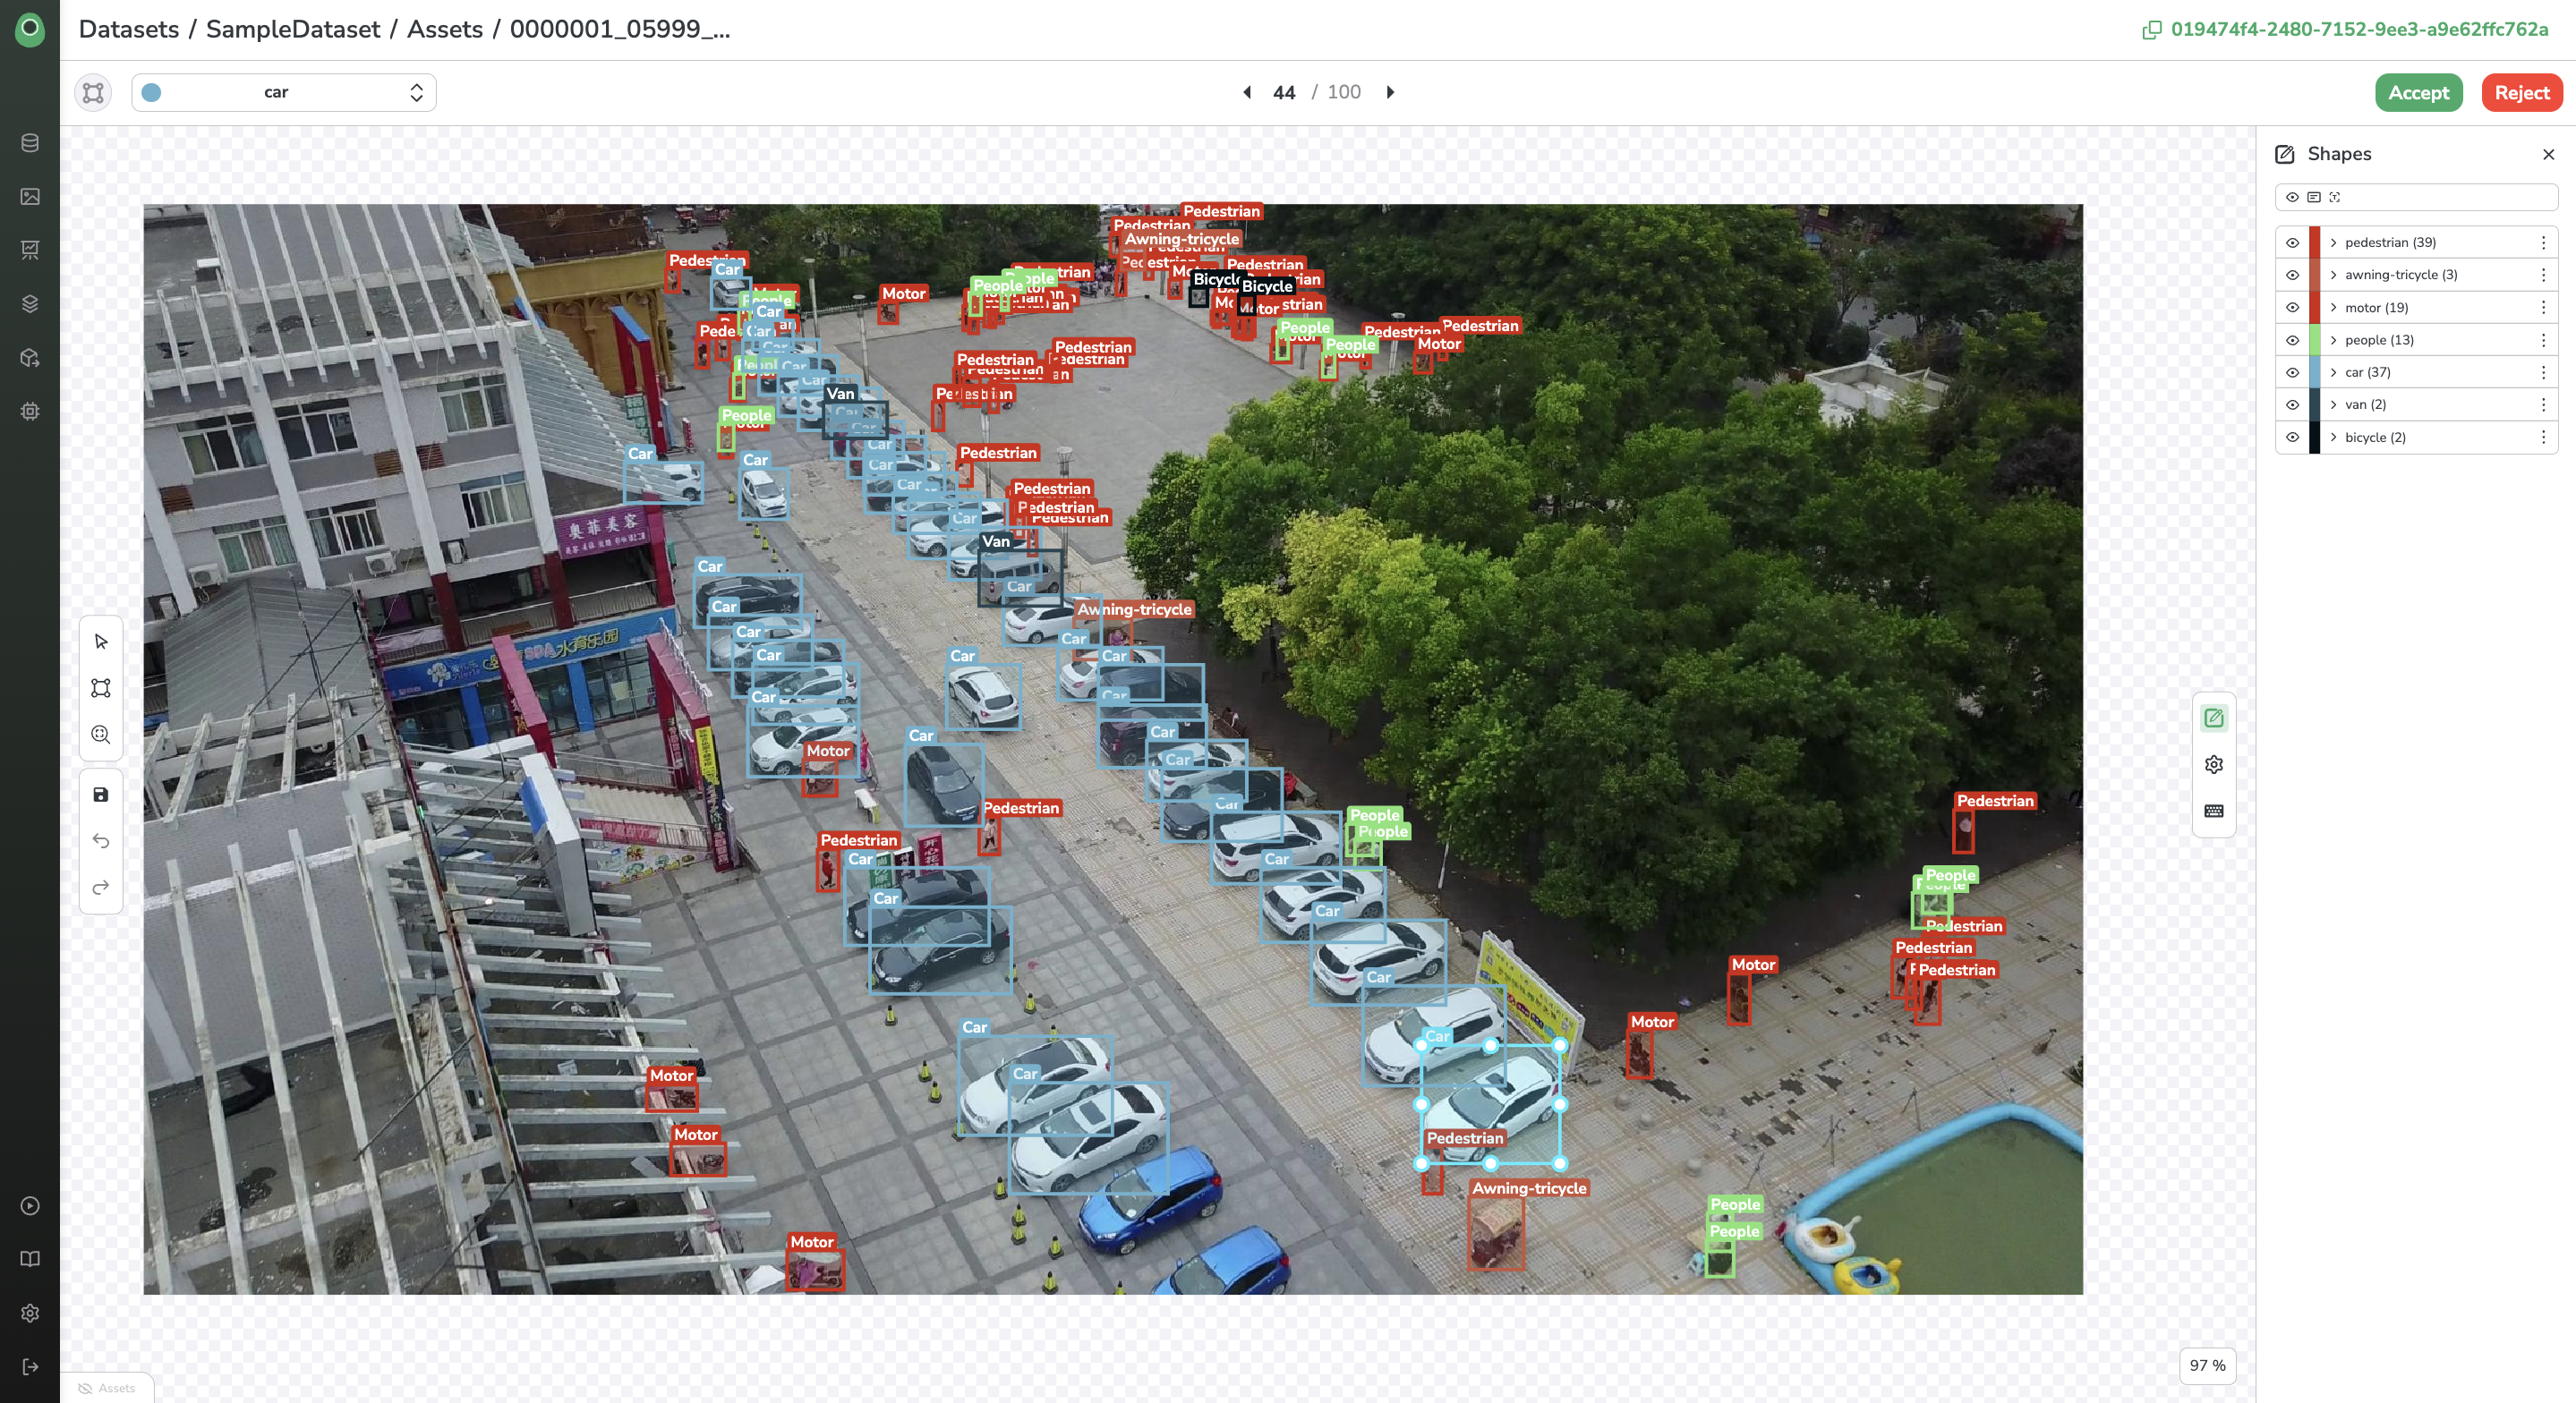
Even with imported Annotation you can still modify it using the PicselliaAnnotation tool. To do it, you should go to any Asset from the DatasetVersion and select the Annotate button. Then the Annotation tool will open and you can remove, add or modify any Annotation from your DatasetVersion, more details about the Annotation import are available here.

2. Use the integrated Annotation tool
If your DatasetVersion needs to be manually annotated, you can use the Annotation tool of Picsellia to annotate your whole DatasetVersion from scratch.
To do it, you need first to go to the Settings part of your DatasetVersion and define in theLabels tab the Detection Type and the associatedLabels (e.g classes).

Once done you can go back to the Assets view and start to annotate the Asset. More details about the Annotation tool are available here.
3. Create Annotation Campaigns
To properly and efficiently handle the annotation process on Picsellia, you can leverage the Annotation Campaigns.
By using the Annotation Campaign features on Picsellia, you will be able to:
- Define your Annotation Workflow
- Assign Annotation Tasks
- Review the Annotation done and raise Issues if something is wrong
- Track the progress of the Annotation Campaign
The extended documentation related to ANnotation Campaigns is available here.
4. Browse among Asset
AssetNow that the DatasetVersion is fully annotated, you can browse among itsAsset thanks to the Search Bar. Do not hesitate to use auto completion to get what are the Asset properties you can filter on.

You can even retrieveDataproperties from theDatasetVersionsearch bar by typing "data."
5. Manipulate your DatasetVersion using Processing
DatasetVersion using ProcessingA Processing is a piece of code (like a Python script) executed on Picsellia infrastructure that can interact with a DatasetVersion related to your Organization.
To explain this, let's start with a use case,let's say you want to perform data augmentation on a Picsellia DatasetVersion.
Normally, the steps to achieve this would be:
- Downloading your images locally
- Running a script with some data-augmentation techniques (like rotating the image for example) on all of your images
- Creating a new
DatasetVersionyou are using - Uploading the augmented images to this new
DatasetVersion
We know it can feel a little bit overwhelming. Although running a script can be considered an automatic task, this process is fully manual. In addition, you must be using a computer that is able to run the code (it has to be in the correct environment, etc...)
This is why we came up with Processing, to let you automate this process and launch it whenever you want, on the data you want, directly from the platform!
A Processing can be run on a DatasetVersion, so you can perform tasks like:
- Pre-annotation with a ModelVersion
- Data Augmentation
- Smart Version Creations
- Or anything you can think of regarding your data!
The extended documentation related to Processing is available here.
6. Ensure DatasetVersion quality
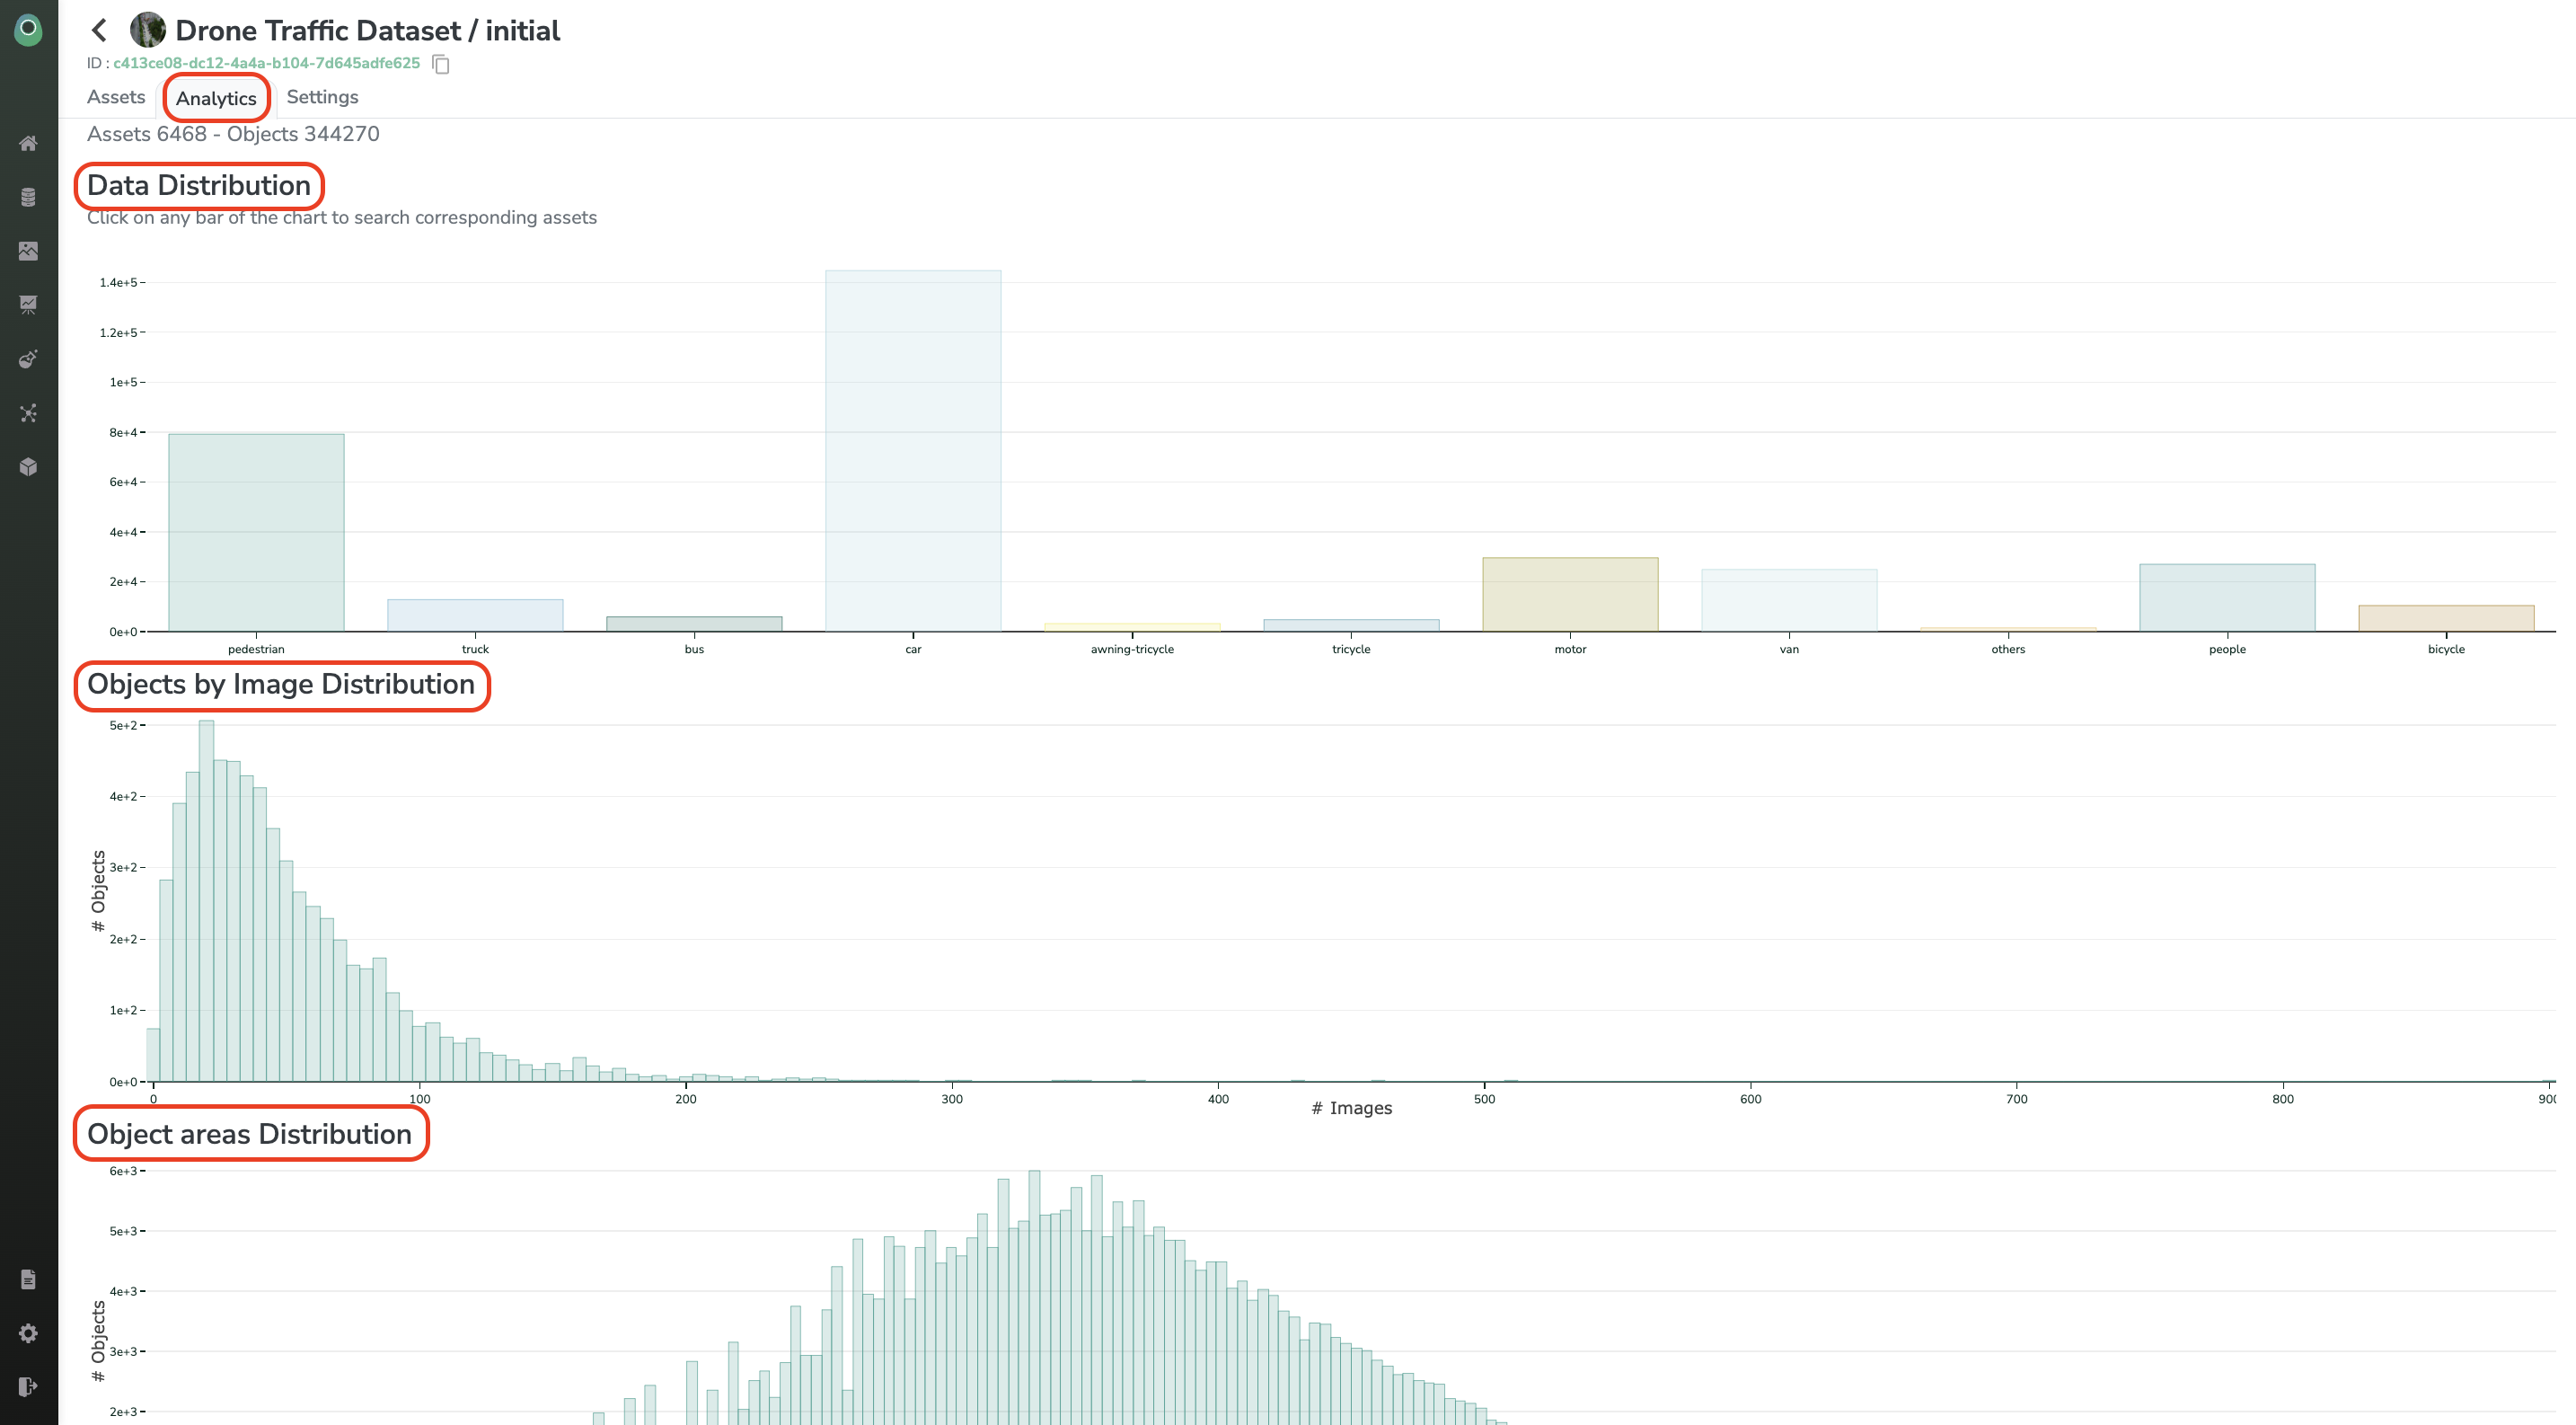
DatasetVersion qualityOnce the DatasetVersion is fully annotated, you can leverage themetrics tab to ensure your DatasetVersion is fitting your needs. As DatasetVersion quality is key to ensuring Model performances, those metrics should be used to assess DatasetVersion quality, diversity, and balancing:

Updated 8 months ago