3. Configure your new Datalake
1. Storage Connector
Let's reach the Organization Settings and the Storages and Datalakes tab. From this view, you can manage the Datalake and the access to Object Storages among your Organization:
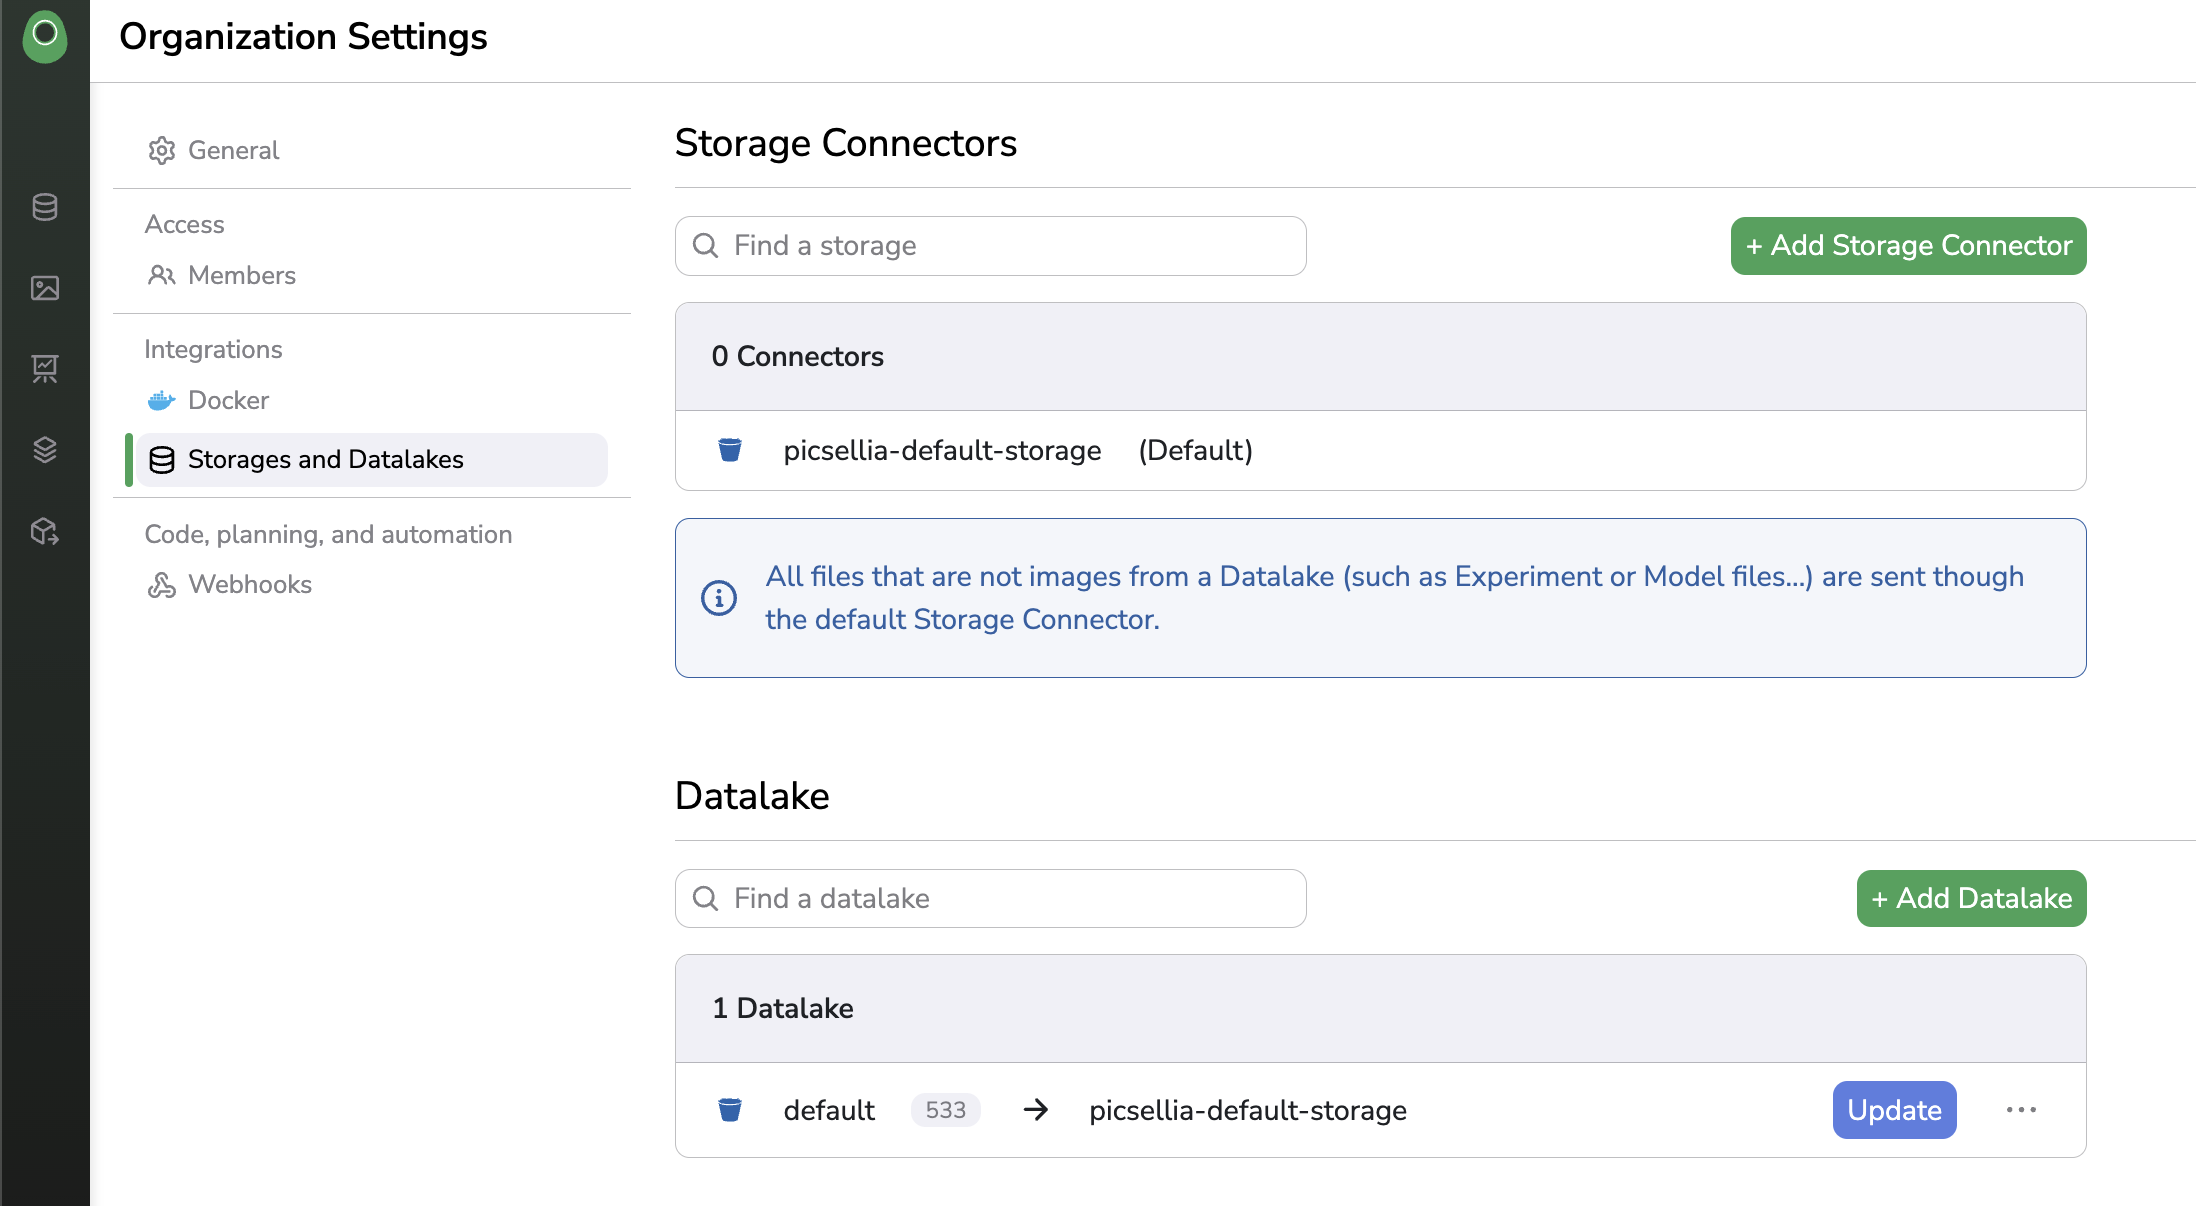
Storages and Datalakes view
As explained previously, there is initially only the default Storage Connector allowing the default Datalake to read/write Data on the bucket dedicated to the Organization the Picsellia Object Storage.
Now, let's create a new Storage Connector for your own bucket. To do it, you can click on Add Storage Connector.
A form will open in which you can give a name to your Storage Connector and select the Cloud Provider hosting your Object Storage.
Note: The Storage Connector name must be the same as your bucket name in your Cloud Provider.
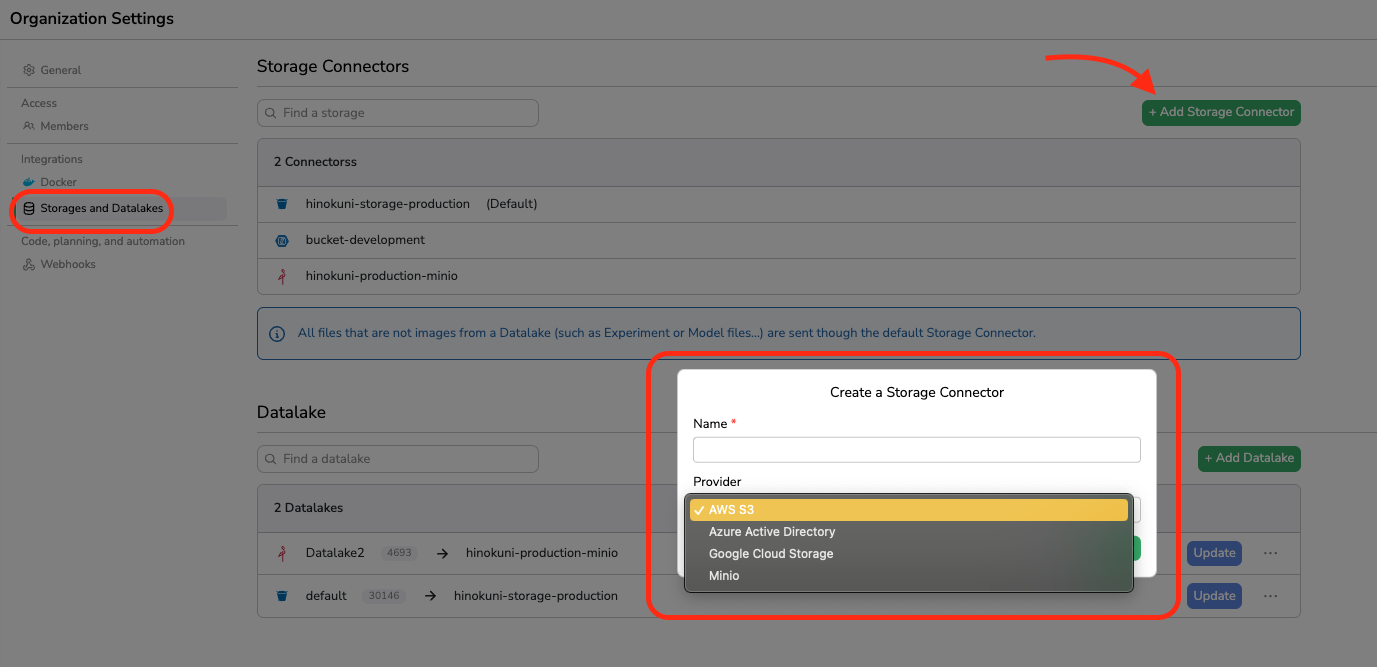
Depending on the selected Cloud Provider, you must fill out different fields in this model. Basically, the fields you need to fill are related to the credentials you get from your cloud provider when creating the dedicated access for Picsellia.
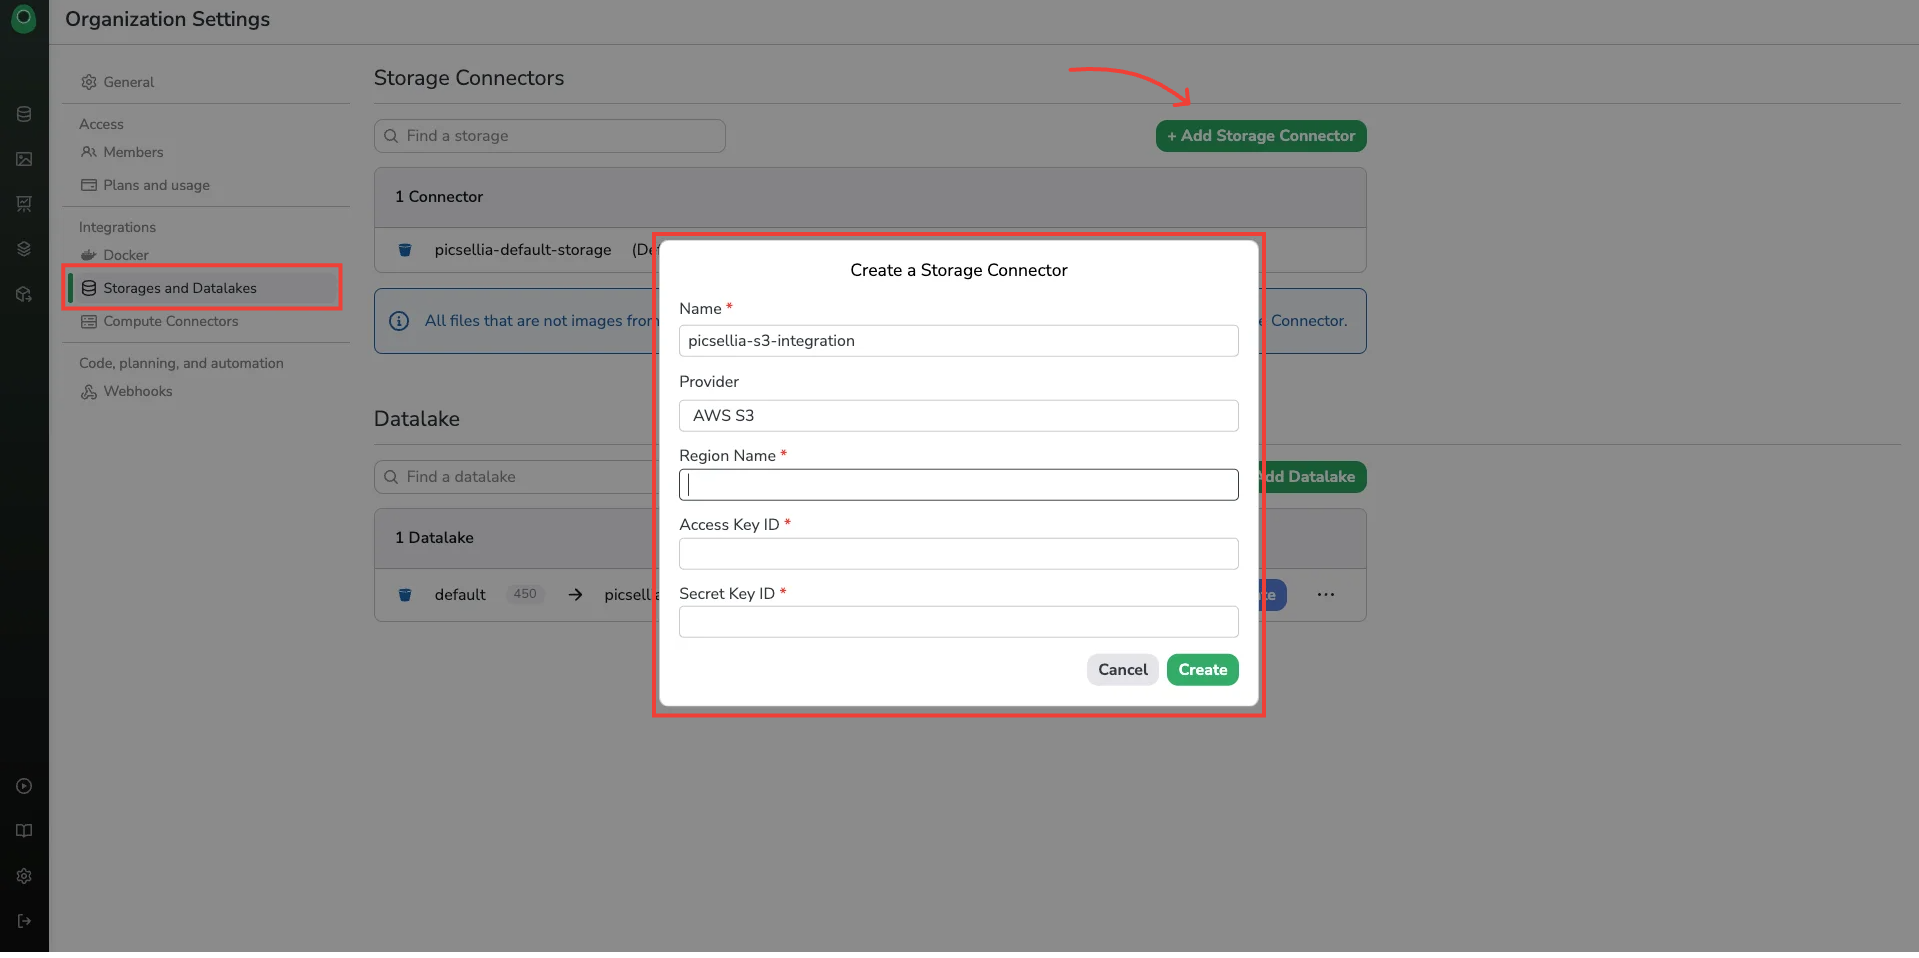
For instance, here is the form to fill out if your bucket is hosted on AWS S3.
After having clicked on "Create", a new Storage Connector will be created, as you can see below:
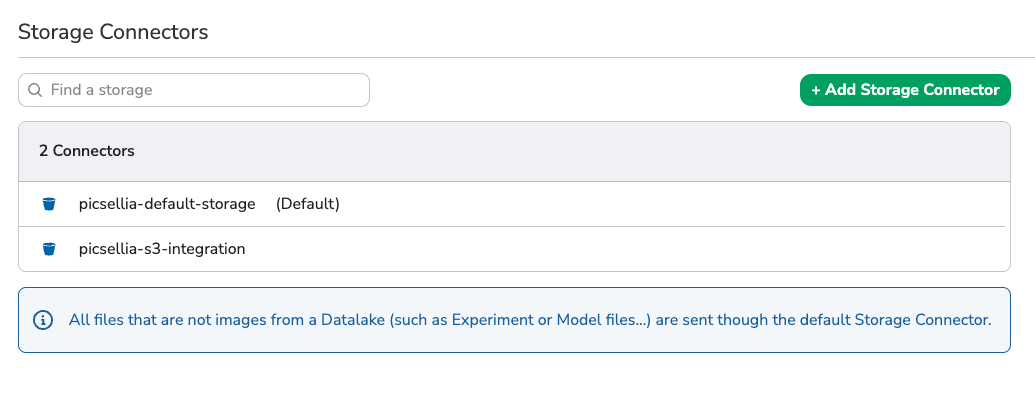
List of Storage Connectors available for an Organization
In our case, a brand-new Storage Connector has been added to the list. The icon indicates that this one is an AWS bucket connector.
Please note that each Organization has a Default Connector. This means that all the files that are not images will be stored through this Storage Connector. For instance, the Model files, Experiment Artifacts, Monitoring Heatmaps etc.. will be stored by Picsellia through your Default Connector.
The connection between your Picsellia Organization and the bucket hosted by your Cloud provider has now been properly and securely established.
2. Create a new Datalake
It is now time to create a new Picsellia Datalake that will use the Storage Connector freshly created to read and write Data on your bucket.
To do so, you just need to go to the Datalake section and click on + Add Datalake.
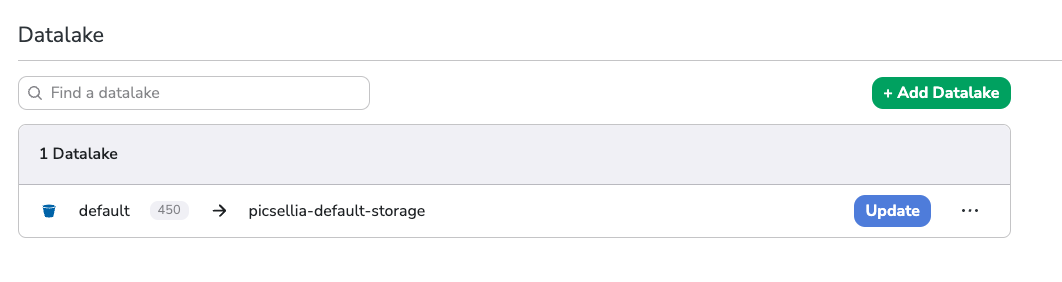
Datalake section
defaultDatalakeAs you can see, initially the only existing
Datalakeis the one called default and connected to the bucket created for you on the Picsellia Object Storage.
To create a new Datalake, you simply need to give it a name and choose the proper Storage Connector to use in order to read and write on your own bucket.
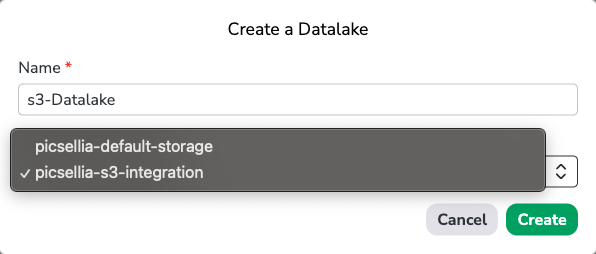
New Datalake creation form
By clicking on Create a brand-new Datalake will be created for your Organization. You will be able to visualize it in the Datalake list, which displays its name, the associated Storage Connect and the number of Data in a Datalake.
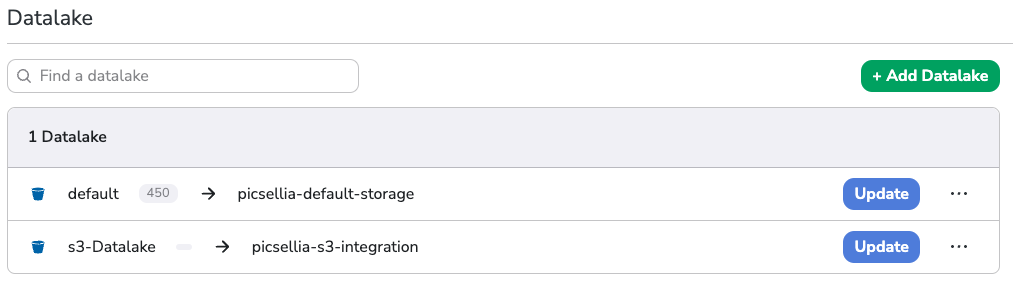
Datalake list
At any moment, you can rename the Datalake and change the Storage Connector used by clicking on Update.
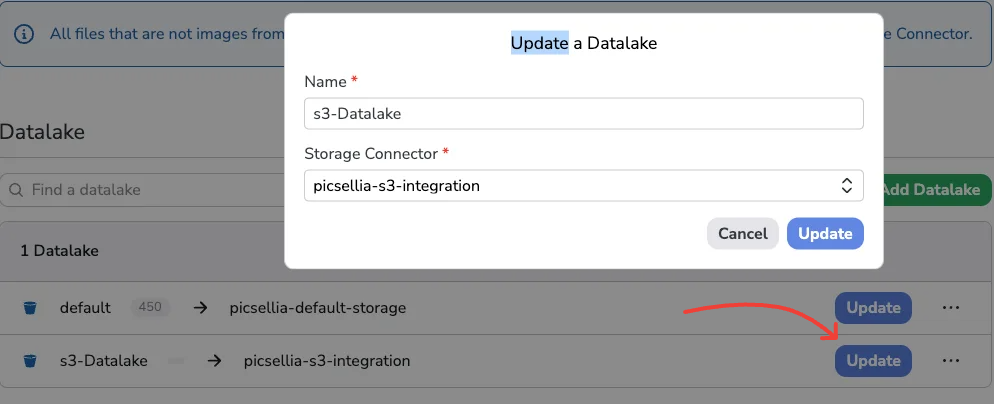
Datalake update
You can also simply delete it, as shown below:
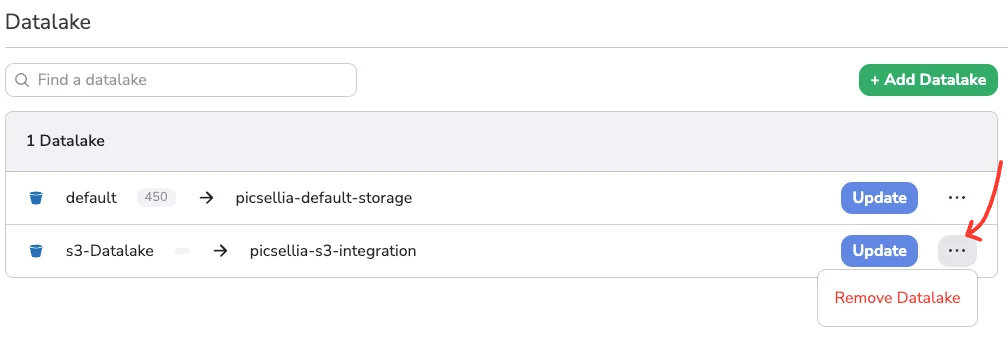
Datalake deletion
Once properly created, you can access your new Datalake using the Navigation bar

Access a new Datalake
You can switch easily from one Datalake to another, as shown below. The new Datatake is obviously empty for the moment.
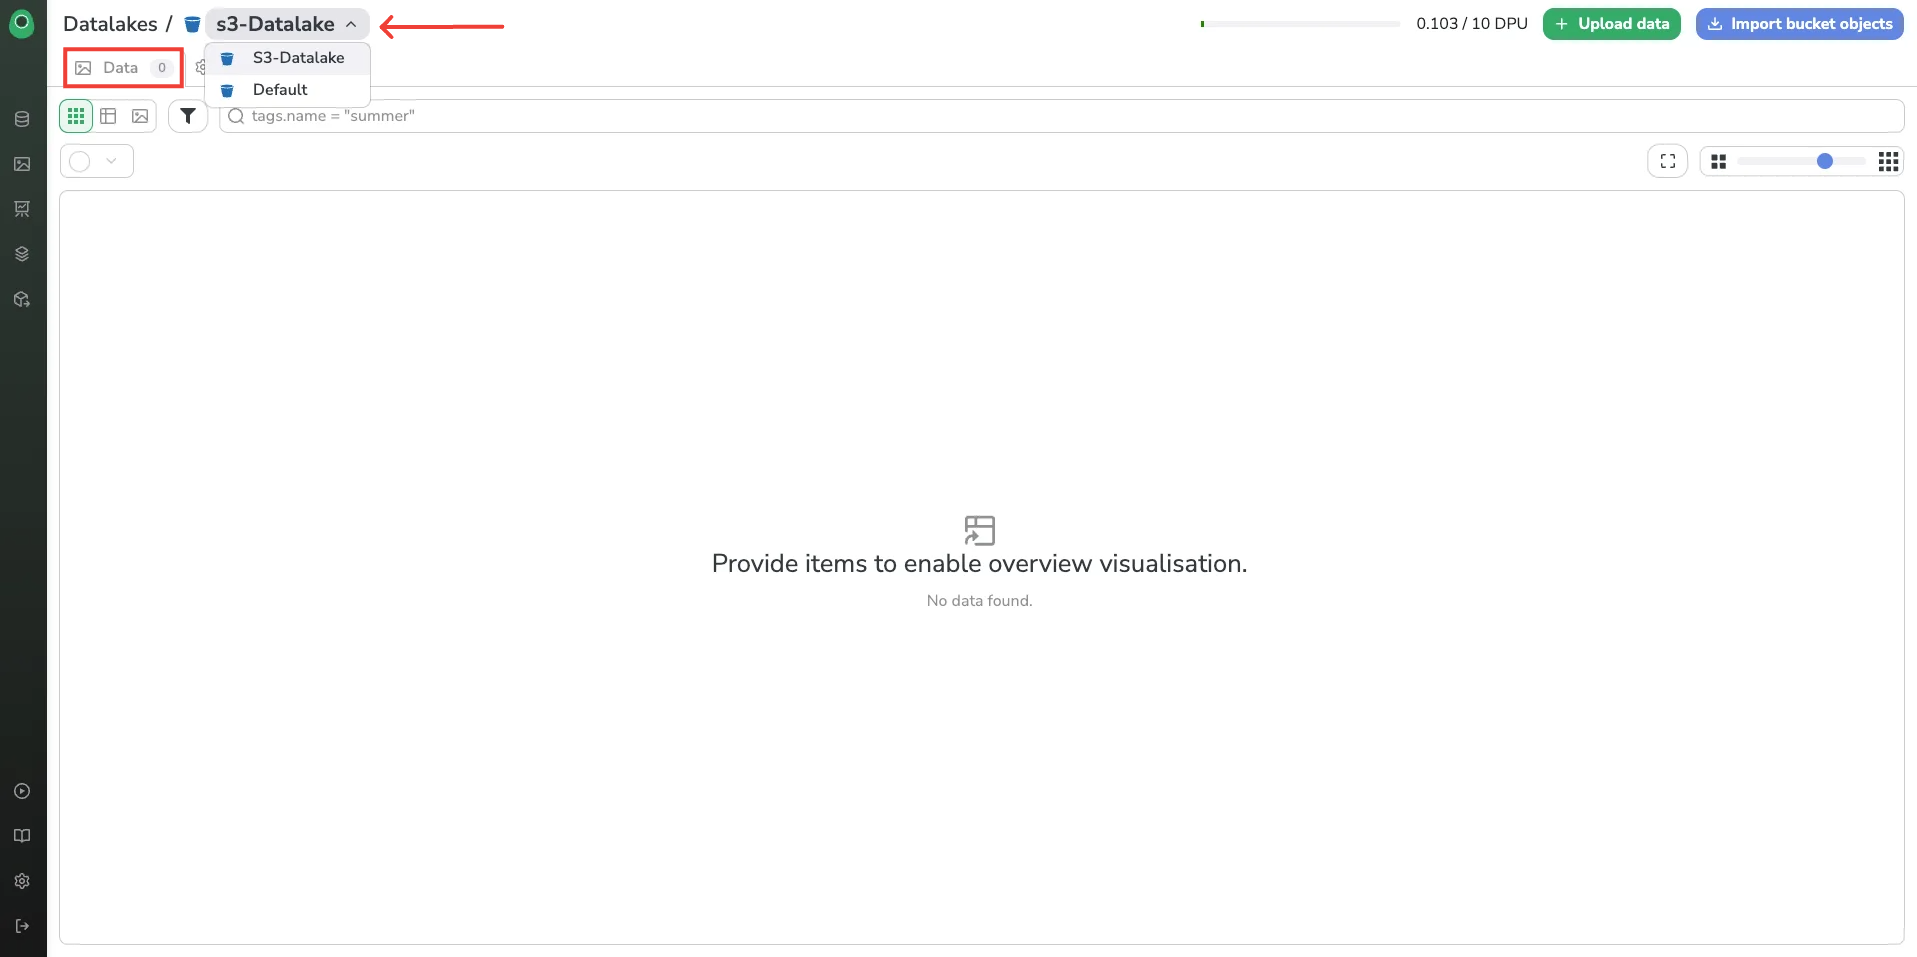
Datalake view
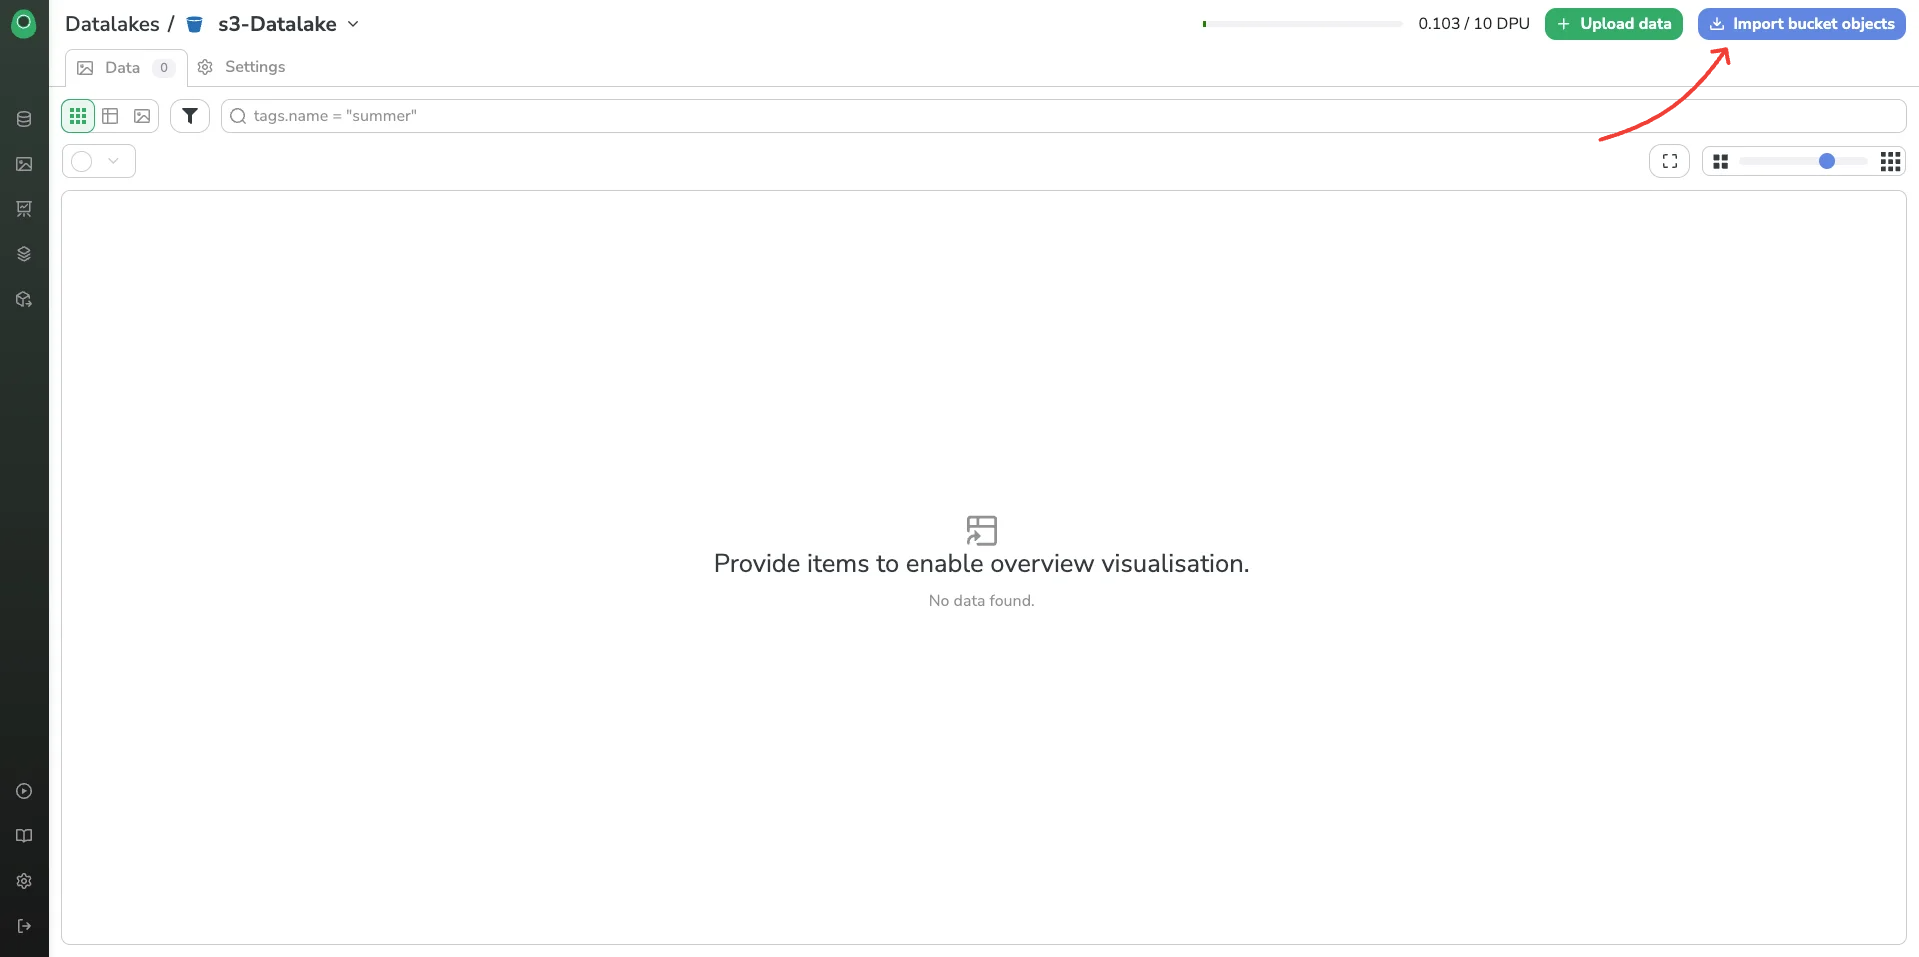
The integration between your bucket and your Picsellia Organization is now over.
Then click the import button to import your images from your store in your Cloud Provider storage to Picsellia's Datalake.
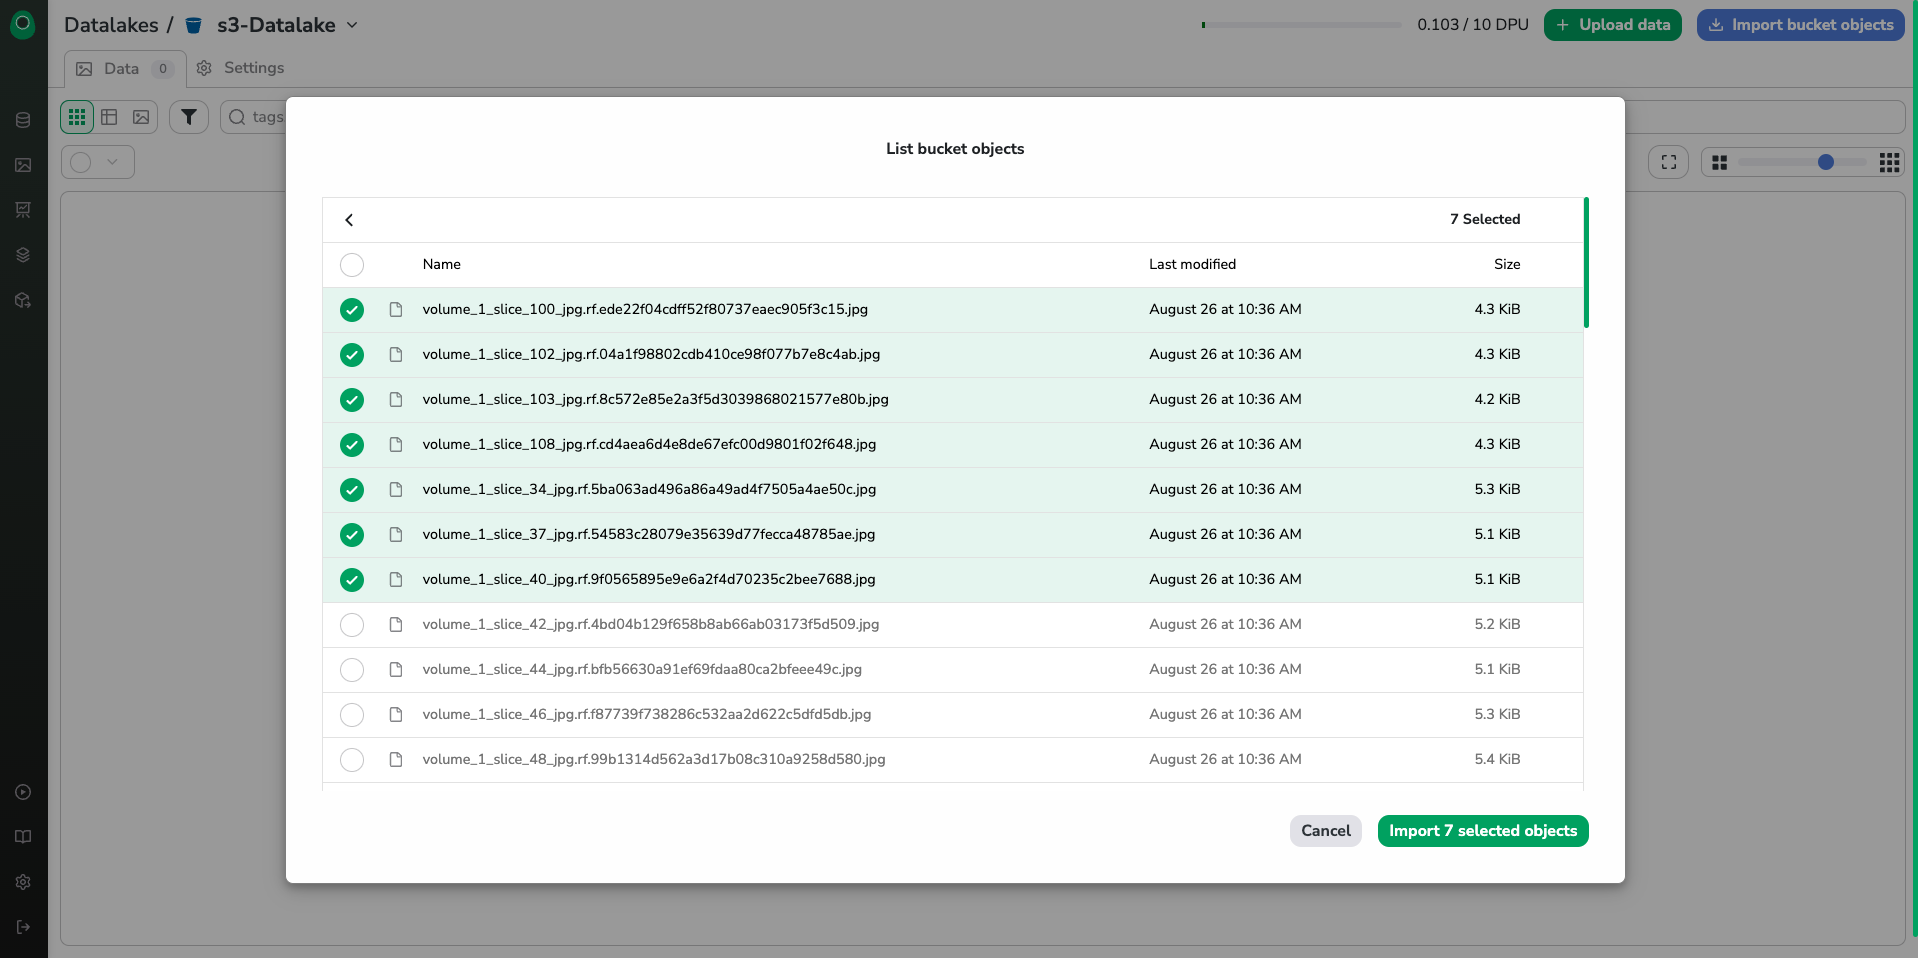
A pop-up 'List bucket objects' box will appear with the list of all the images in your buckets. Then, you can select the images you want and click the import button.
Updated about 1 year ago