1.2. GCS - Create access credentials
Configure access credentials for Google Cloud Storage (GCS).
Credentials are used to obtain an access token from Google's authorization servers so our app can call Google Workspace APIs. This guide describes how to choose and set up the credentials we need.
There are two guides available to help you create access credentials for our platform:
-
Our Step-by-Step Tutorial: This guide is designed specifically for users of our platform. It offers a user-friendly experience with plenty of screenshots to guide you through. However, do note that while we strive to keep it updated, there might be occasional differences from the current GCS interface.
-
Official Google Guide: This is provided by Google and is always up-to-date with the latest interface and features of GCS.
If you've already followed Google's documentation or have your credentials ready, you can skip ahead to Step 4.
Choose the guide that you're most comfortable with, and don't hesitate to reach out if you have any questions!
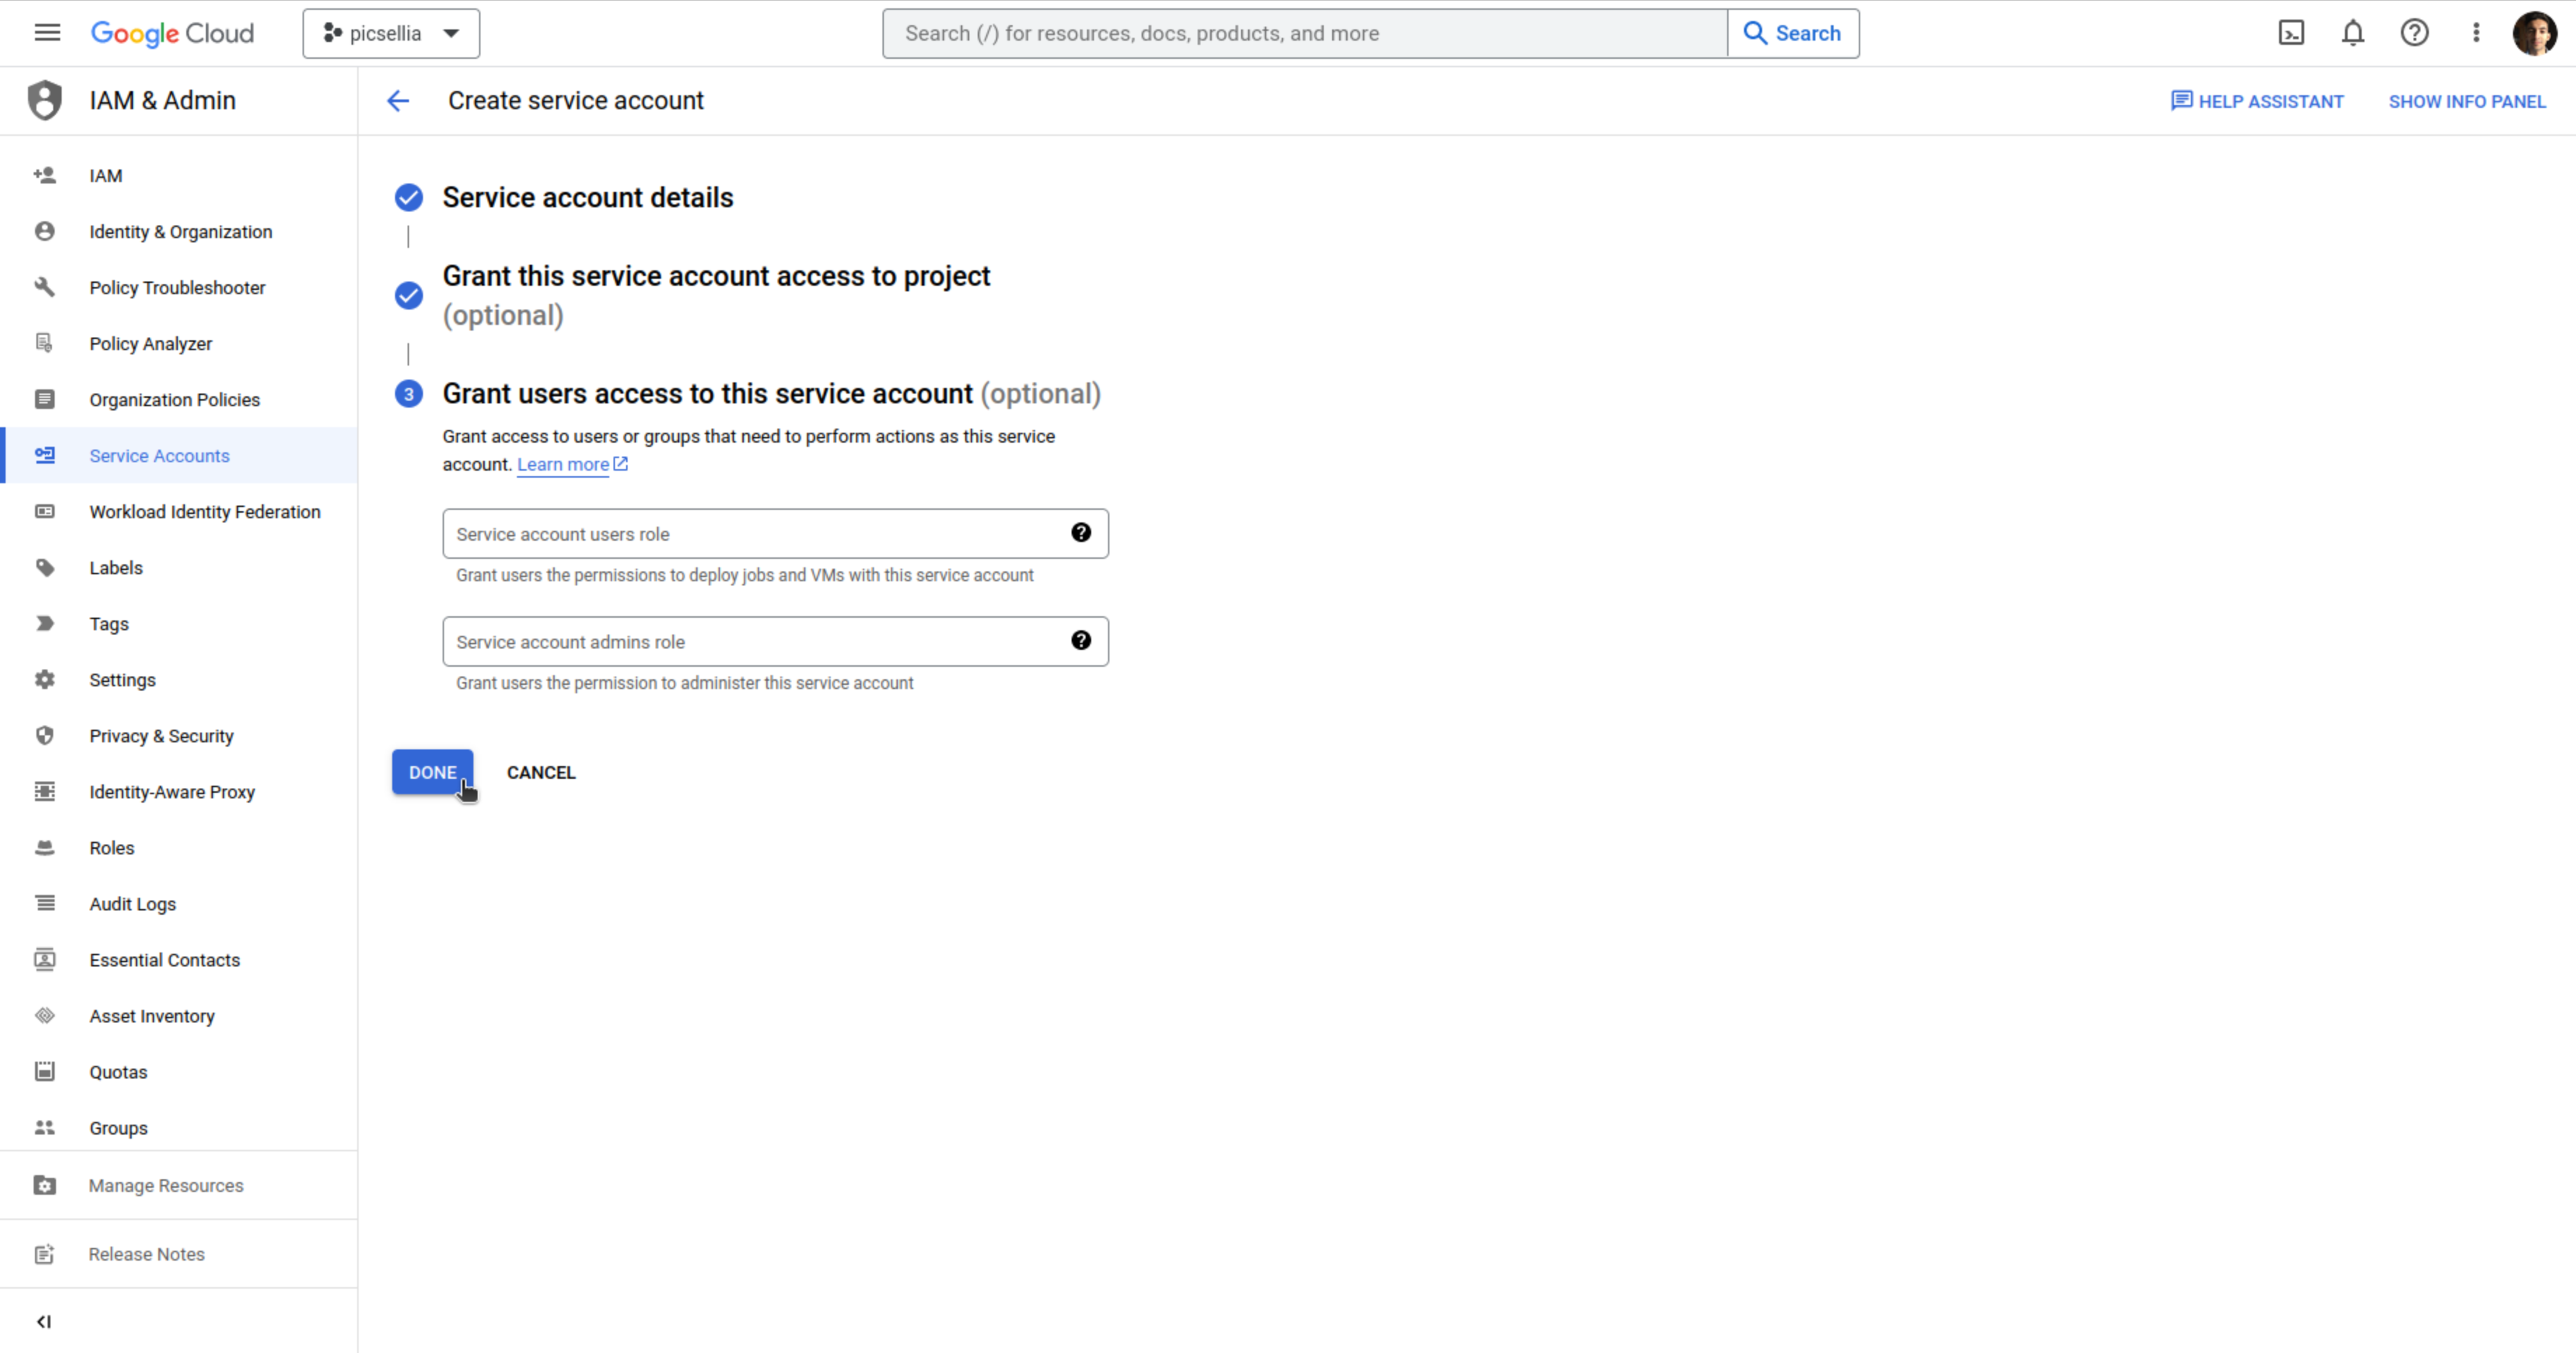
1. Create a service account
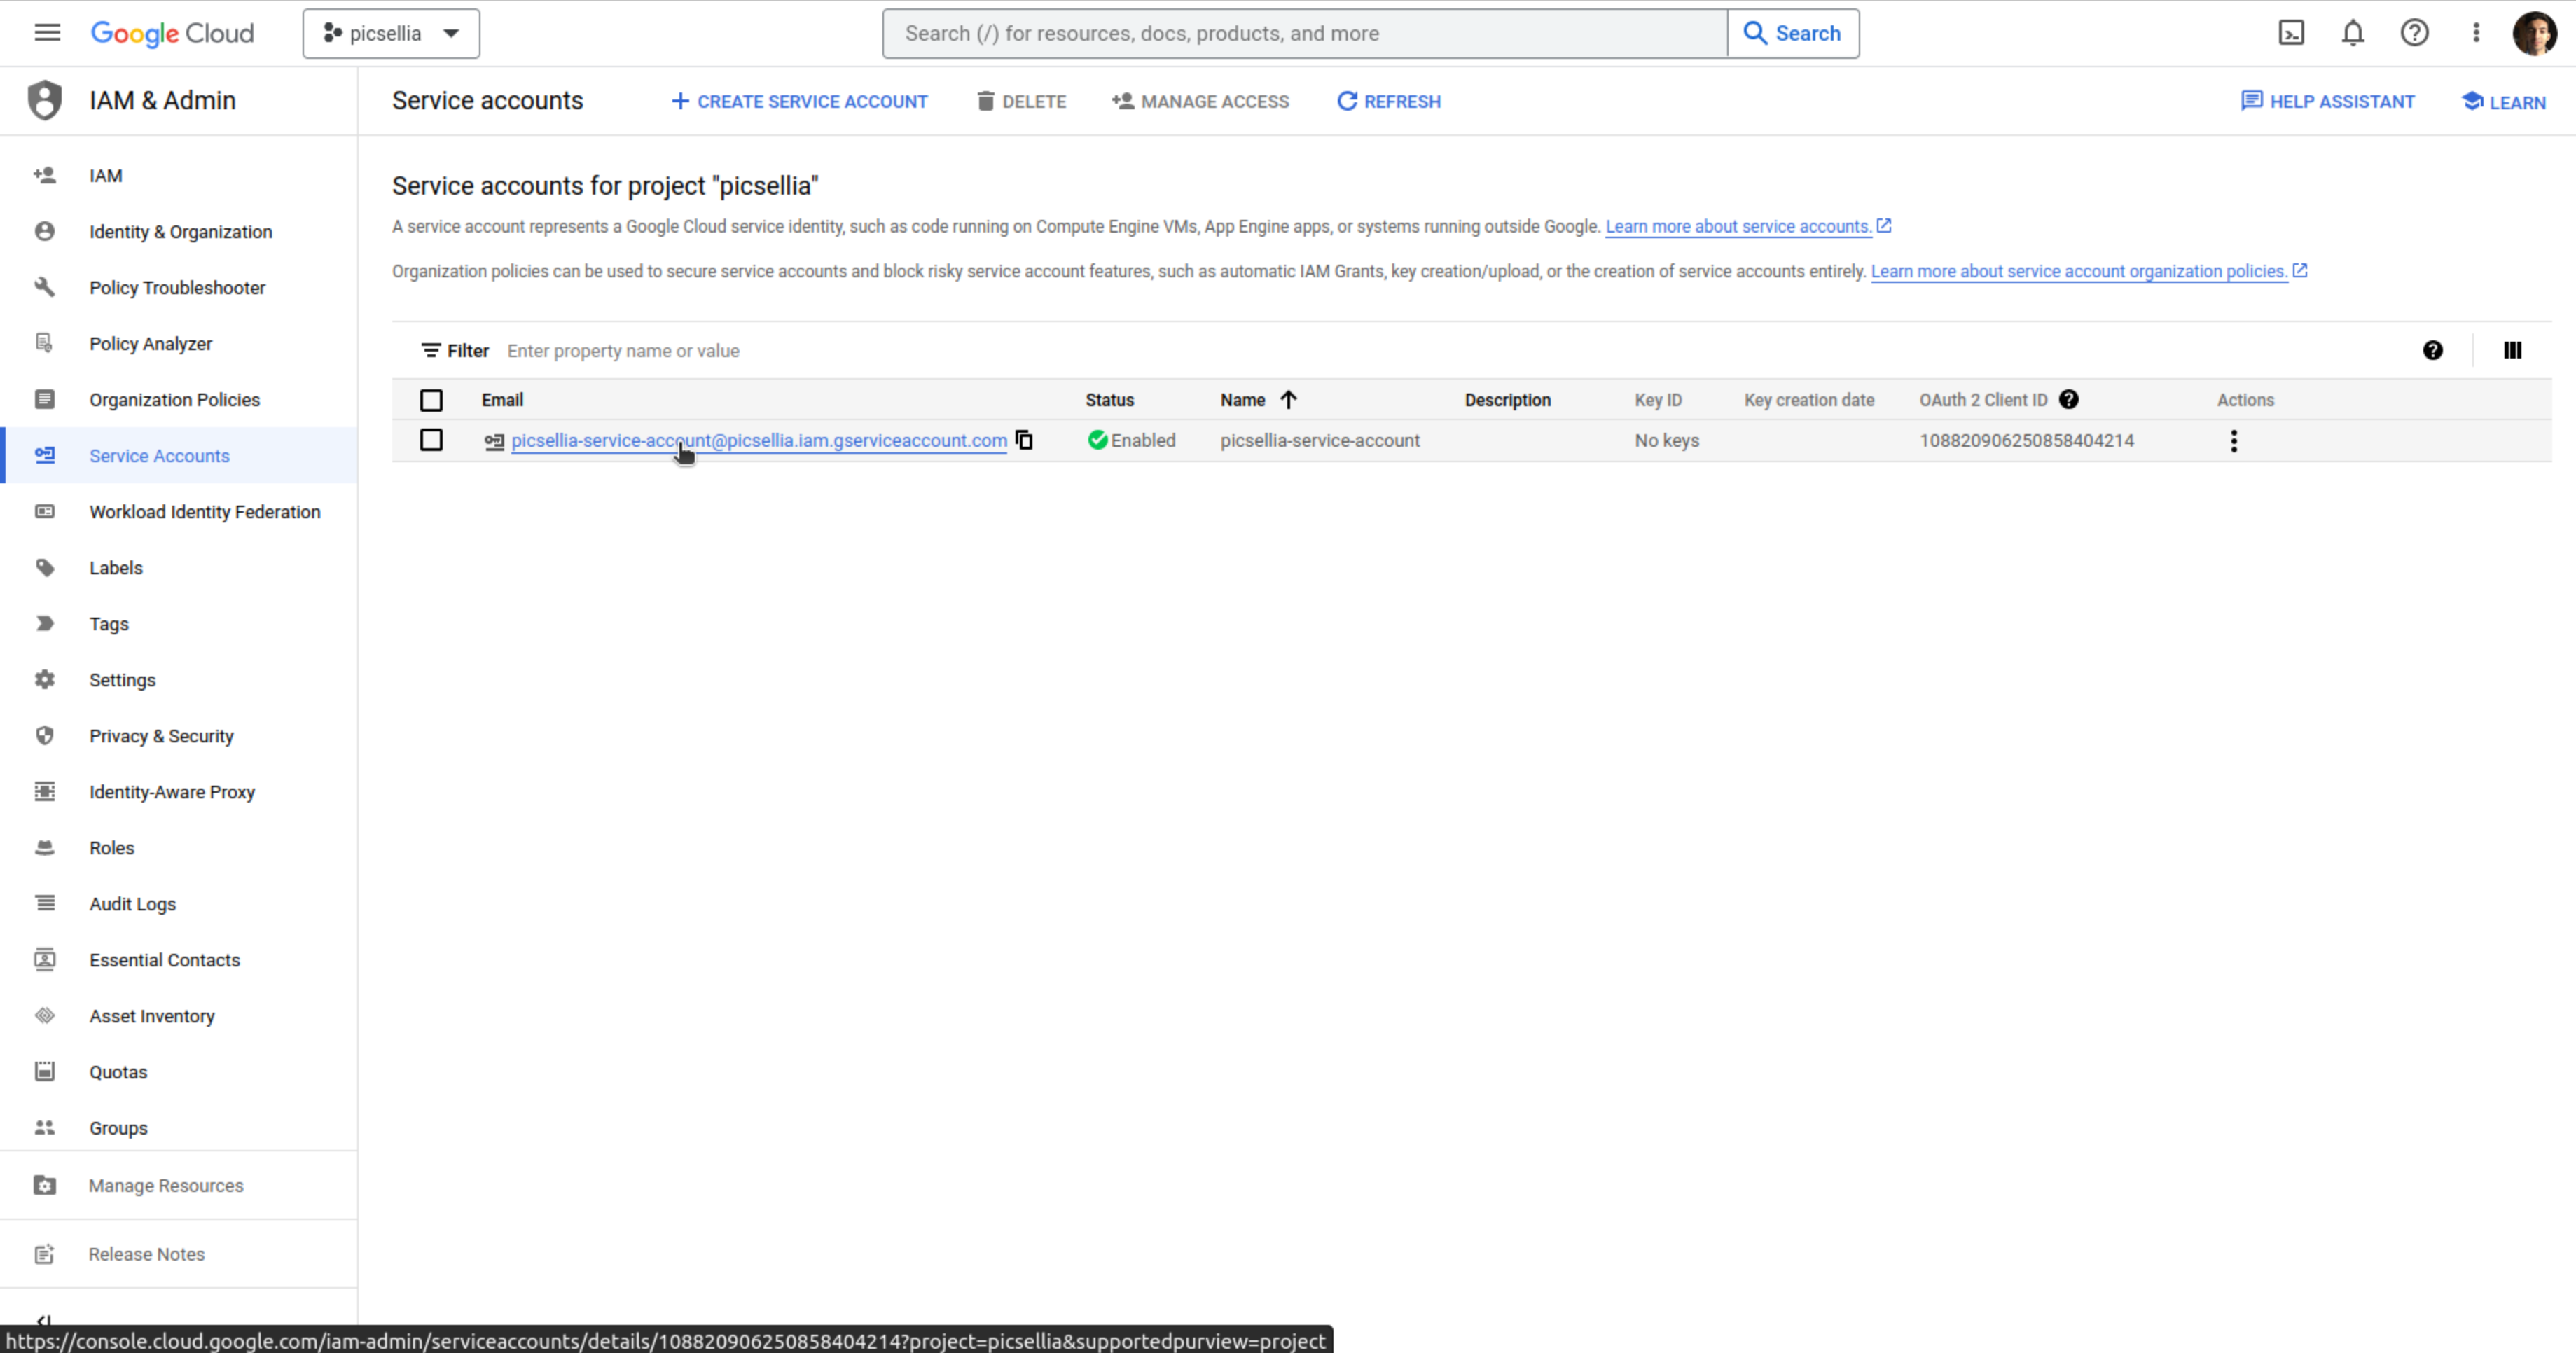
- In the Google Cloud console, go to Menu > IAM & Admin > Service Accounts.
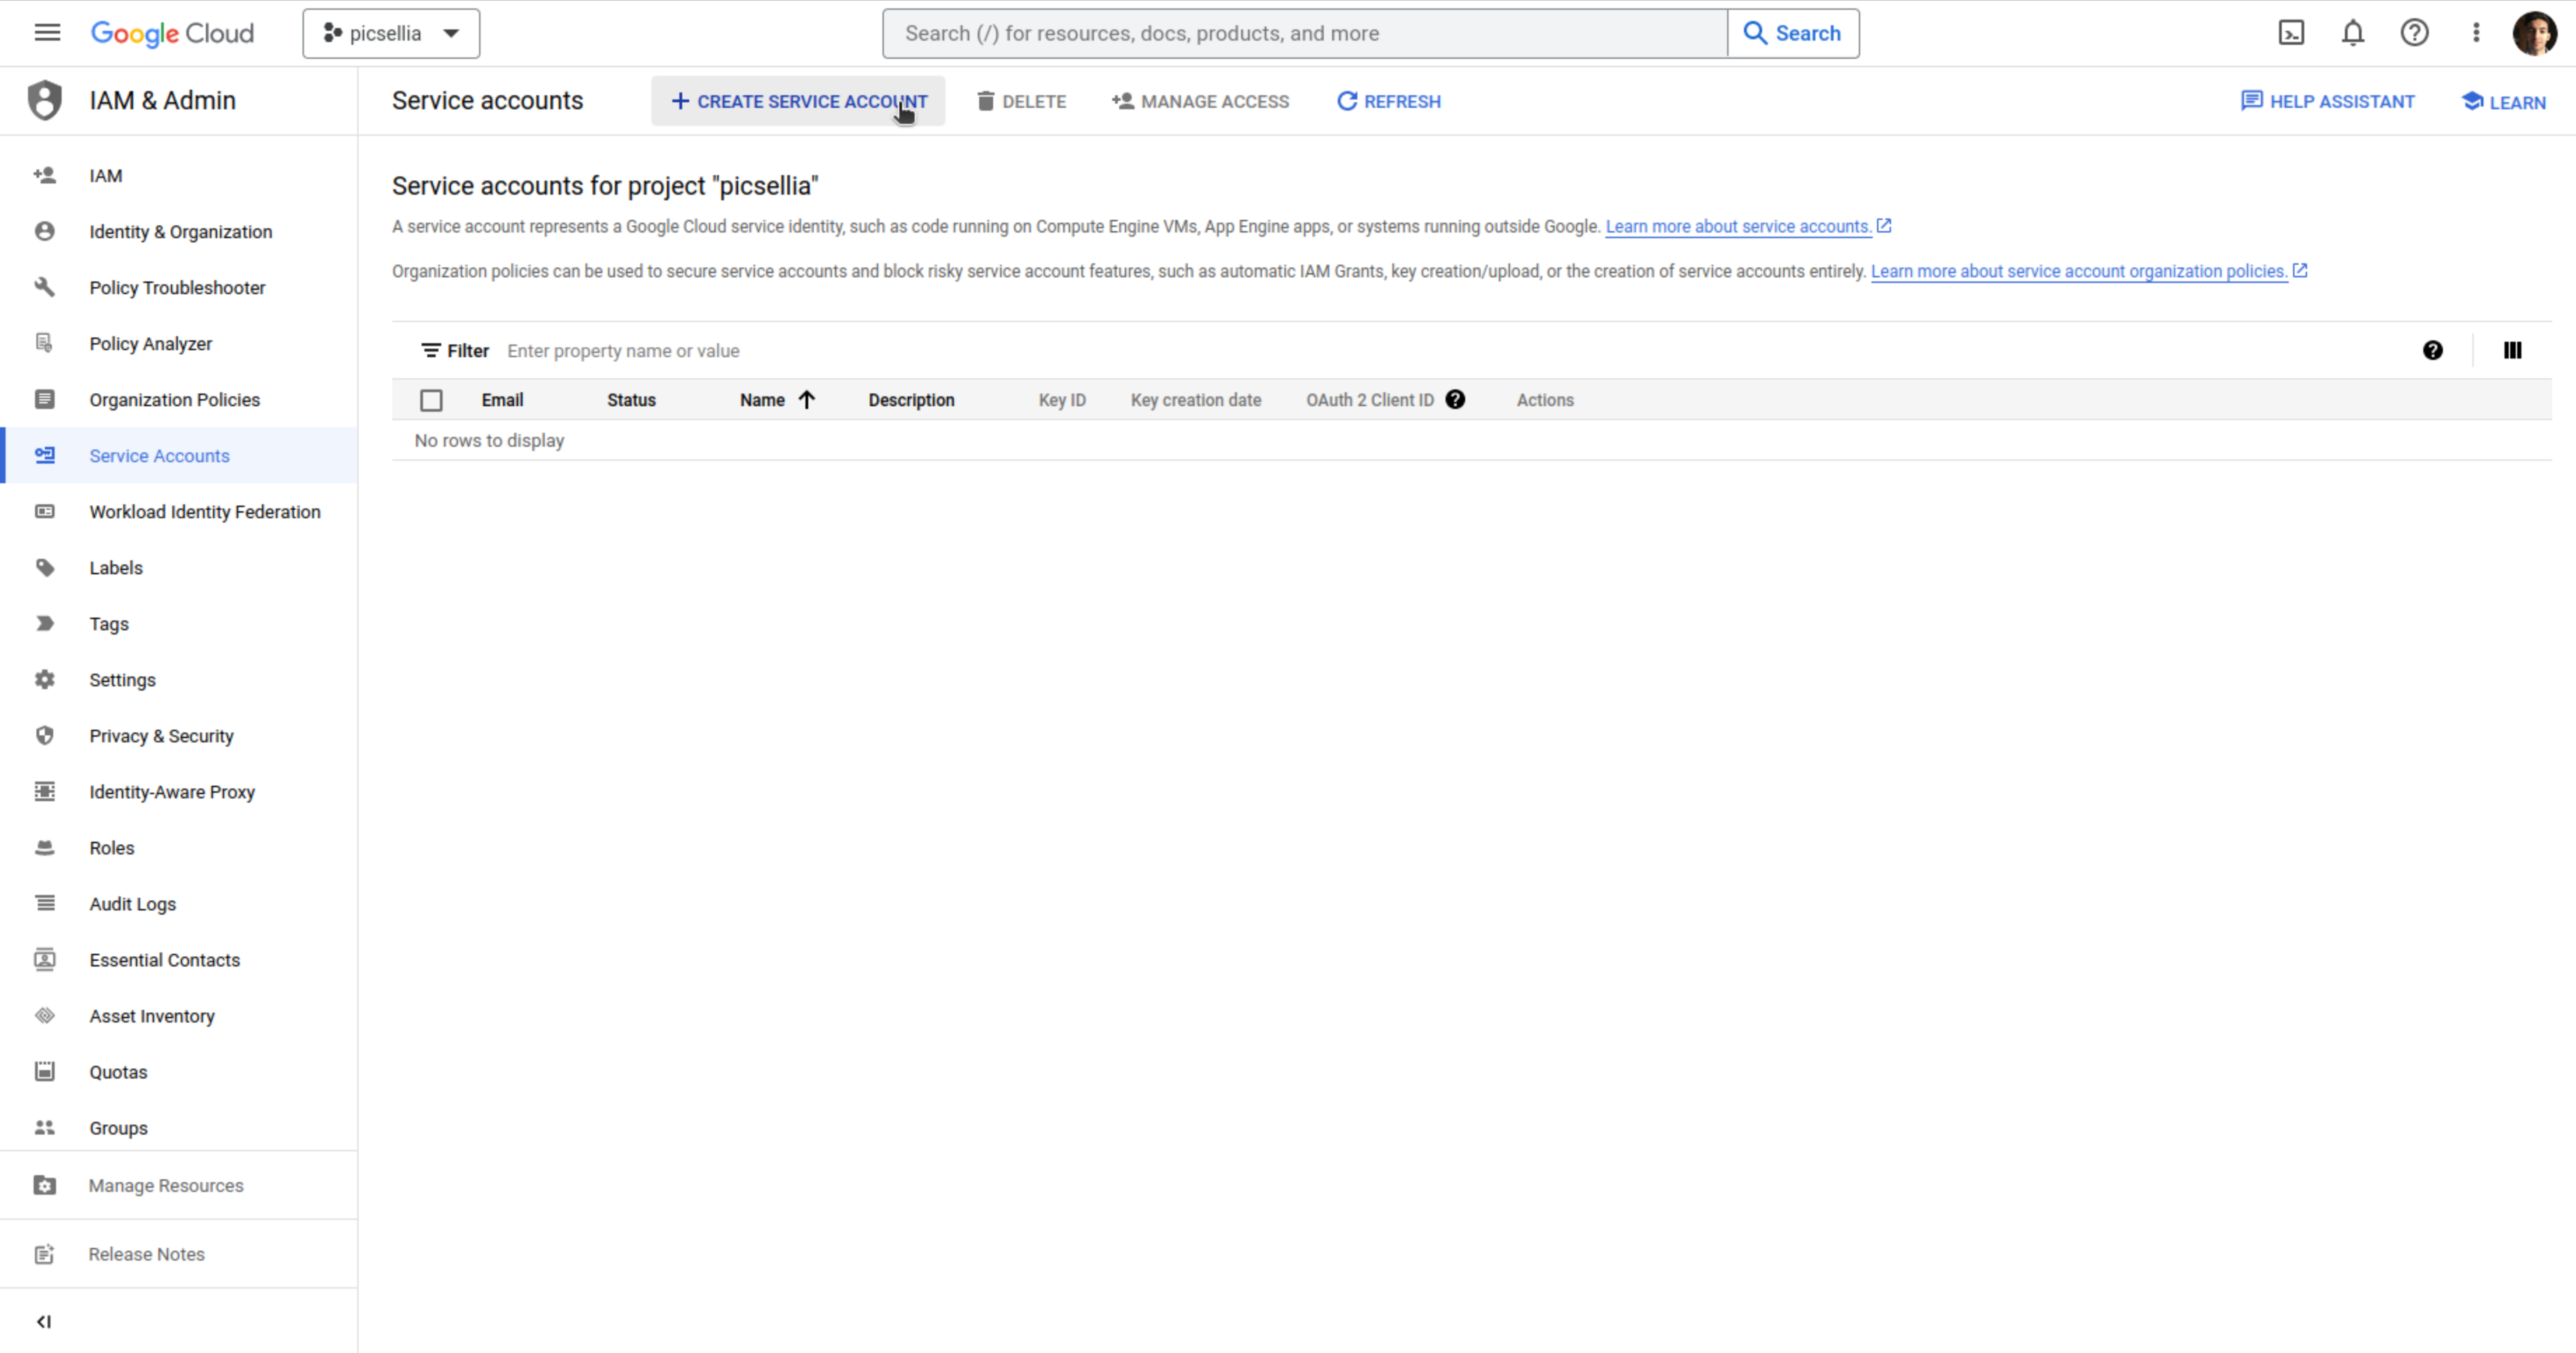
- Click Create service account.
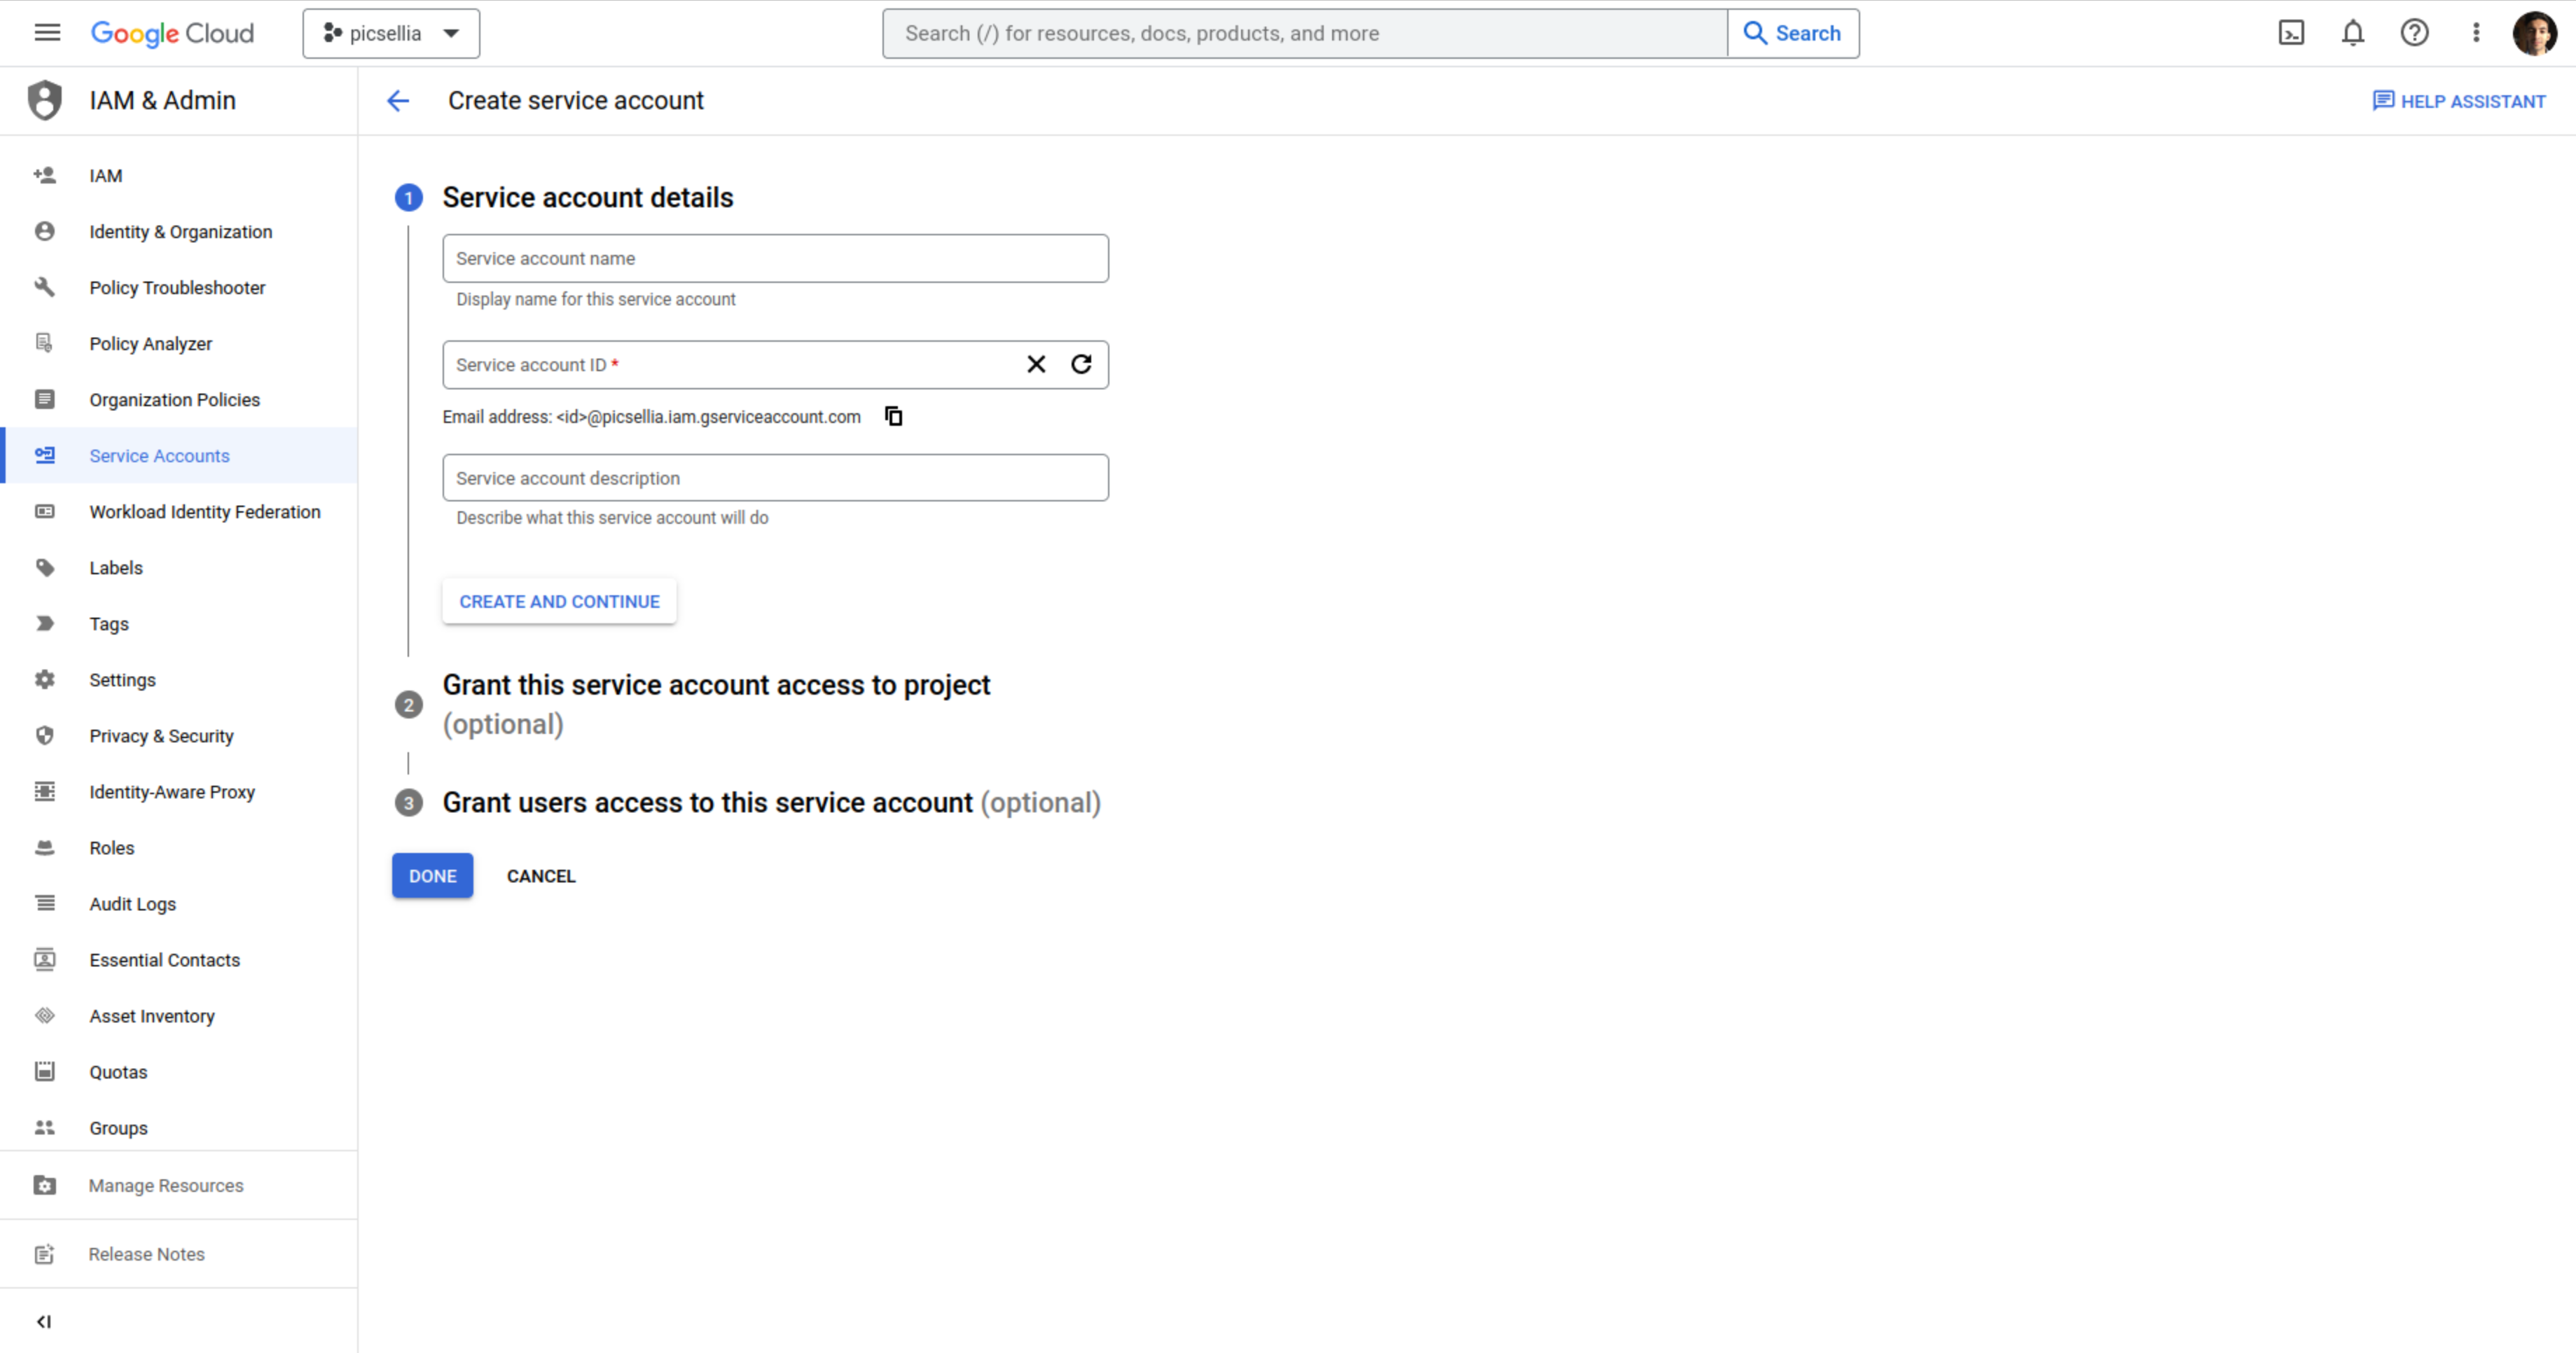
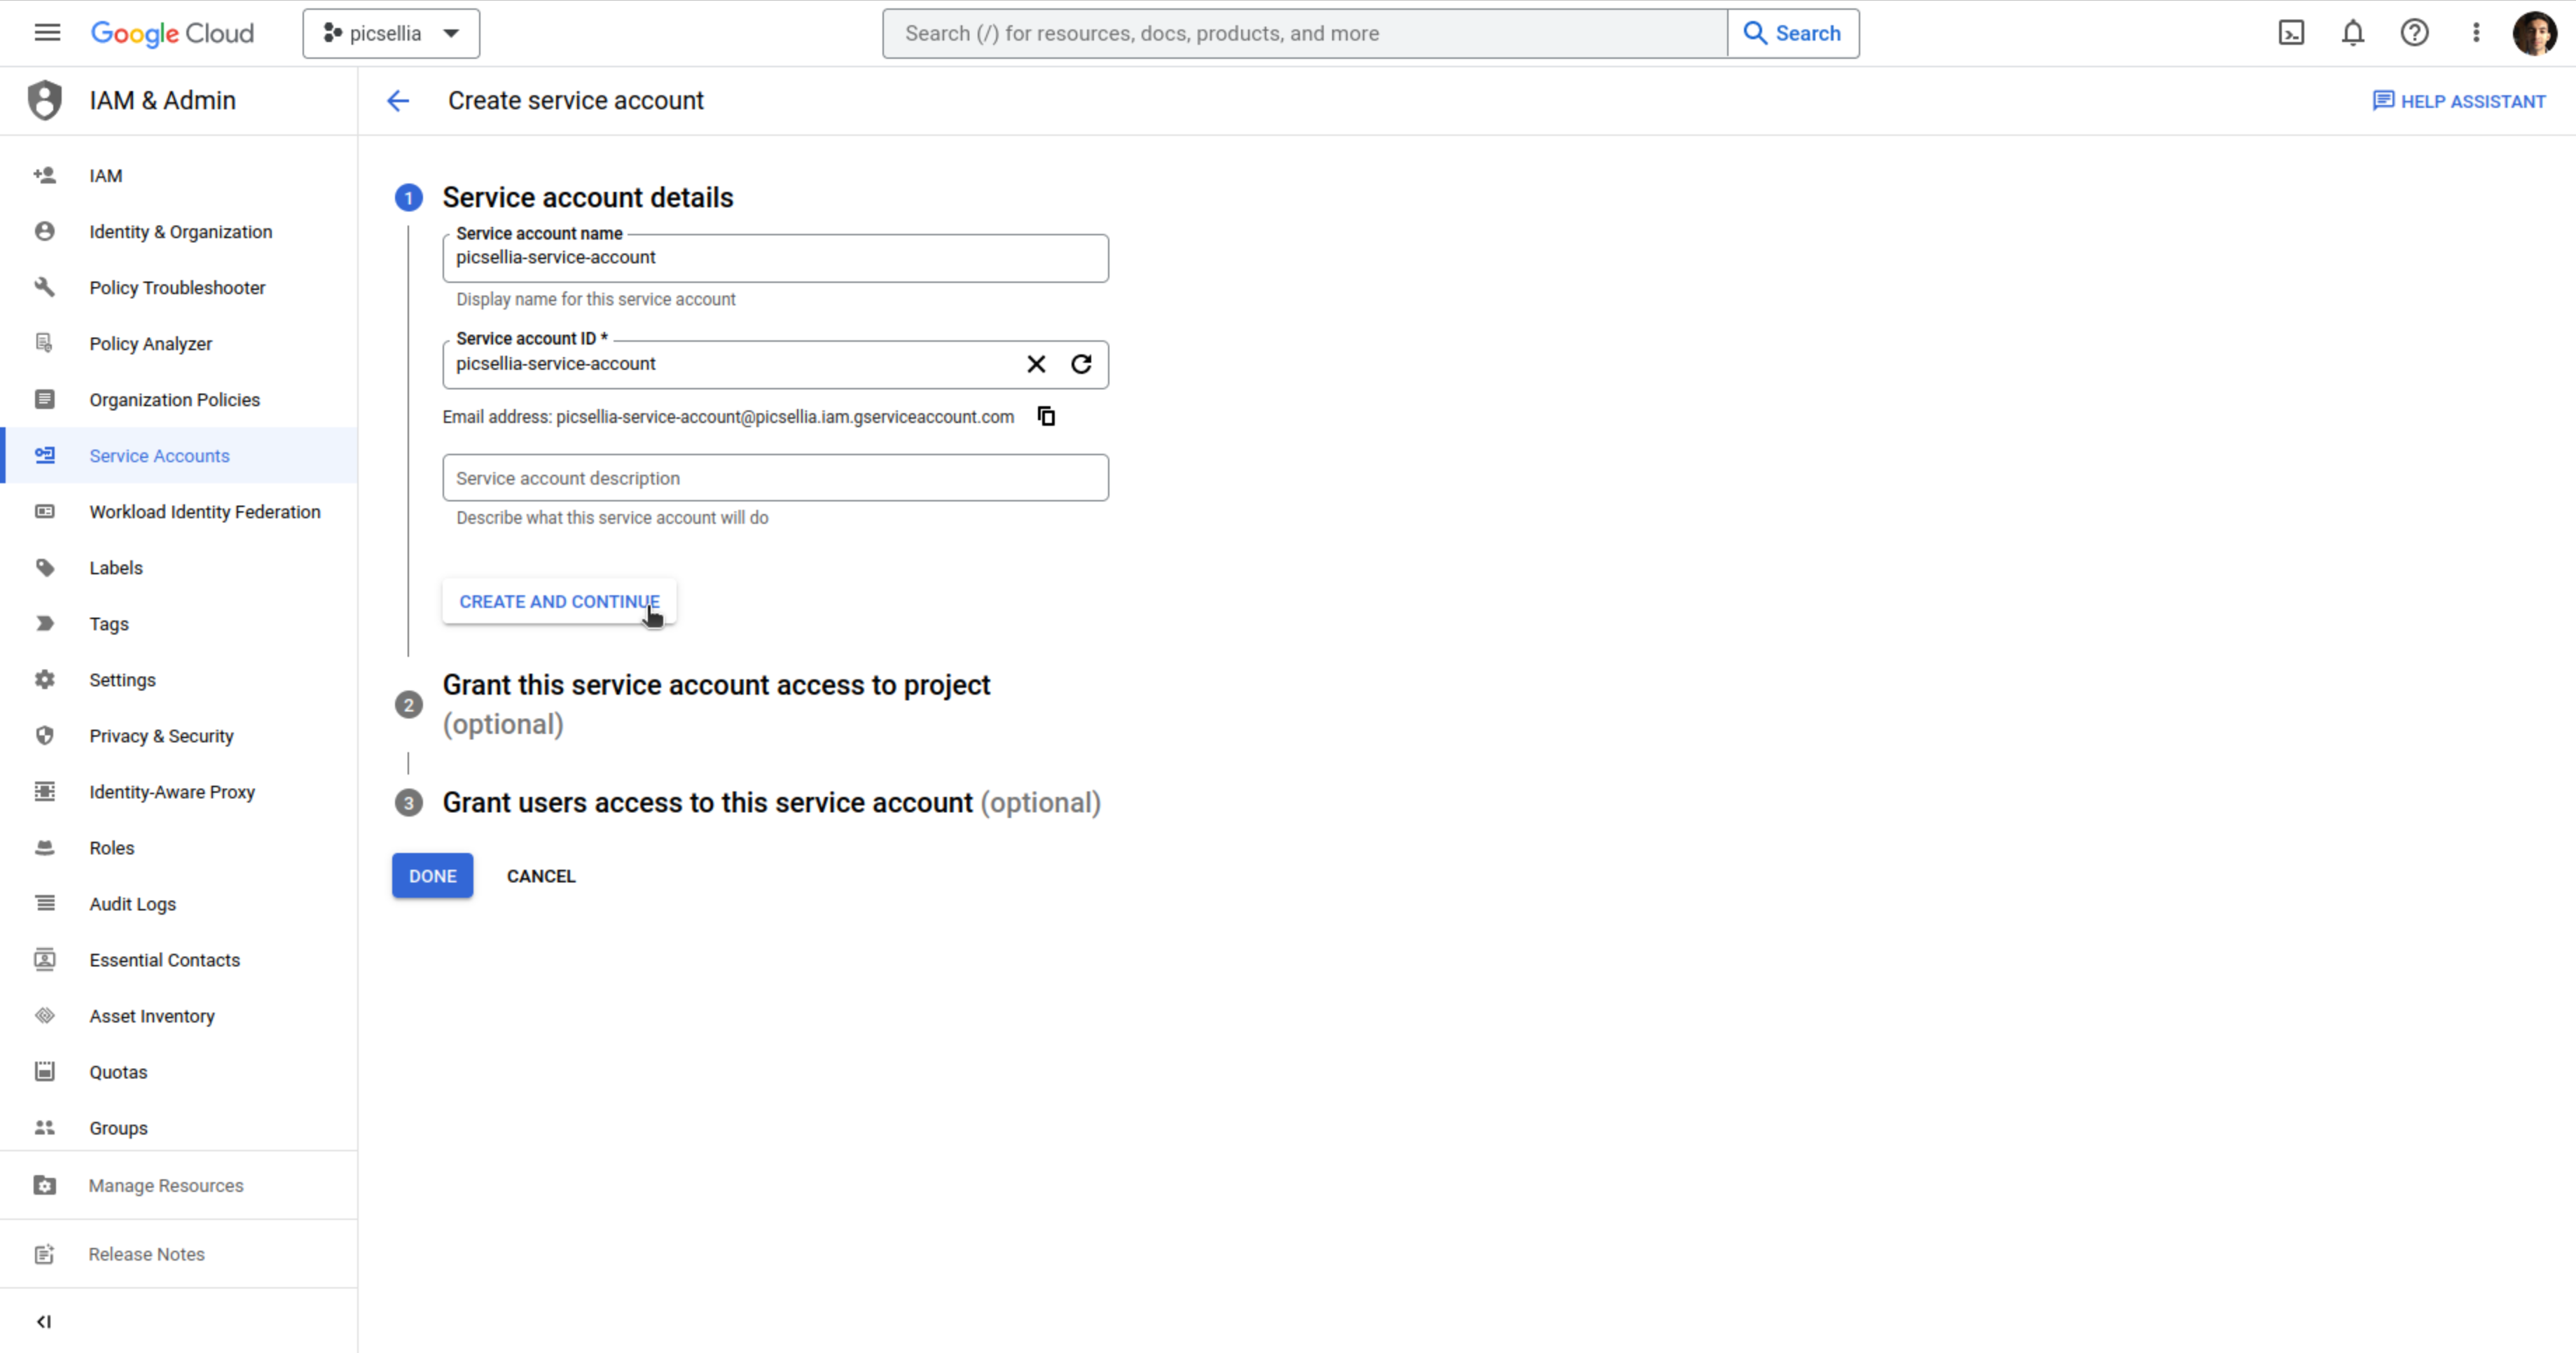
- Fill in the service account details, then click Create and continue.
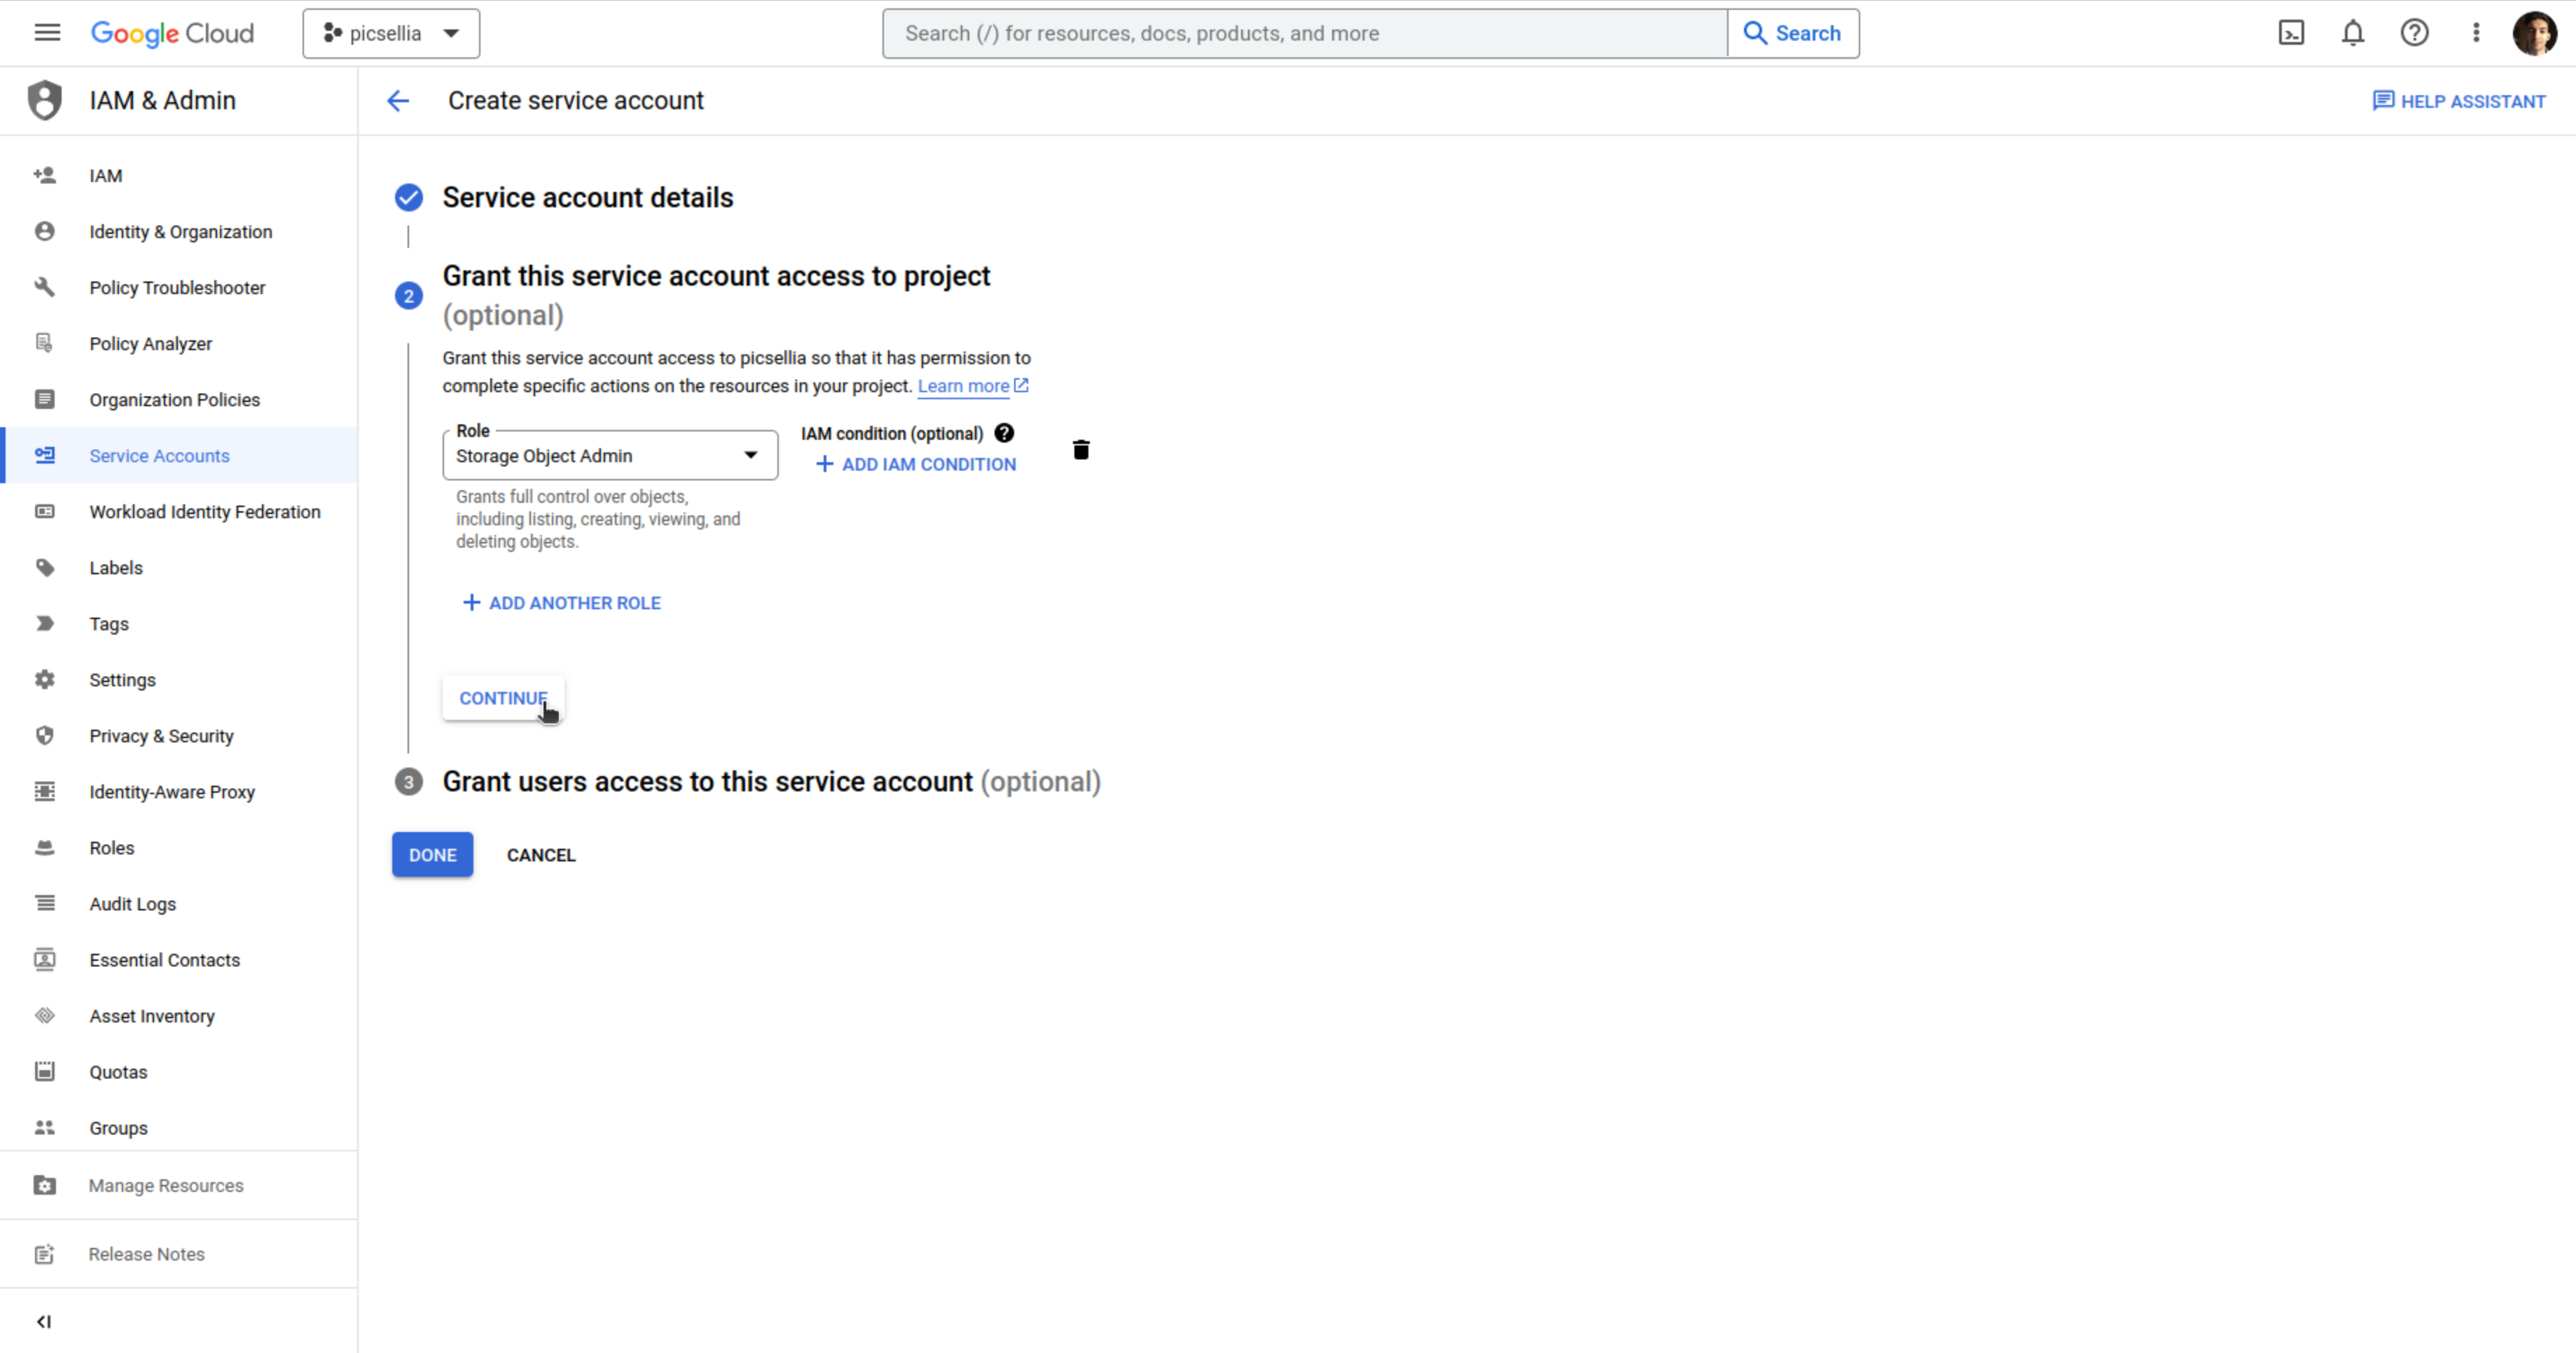
- Assign Storage Admin role to your service account to grant full control over objects, including listing, creating, viewing, and deleting objects.
- Click Continue.
- Optional: Enter users or groups that can manage and perform actions with this service account.
- Click Done. Make a note of the email address for the service account.
2. Create credentials for a service account
You need to obtain credentials in the form of a public/private key pair. These credentials are used by your code to authorize service account actions within your app.
To obtain credentials for your service account:
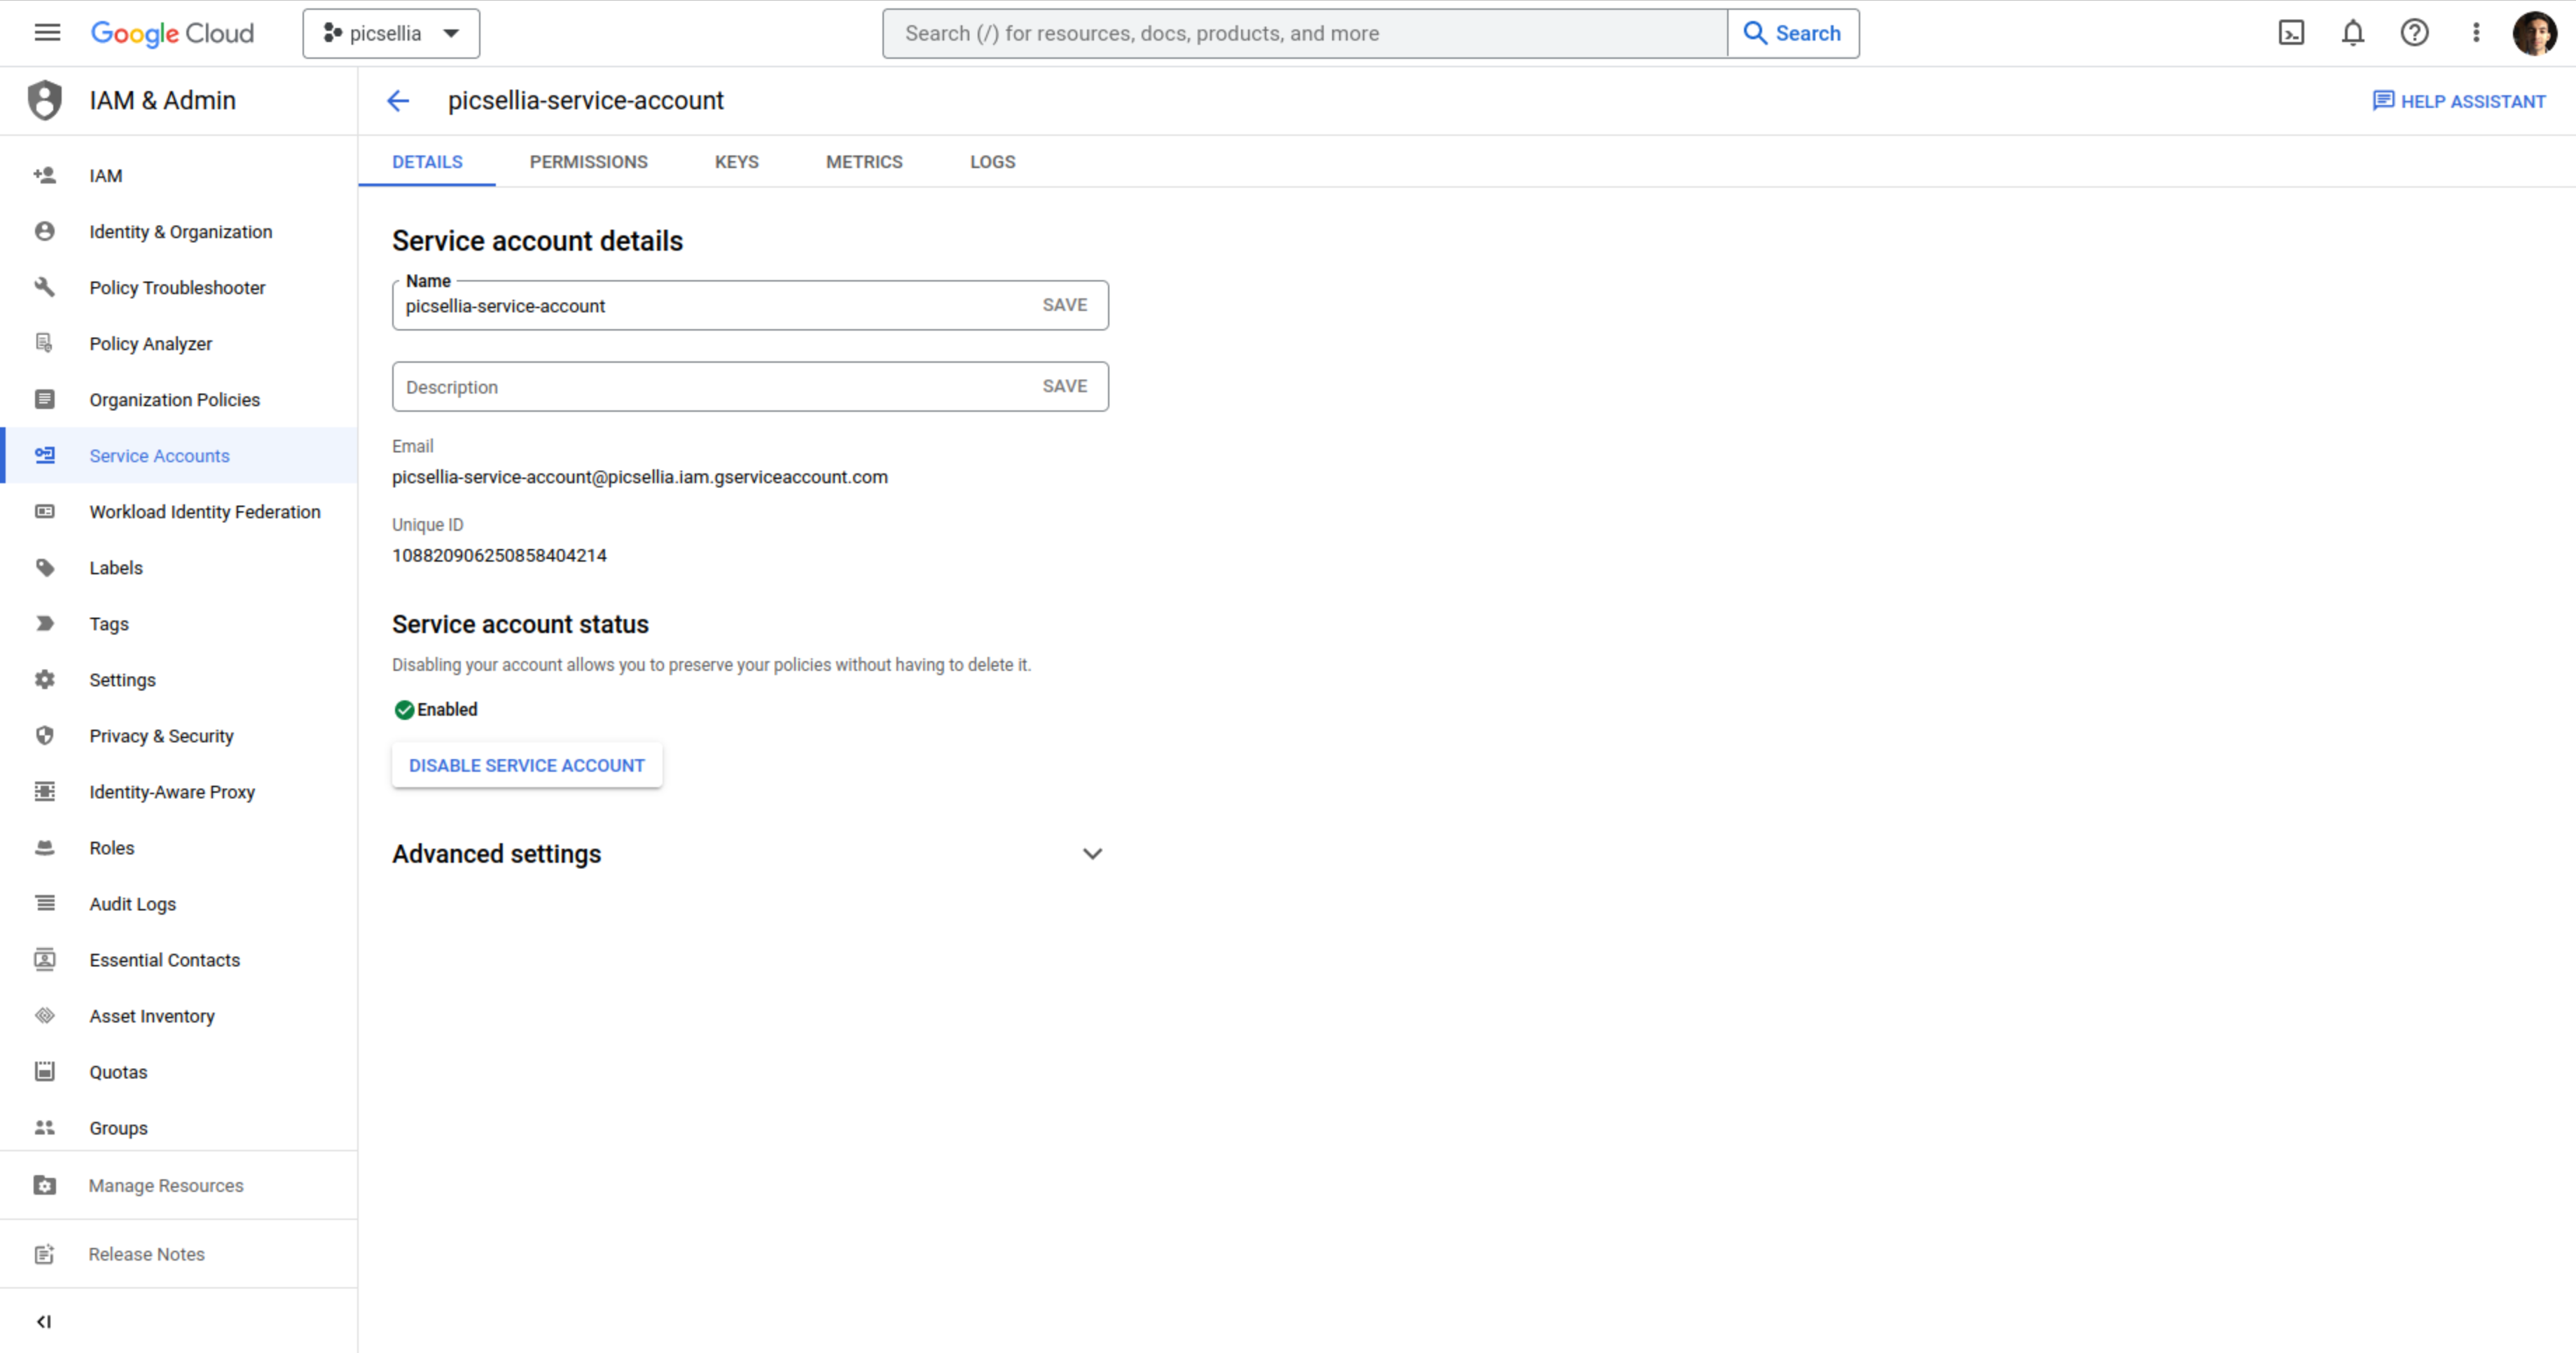
- In the Google Cloud console, go to Menu > IAM & Admin > Service Accounts.
- Select your service account.
- Click Keys > Add key > Create new key.

- Select JSON, then click Create.
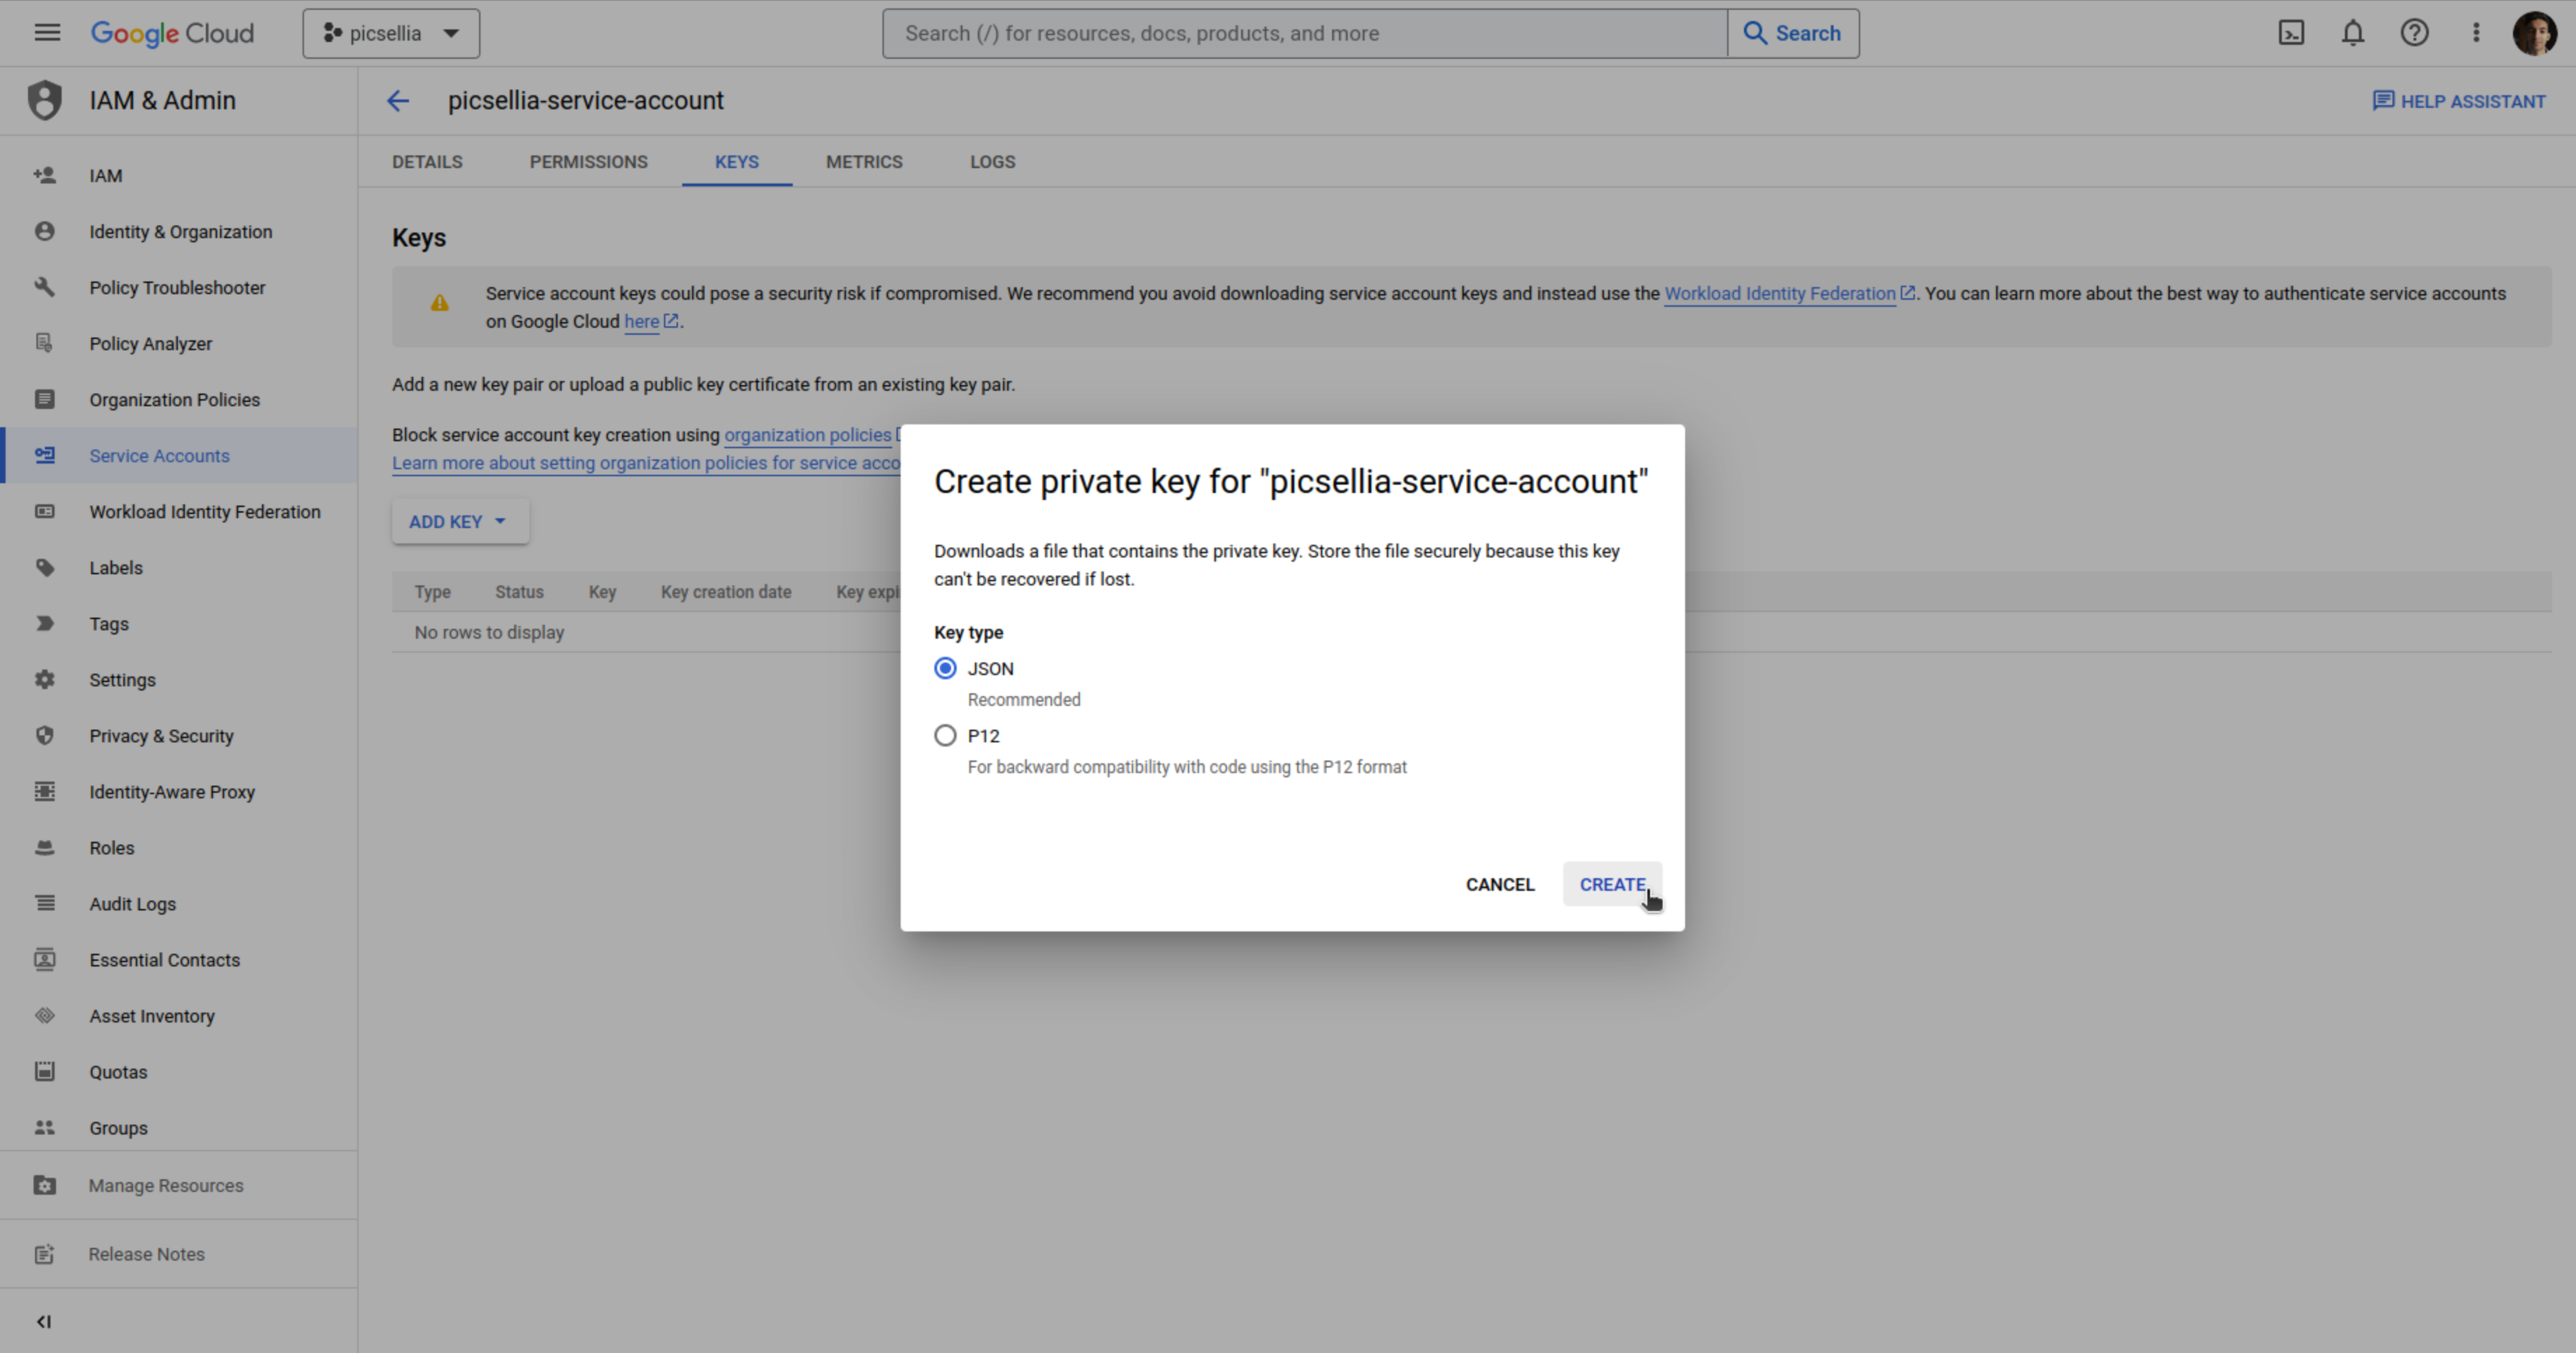
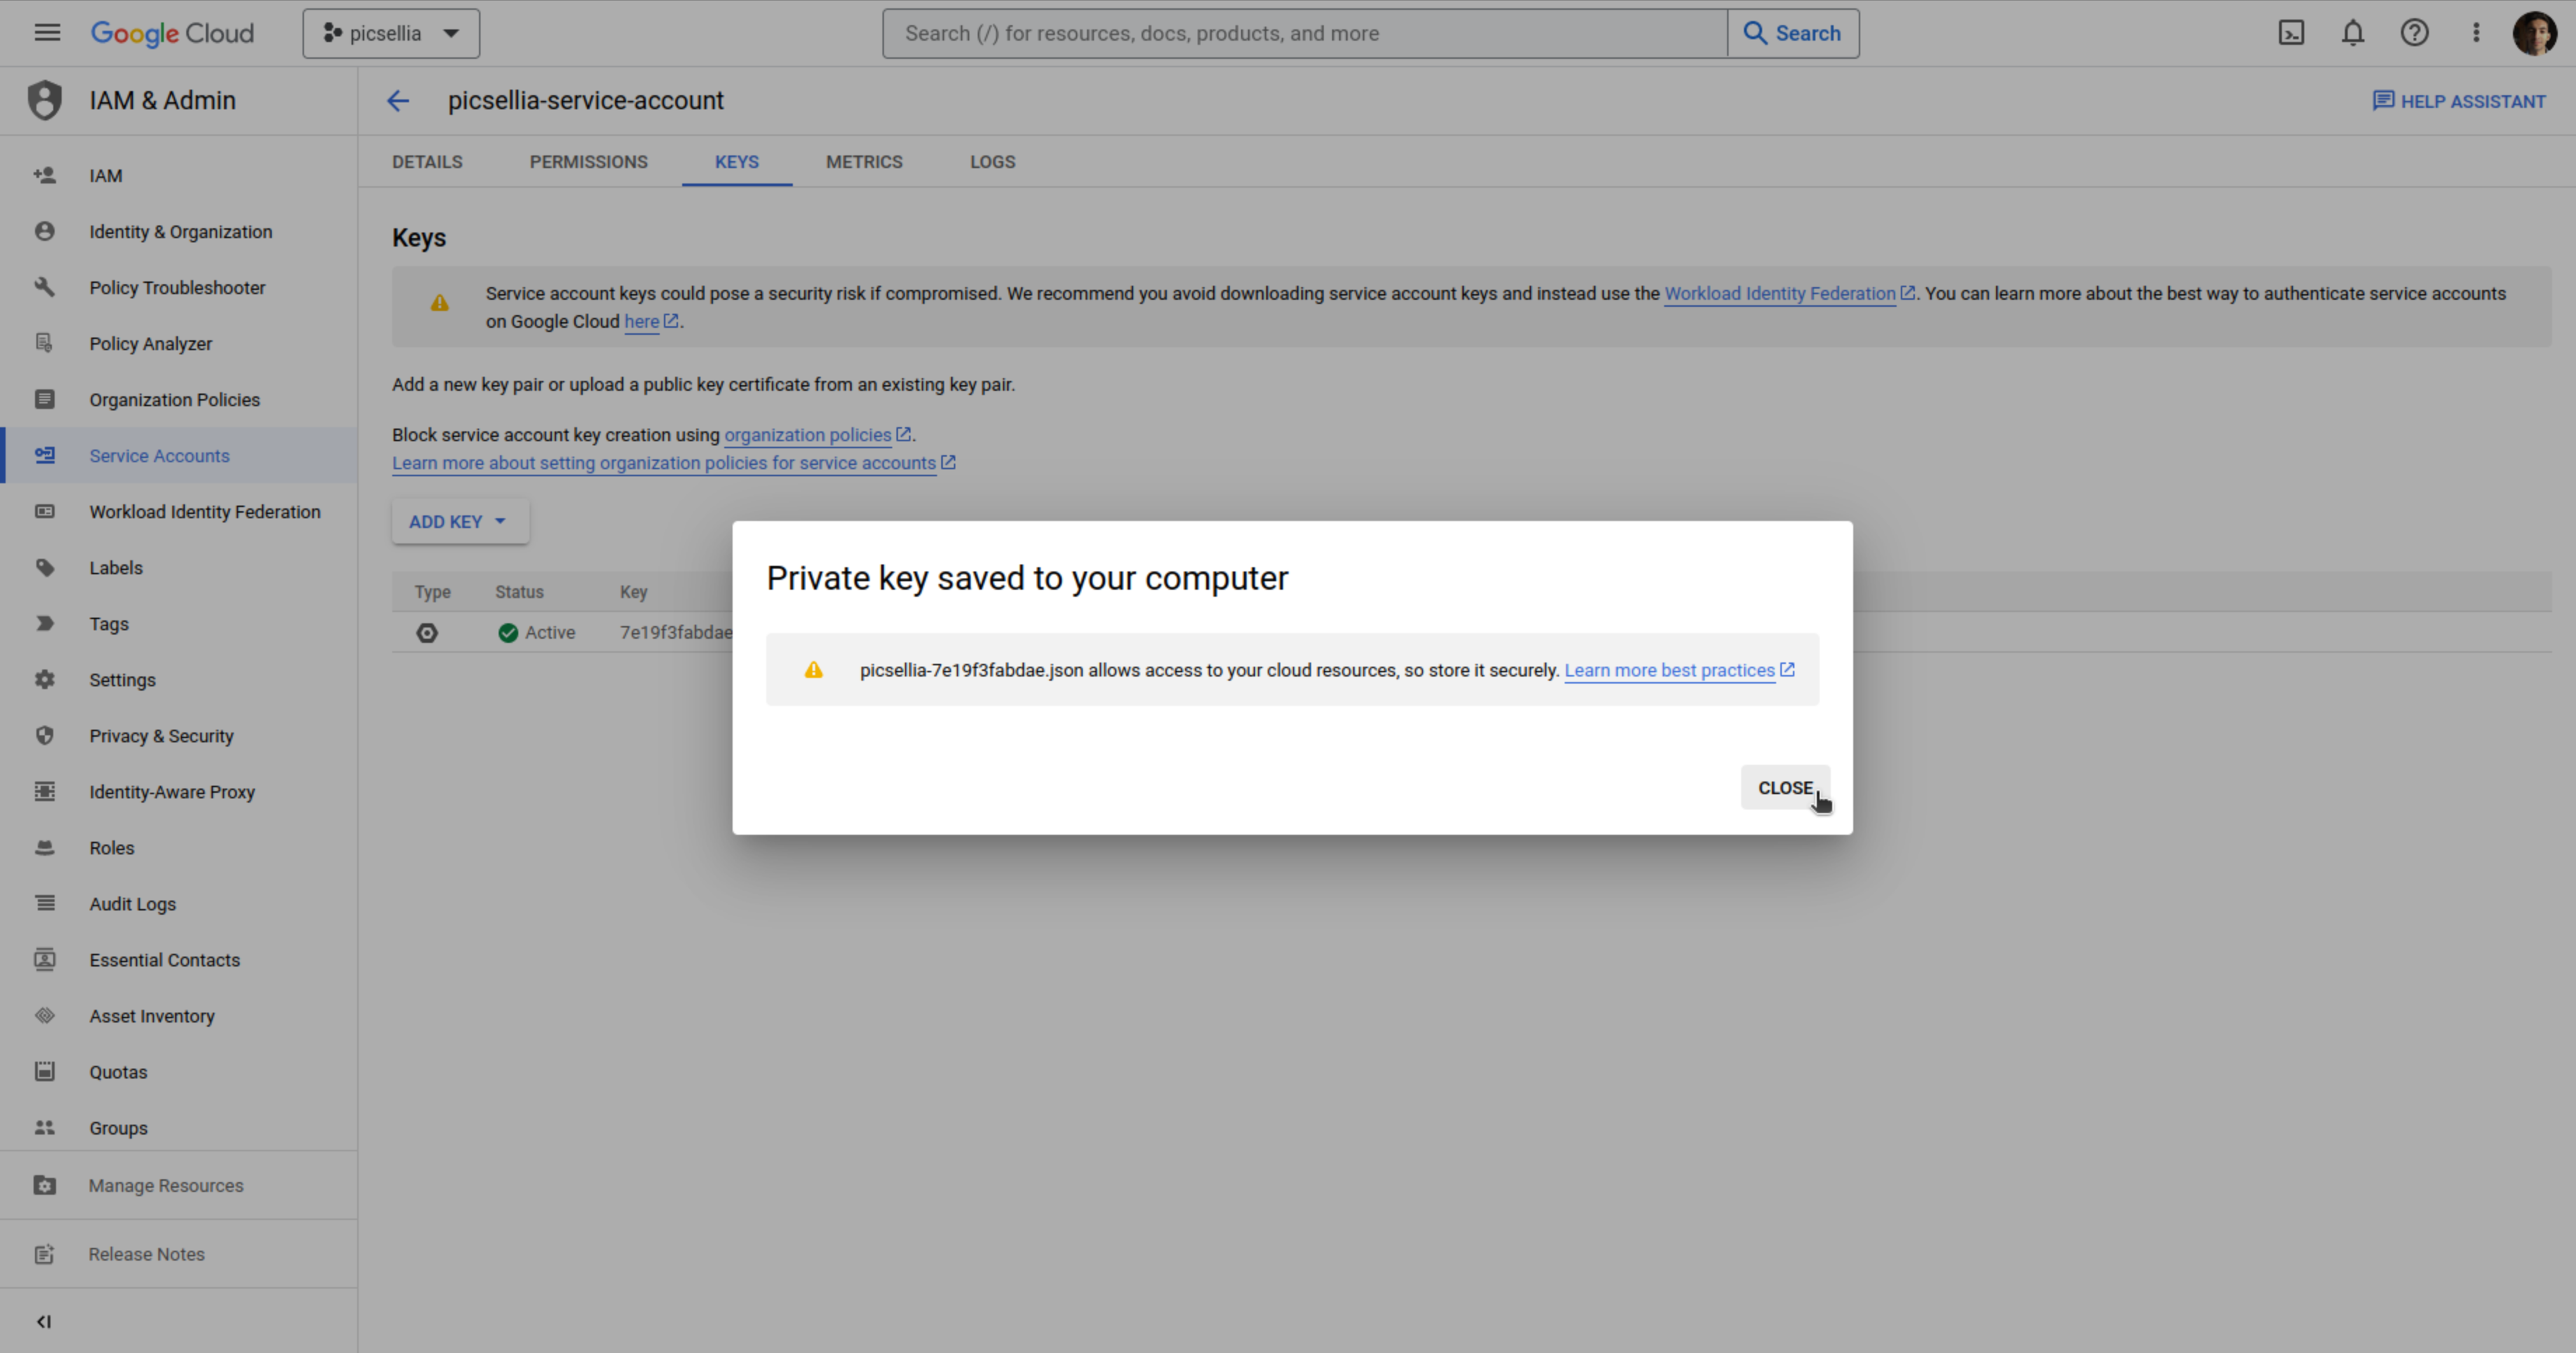
Your new public/private key pair is generated and downloaded to your machine as a new file. Save the downloaded JSON file as credentials.json in your working directory. This file is the only copy of this key.
- Click Close.
3. Set the CORS policy for your bucket
To ensure smooth communication between the Picsellia platform and your Google Cloud Storage (GCS) bucket, it's essential to set the Cross-Origin Resource Sharing (CORS) policy. CORS policies define which origins (websites) are allowed to access resources on your GCS bucket.
While Google doesn't provide a direct user interface to modify the CORS settings, it can be done easily using the Google Cloud Console and executing a few commands.
- In the Google Cloud console, go to Menu > Cloud Storage > Buckets.

- Select your bucket.
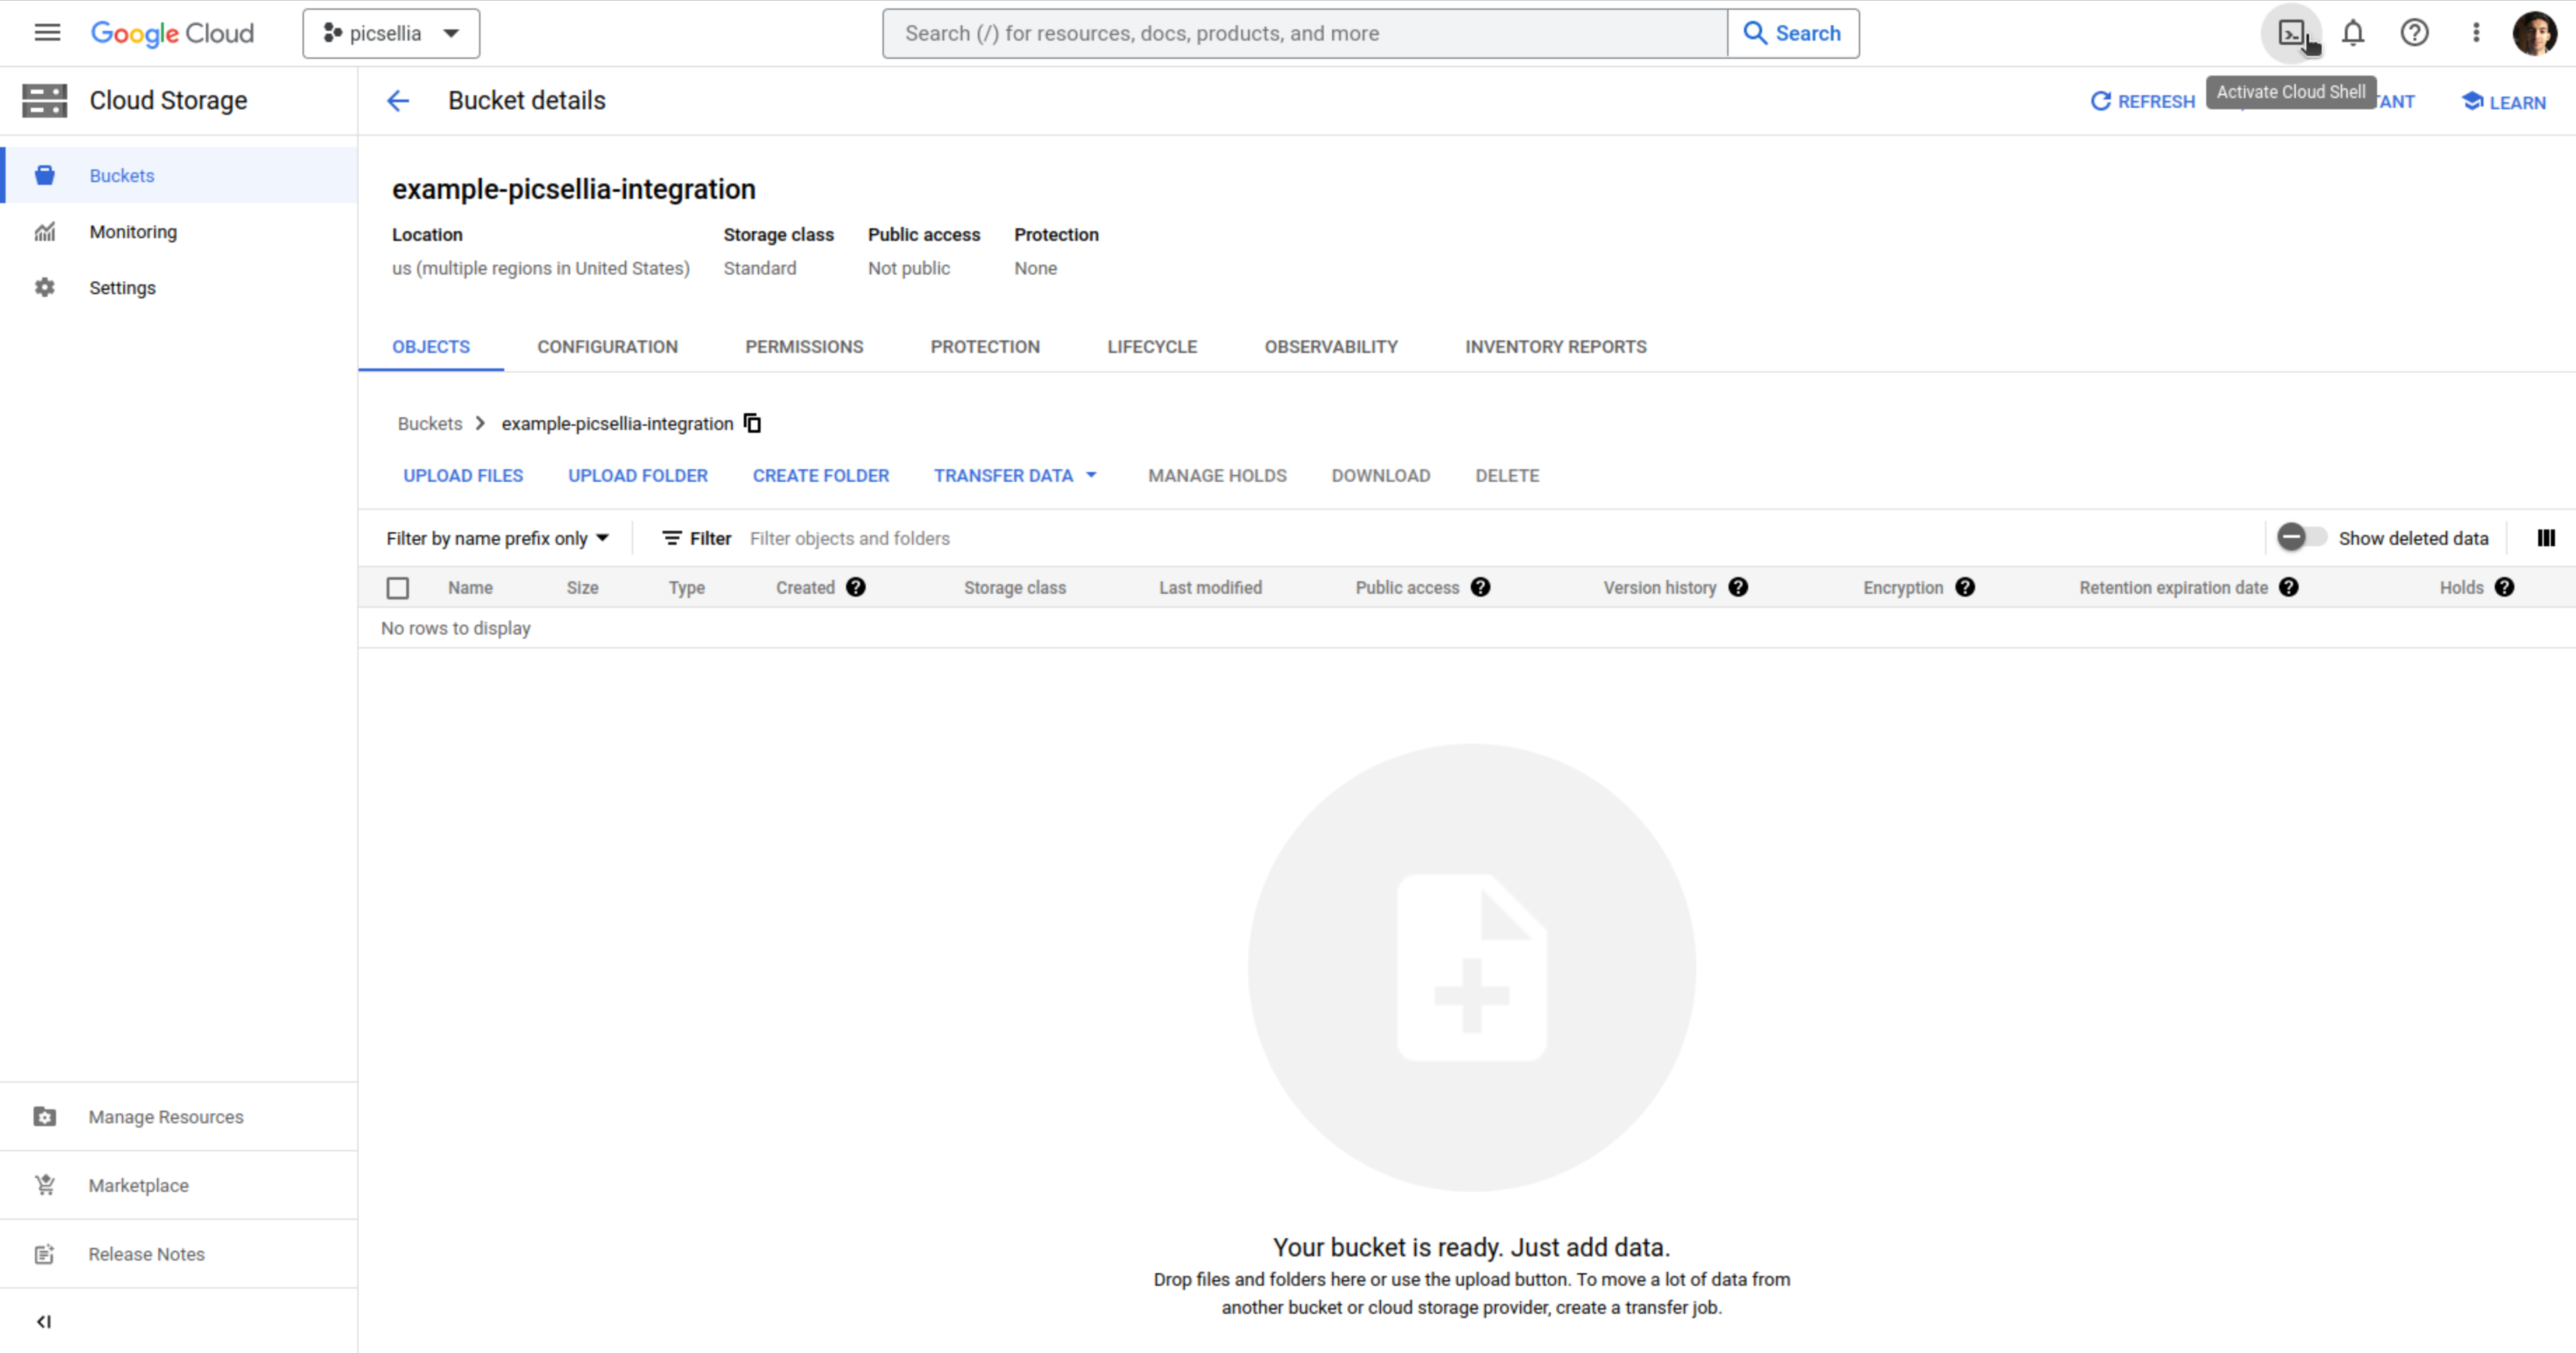
- Open the Cloud Shell terminal.
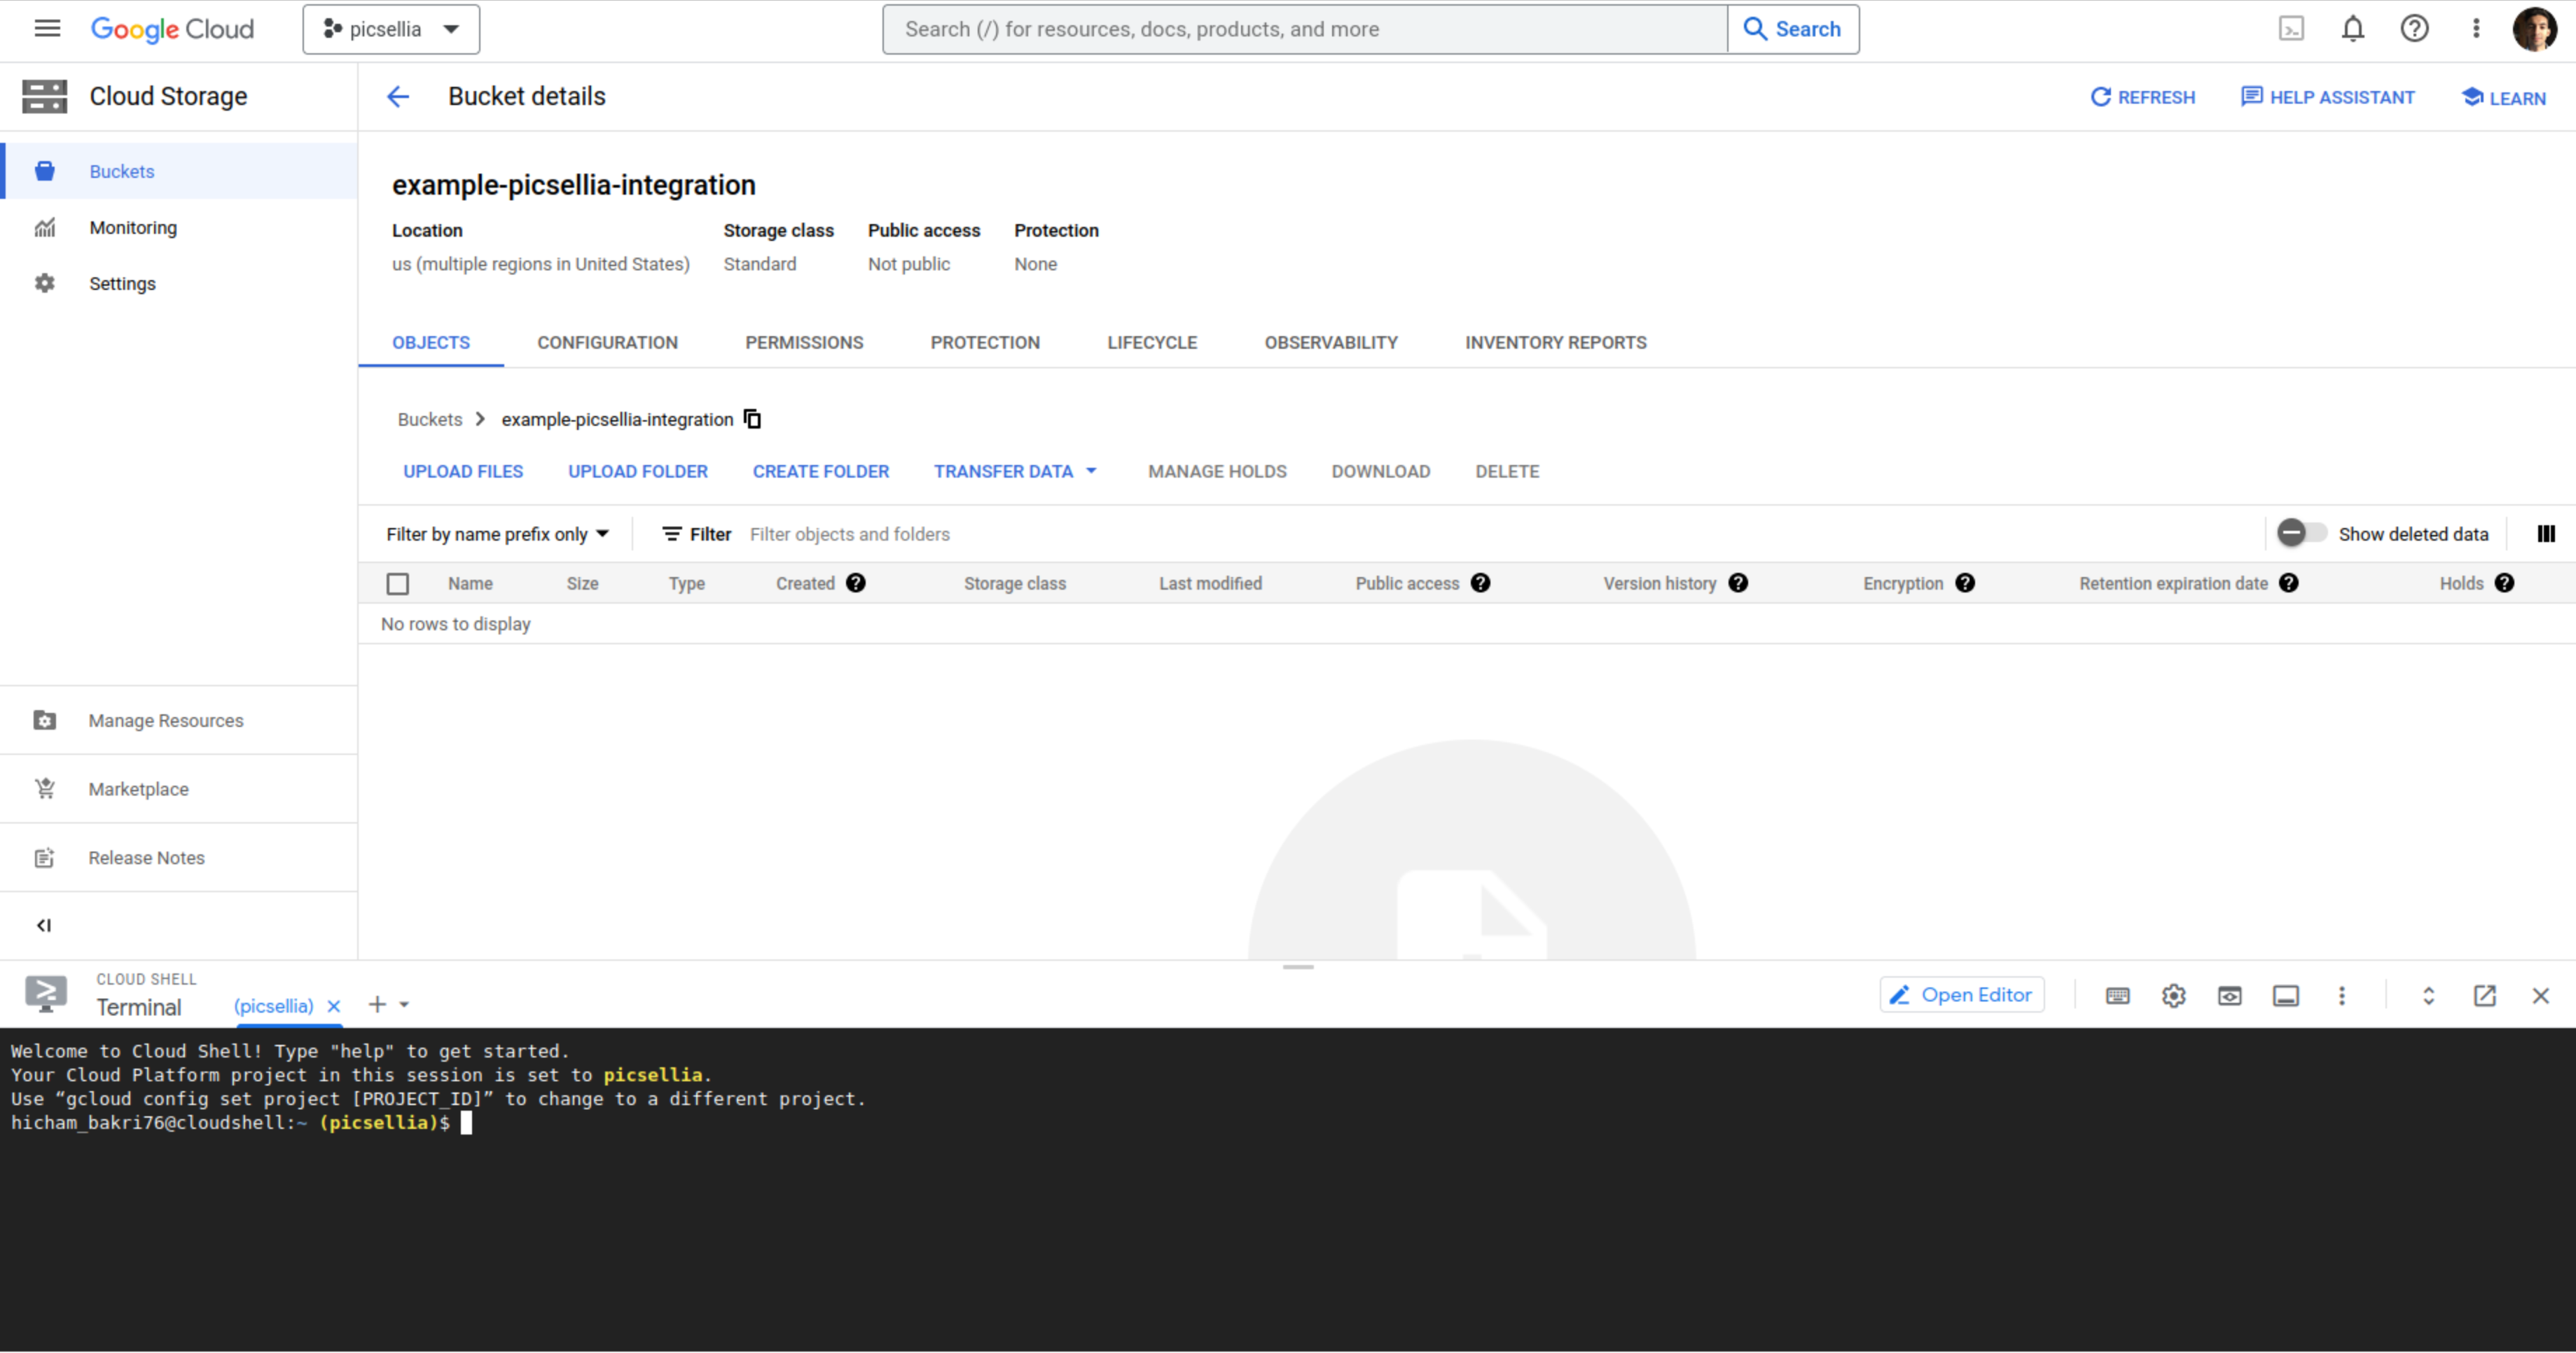
- Copy and paste the following commands into the console:
echo '[{"maxAgeSeconds": 3600, "method": ["GET", "HEAD", "PATCH", "POST", "PUT", "OPTIONS"], "origin": ["https://app.picsellia.com"], "responseHeader": ["Content-Type", "x-goog-resumable"]}]' > cors-policy.json
gsutil cors set cors-policy.json gs://{bucket-name}
Replace the placeholder {bucket-name} with the actual name of your GCS bucket.
To ensure that the CORS policy has been successfully applied, run the following command:
gsutil cors get gs://{bucket-name}Again, replace {bucket-name} with the name of your bucket. You should see the updated policy displayed.
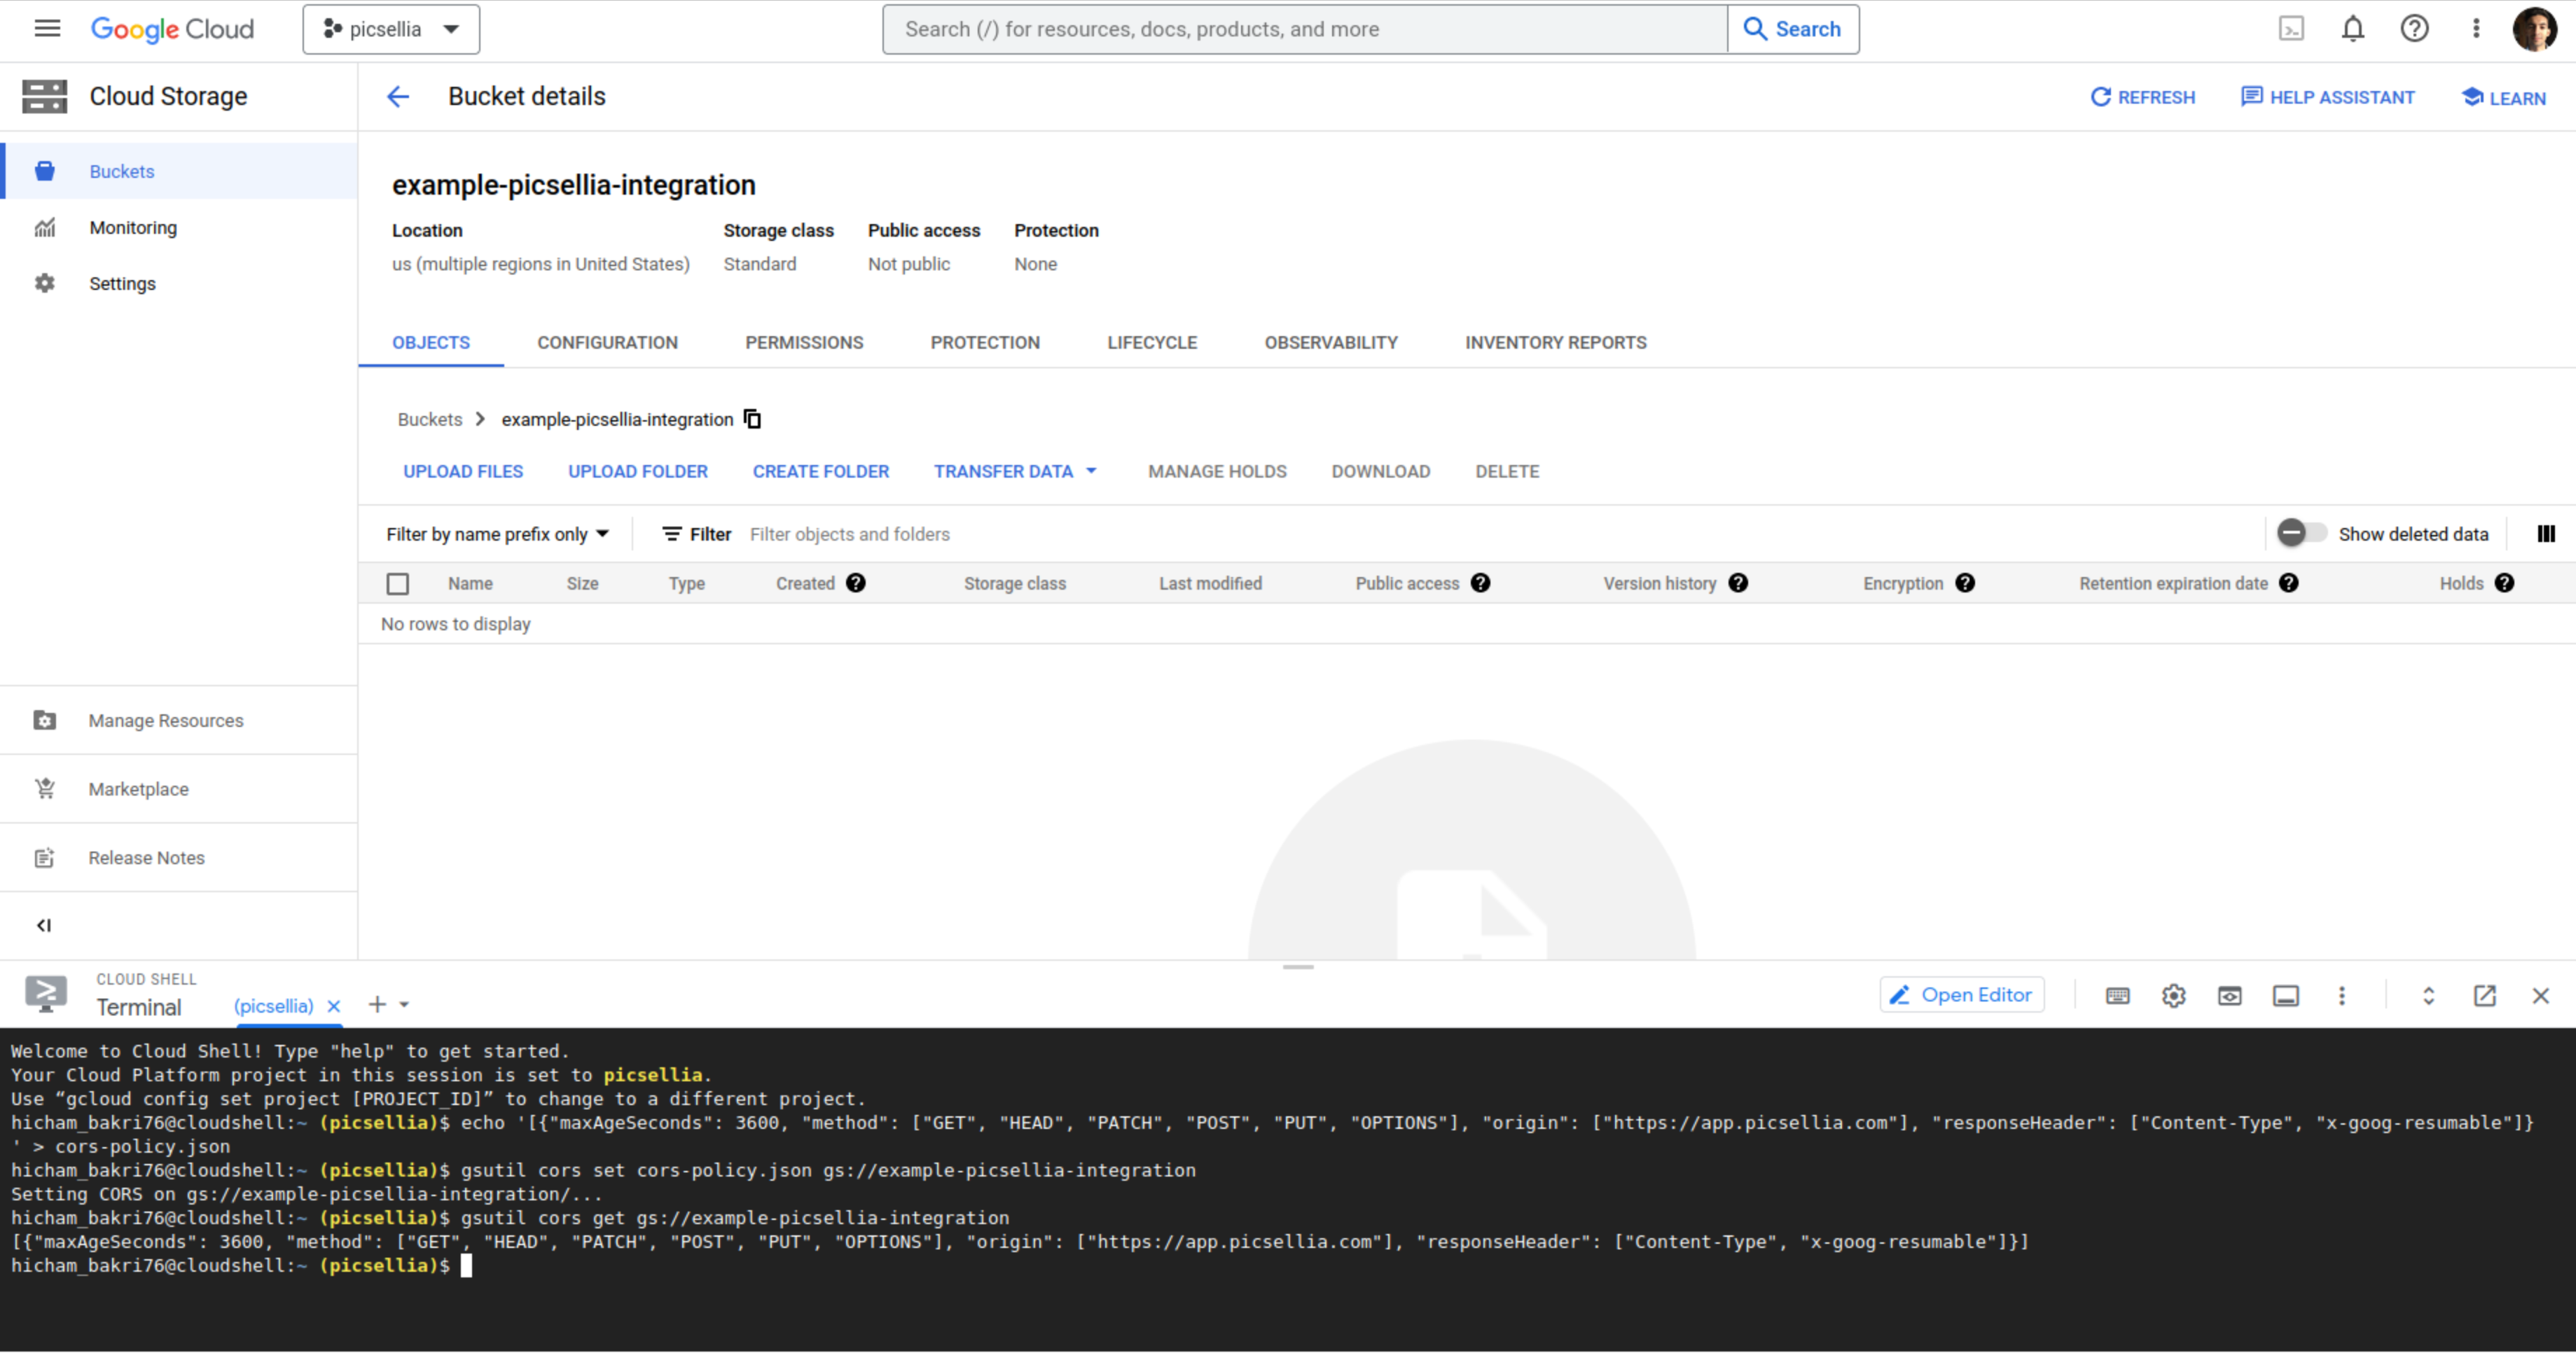
Setting this policy ensures that the Picsellia platform can interact with your GCS bucket without any cross-origin restrictions.
4. Configure a storage connector on Picsellia
NoteTo provide the best user experience and ensure we understand and cater to our users' needs, access to the storage connector feature requires activation through a feature flag.
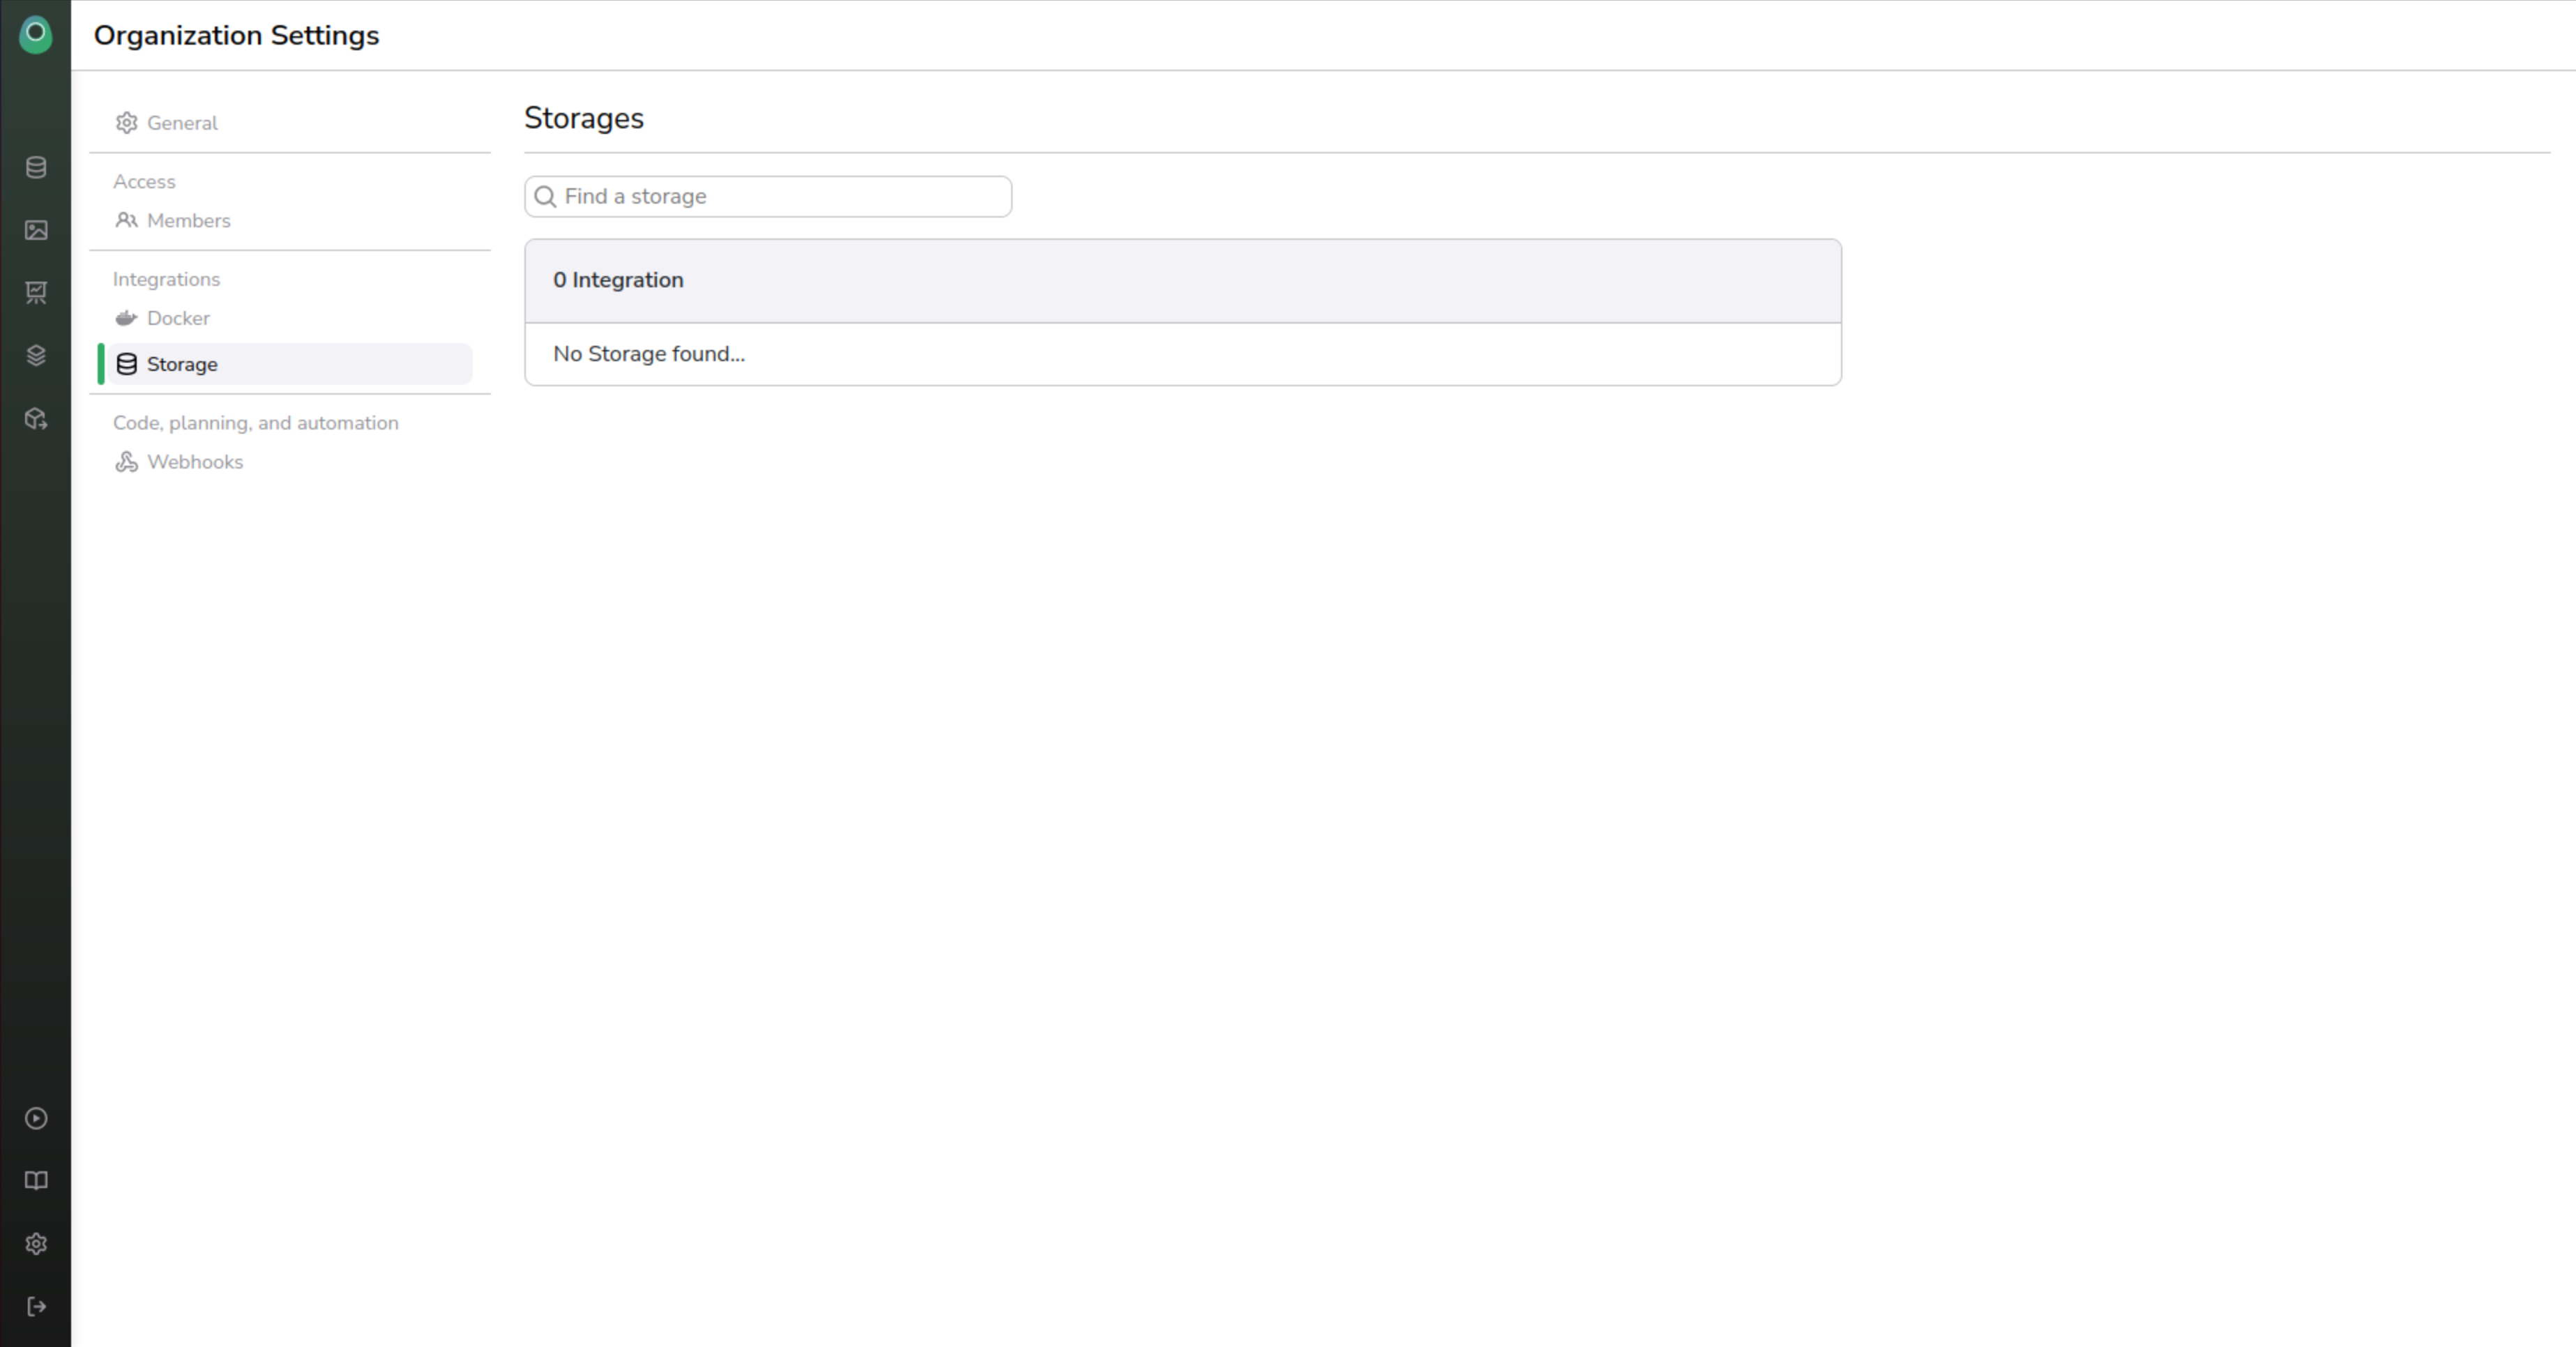
To utilize this feature:
- Contact the Picsellia Team: Let us know you're interested in configuring a storage connector, and we will activate the feature for your account.
- Once activated, you will see a "+" button on the Storage Connector Interface.
- Follow the on-screen instructions to set up the storage connector using the access credentials you've created.
5. Conclusion
You've now been guided through the essential steps to set up and configure access credentials for our platform using Google's services. Properly configured credentials ensure secure and uninterrupted access to the features integrated with Google Workspace. If at any point you encounter difficulties or have further questions, please contact our support team.
Your seamless experience on Picsellia is our top priority. ✨
Updated about 1 year ago