2. Datalake mechanism
1. Multiple Datalake
DatalakeIt is now time to log in back to your Picsellia account and access the Organization that will have access to your bucket.
First of all, it is important to keep in mind that you can have several Datalake inside your Organization, you can easily switch from a Datalake to another using the navigation bar as shown below:
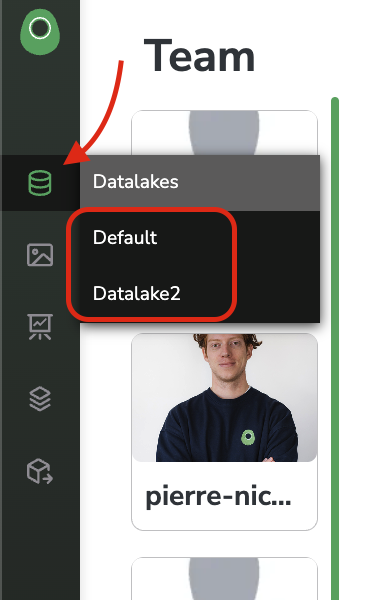
Muli-Datalake navigation
Each Datalake is connected through a Storage Connector to a bucket on an Object Storage where the Data visualized on the Datalake is physically stored.
For instance, when creating a new Picsellia Organization, a bucket is created on the Picsellia Object Storage (hosted by AWS), and the Datalake of the freshly created Organization is connected to this bucket, tho all Data uploaded to this Datalake will be physically stored on this Picsellia Object Storage.
In our case, the idea will be to replace the Picsellia Object Storage that is by default attributed to your Datalake with your own bucket located on your Object Storage. To do so, the next step will be to create a Storage Connector that allows your new Datalake to access your bucket.
Updated about 1 year ago