2. Create your first Model
In this page, we will see how to create a Picsellia Model and attach your own model files to it in order to make this model stored locally until now properly operable.
1. Create your first Model
ModelLet's say I want to import my local model below:
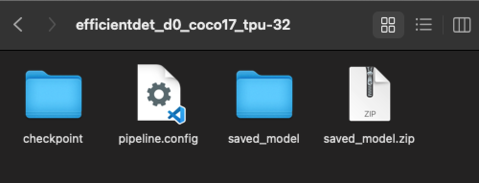
An example of local model's files
For this example, we'll use a TensorFlow model from the TensorFlow Hub. However, the steps remain the same if you use a model that you have already trained on your machine.
So, in our example, the model is called efficientdet_d0_coco17_tpu-32 and is designed to perform Object Detection:
from picsellia import Client
from picsellia.types.enums import InferenceType

client = Client(api_token=api_token, organization_name=organization_name)

model_name = "efficientdet_d0_coco17_tpu-32"
model_description = "Some meaningfull description"

my_model = client.create_model(
  name=model_name,
  description=model_description,
)
Simple as that! If everything went well you should see this:

The console's log once you run the script
You can now check on Picsellia that your Model is visible:
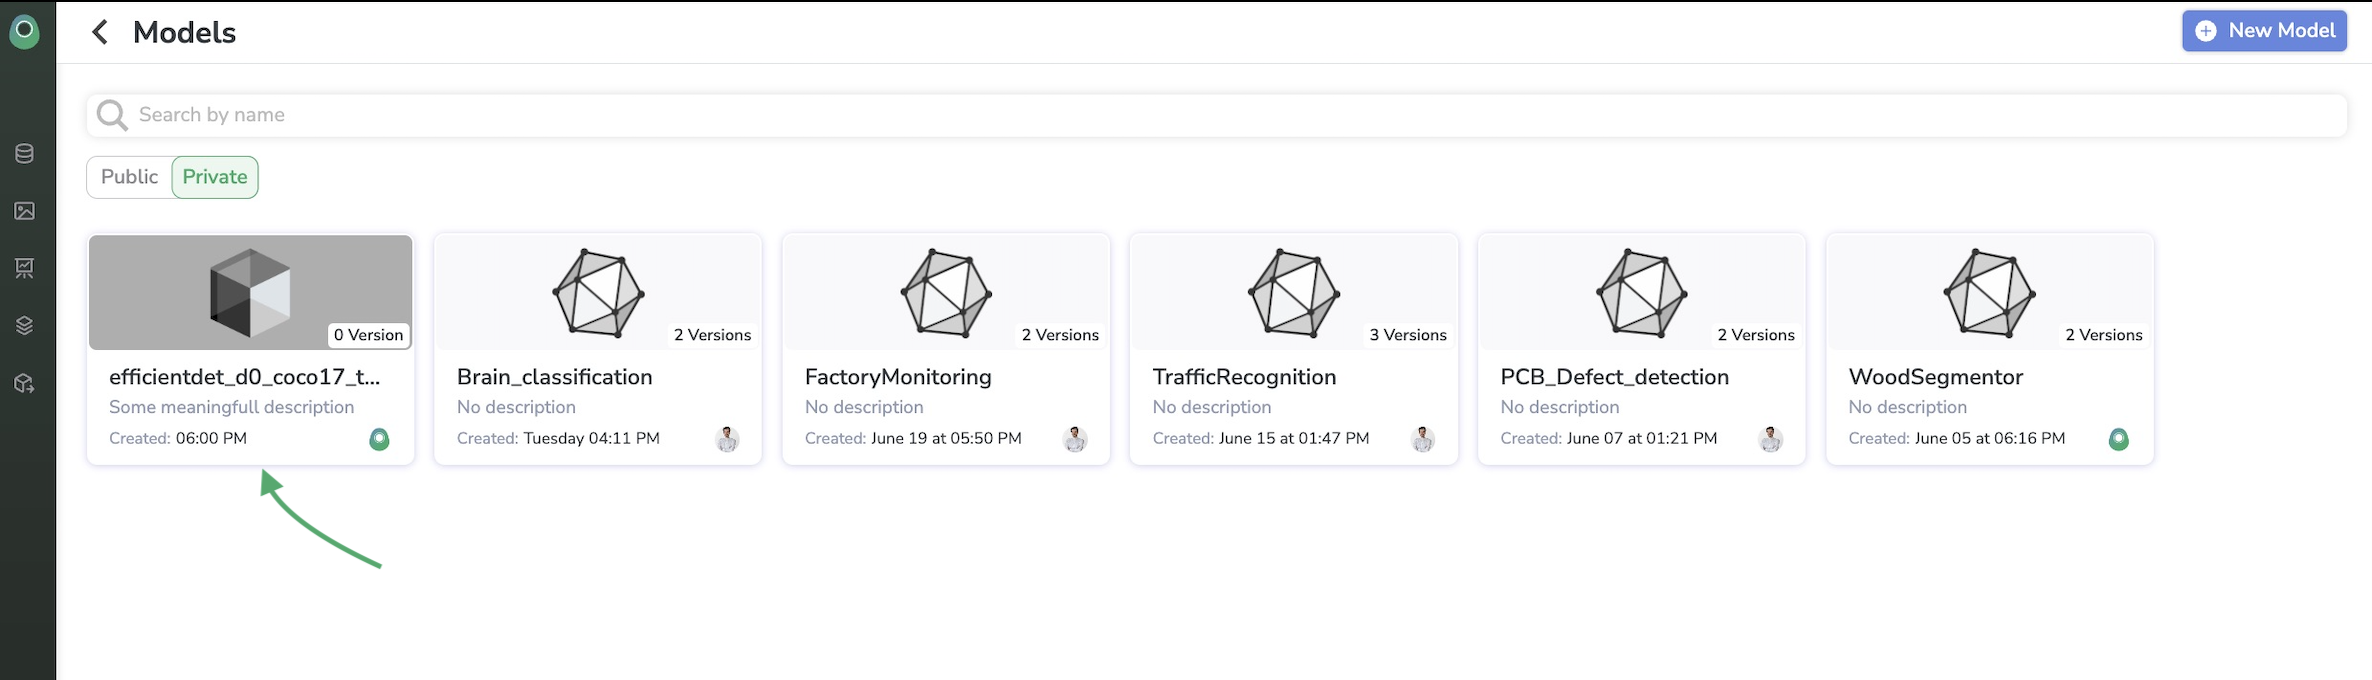
The Picsellia model's page where all the Model you've created are stored
Can I use the UI instead?The creation of a new model can also be done through the User Interface, from the Private Model Registryby clicking on New Model.
2. Create your first ModelVersion
We saw in the previous step of this guide what is a ModelVersion. This step is mandatory because there must be at least one ModelVersion per Model ☝️.
The minimum information needed to create a new ModelVersion are:
- A name - A simple string helpful to identify easily your
ModelVersion. - An InferenceType - the type of recognition done by the
ModelVersionamongOBJECT_DETECTION,CLASSIFICATIONandSEGMENTATION. - A Labelmap - A dictionary defining all the labels the
ModelVersionwill be able to identify. - A Framework - Select the ML Framework that will be used by your
ModelVersionamongTENSORFLOW,PYTORCHandONNX. - A list of parameters - all training parameters and their associated default values that can be passed to the training script for retraining this
ModelVersion. This list is necessary to make thisModelVersiontrainable.
from picsellia import Client
from picsellia.types.enums import InferenceType, Framework

client = Client(api_token=api_token, organization_name=organization_name)

# Get the model that will receive this new version
model_name = "efficientdet_d0_coco17_tpu-32"

my_model = client.get_model(
  name=model_name,
)

# Define the model version Inference type
inference_type = InferenceType.OBJECT_DETECTION

# Define the model version LabelMap
labelmap = {
  '0': 'avocado',
  '1': 'not avocado'
}

# Define the model version Framework
framework = Framework.TENSORFLOW

my_model_version = my_model.create_version(
  name='v1', # <- The name of your ModelVersion
  labels=labelmap,
  type=inference_type,
  framework=framwork
)
After running the script, you can verify that your ModelVersion has been successfully created through the UI.
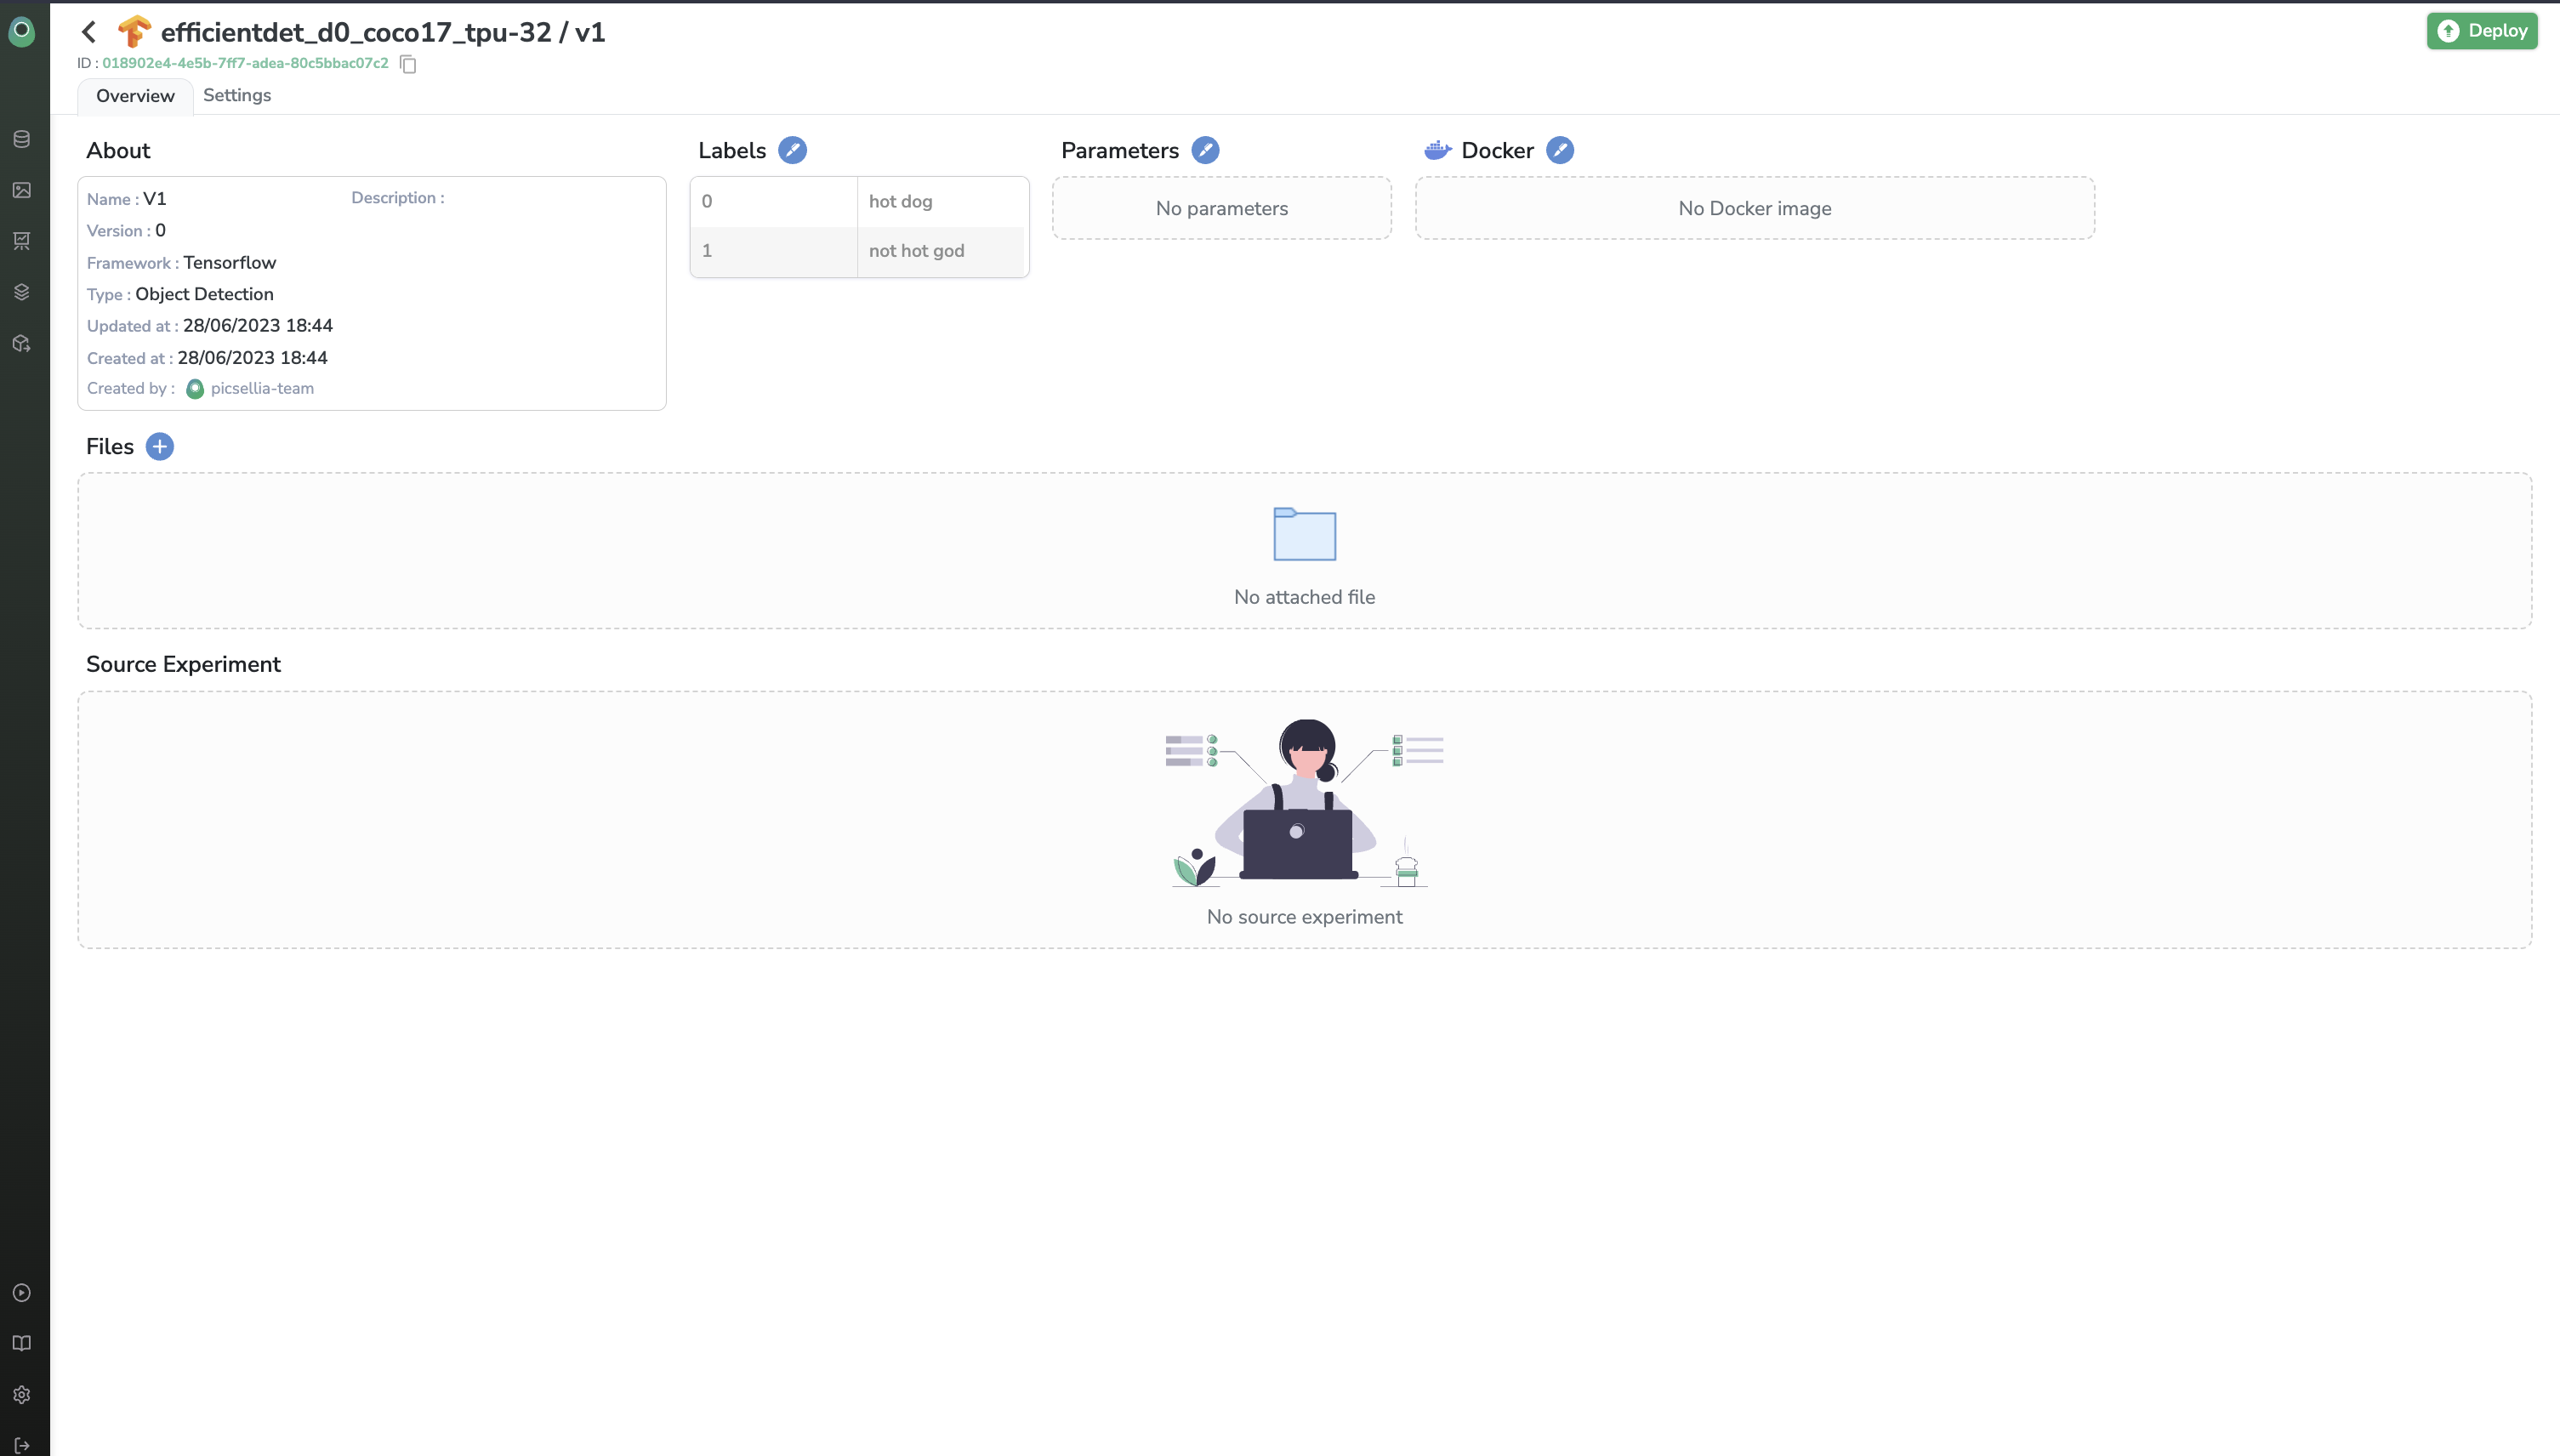
What a freshly created ModelVersion looks like
And here, can I use the UI instead?Once again, a
ModelVersioncan be created directly through the UI from the Model itself by clicking on New Version.
Now, let's import our Model files!
3. Attach the files
In order to re-use your ModelVersion in the future and be sure that you won't lose anything, you need to store the files that your model needs in order to be:
- Deployable - make
Predictionthrough Picsellia Serving Engine. - Trainable - Perform transfer learning, iterative learning, continuous learning.
Here is the standard way to upload a file to your ModelVersion:
Before uploading files to your
ModelVersion, make sure that your files follow the namespace convention. Picsellia will then automatically detect if theModelVersionis Deployable, Trainable or both.
from picsellia import Client
from picsellia.types.enums import InferenceType

client = Client(api_token=api_token, organization_name=organization_name)

# Get the Model Version that will receive this new version
model_name = "efficientdet_d0_coco17_tpu-32"

my_model = client.get_model(
  name=model_name,
)

my_model_version = my_model.get_version(
  name='v1',
)

# Attach the files to the model version
# Make sure to respect the naming conventions
my_model_version.store("model-latest", "path/to/saved_model", do_zip=True)
And here ? I prefer the UI!Again, to do the same with the UI, click on button + next to Files from the ModelVersion overview in your Private Model registry.
Updated about 1 year ago