3. Configuration reference
Here we are going to discuss all the additional information that you may need to create and use your own Processing.
1. Initialization
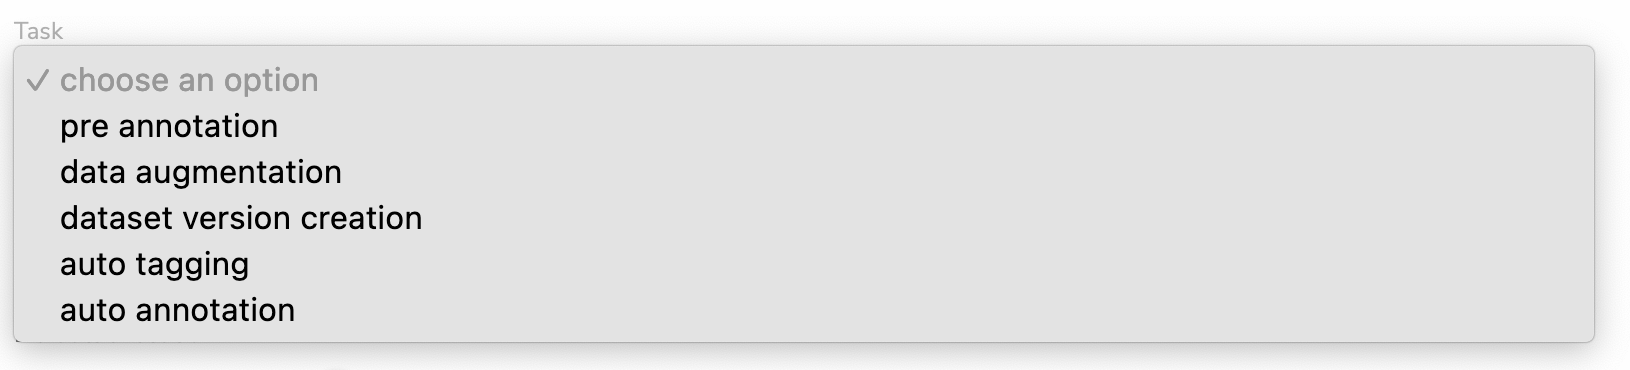
As it is already detailed here, while creating a Processing, you must define a type of Task. The Task selected may impact the creating form allowing you to potentially use or create a Picsellia object.
Let's explore the multiple options that you have for DatasetVersion Processing:
A. Pre-annotation
This is the task you have to choose if you want to pre-annotate your images with a ModelVersion coming from the Model Registry (Public or Private).
If your Processing is of type pre annotation, you will be able to choose a ModelVersion when launching your Processing.
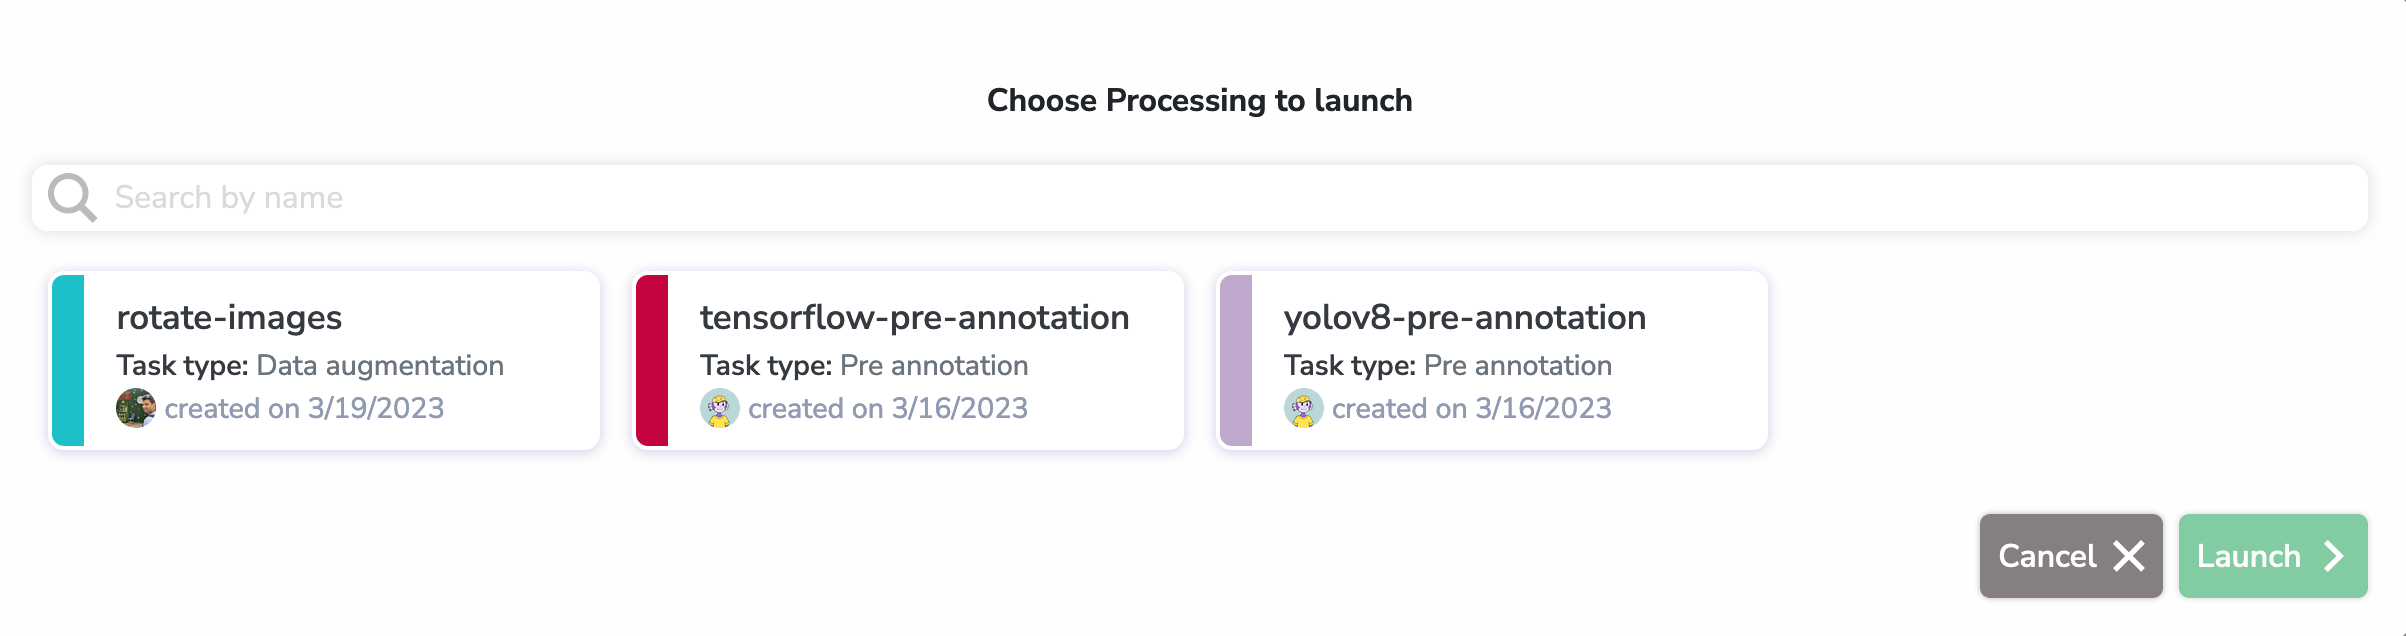
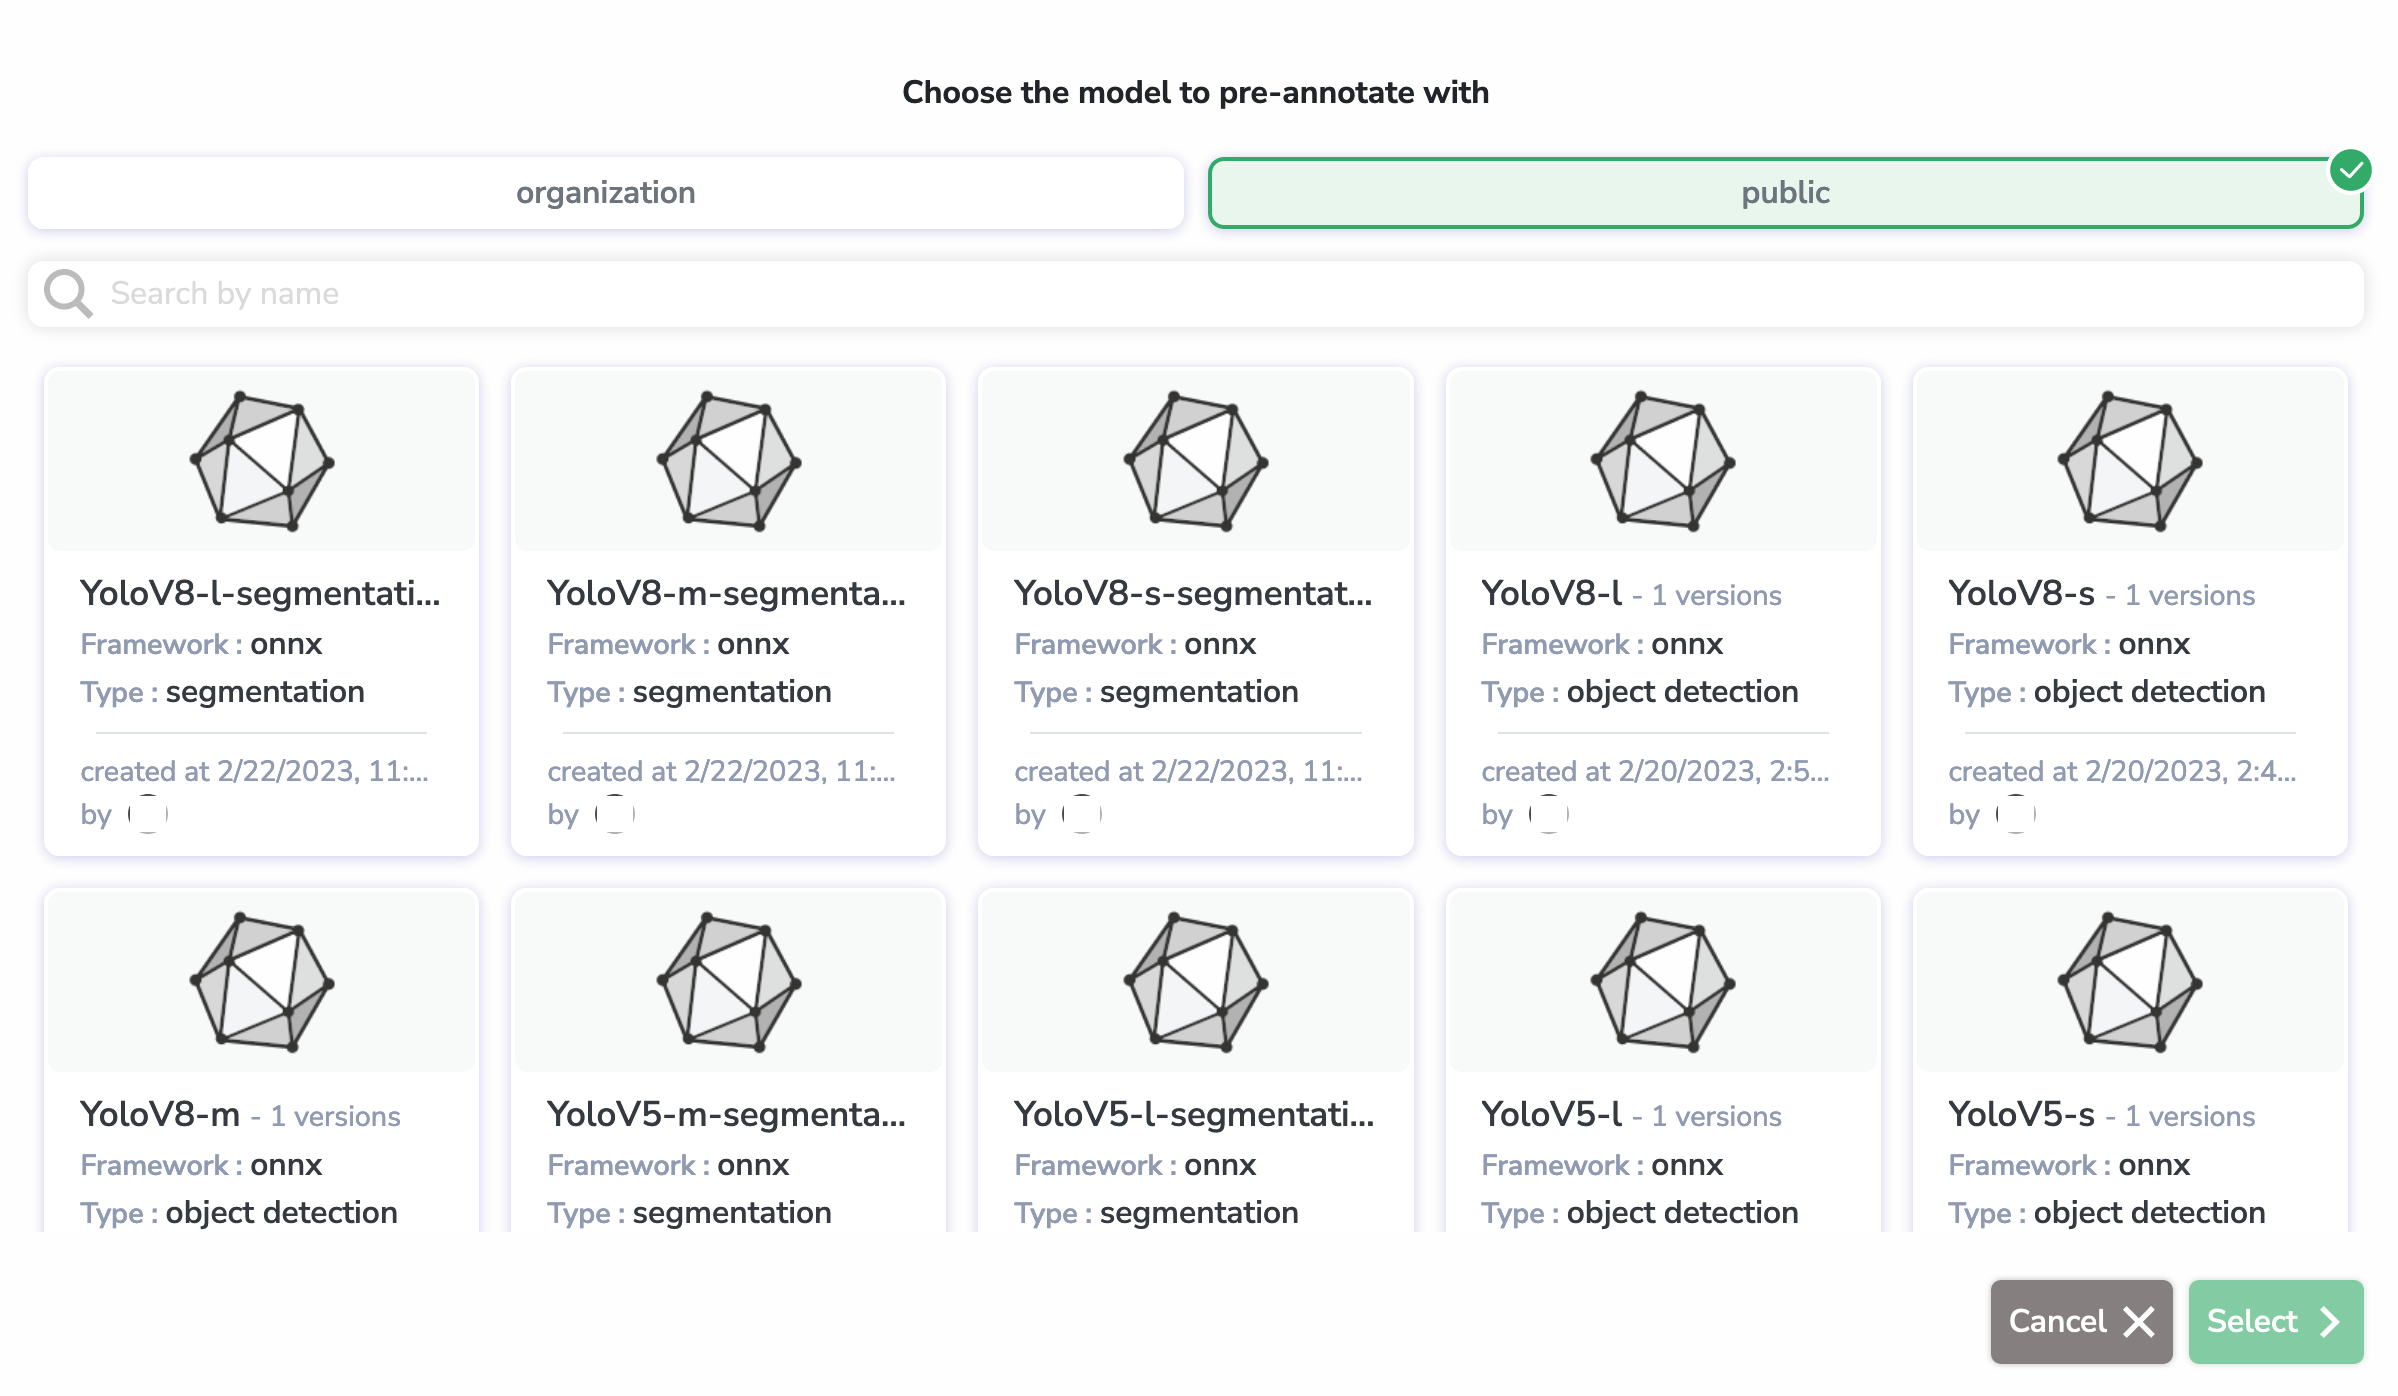
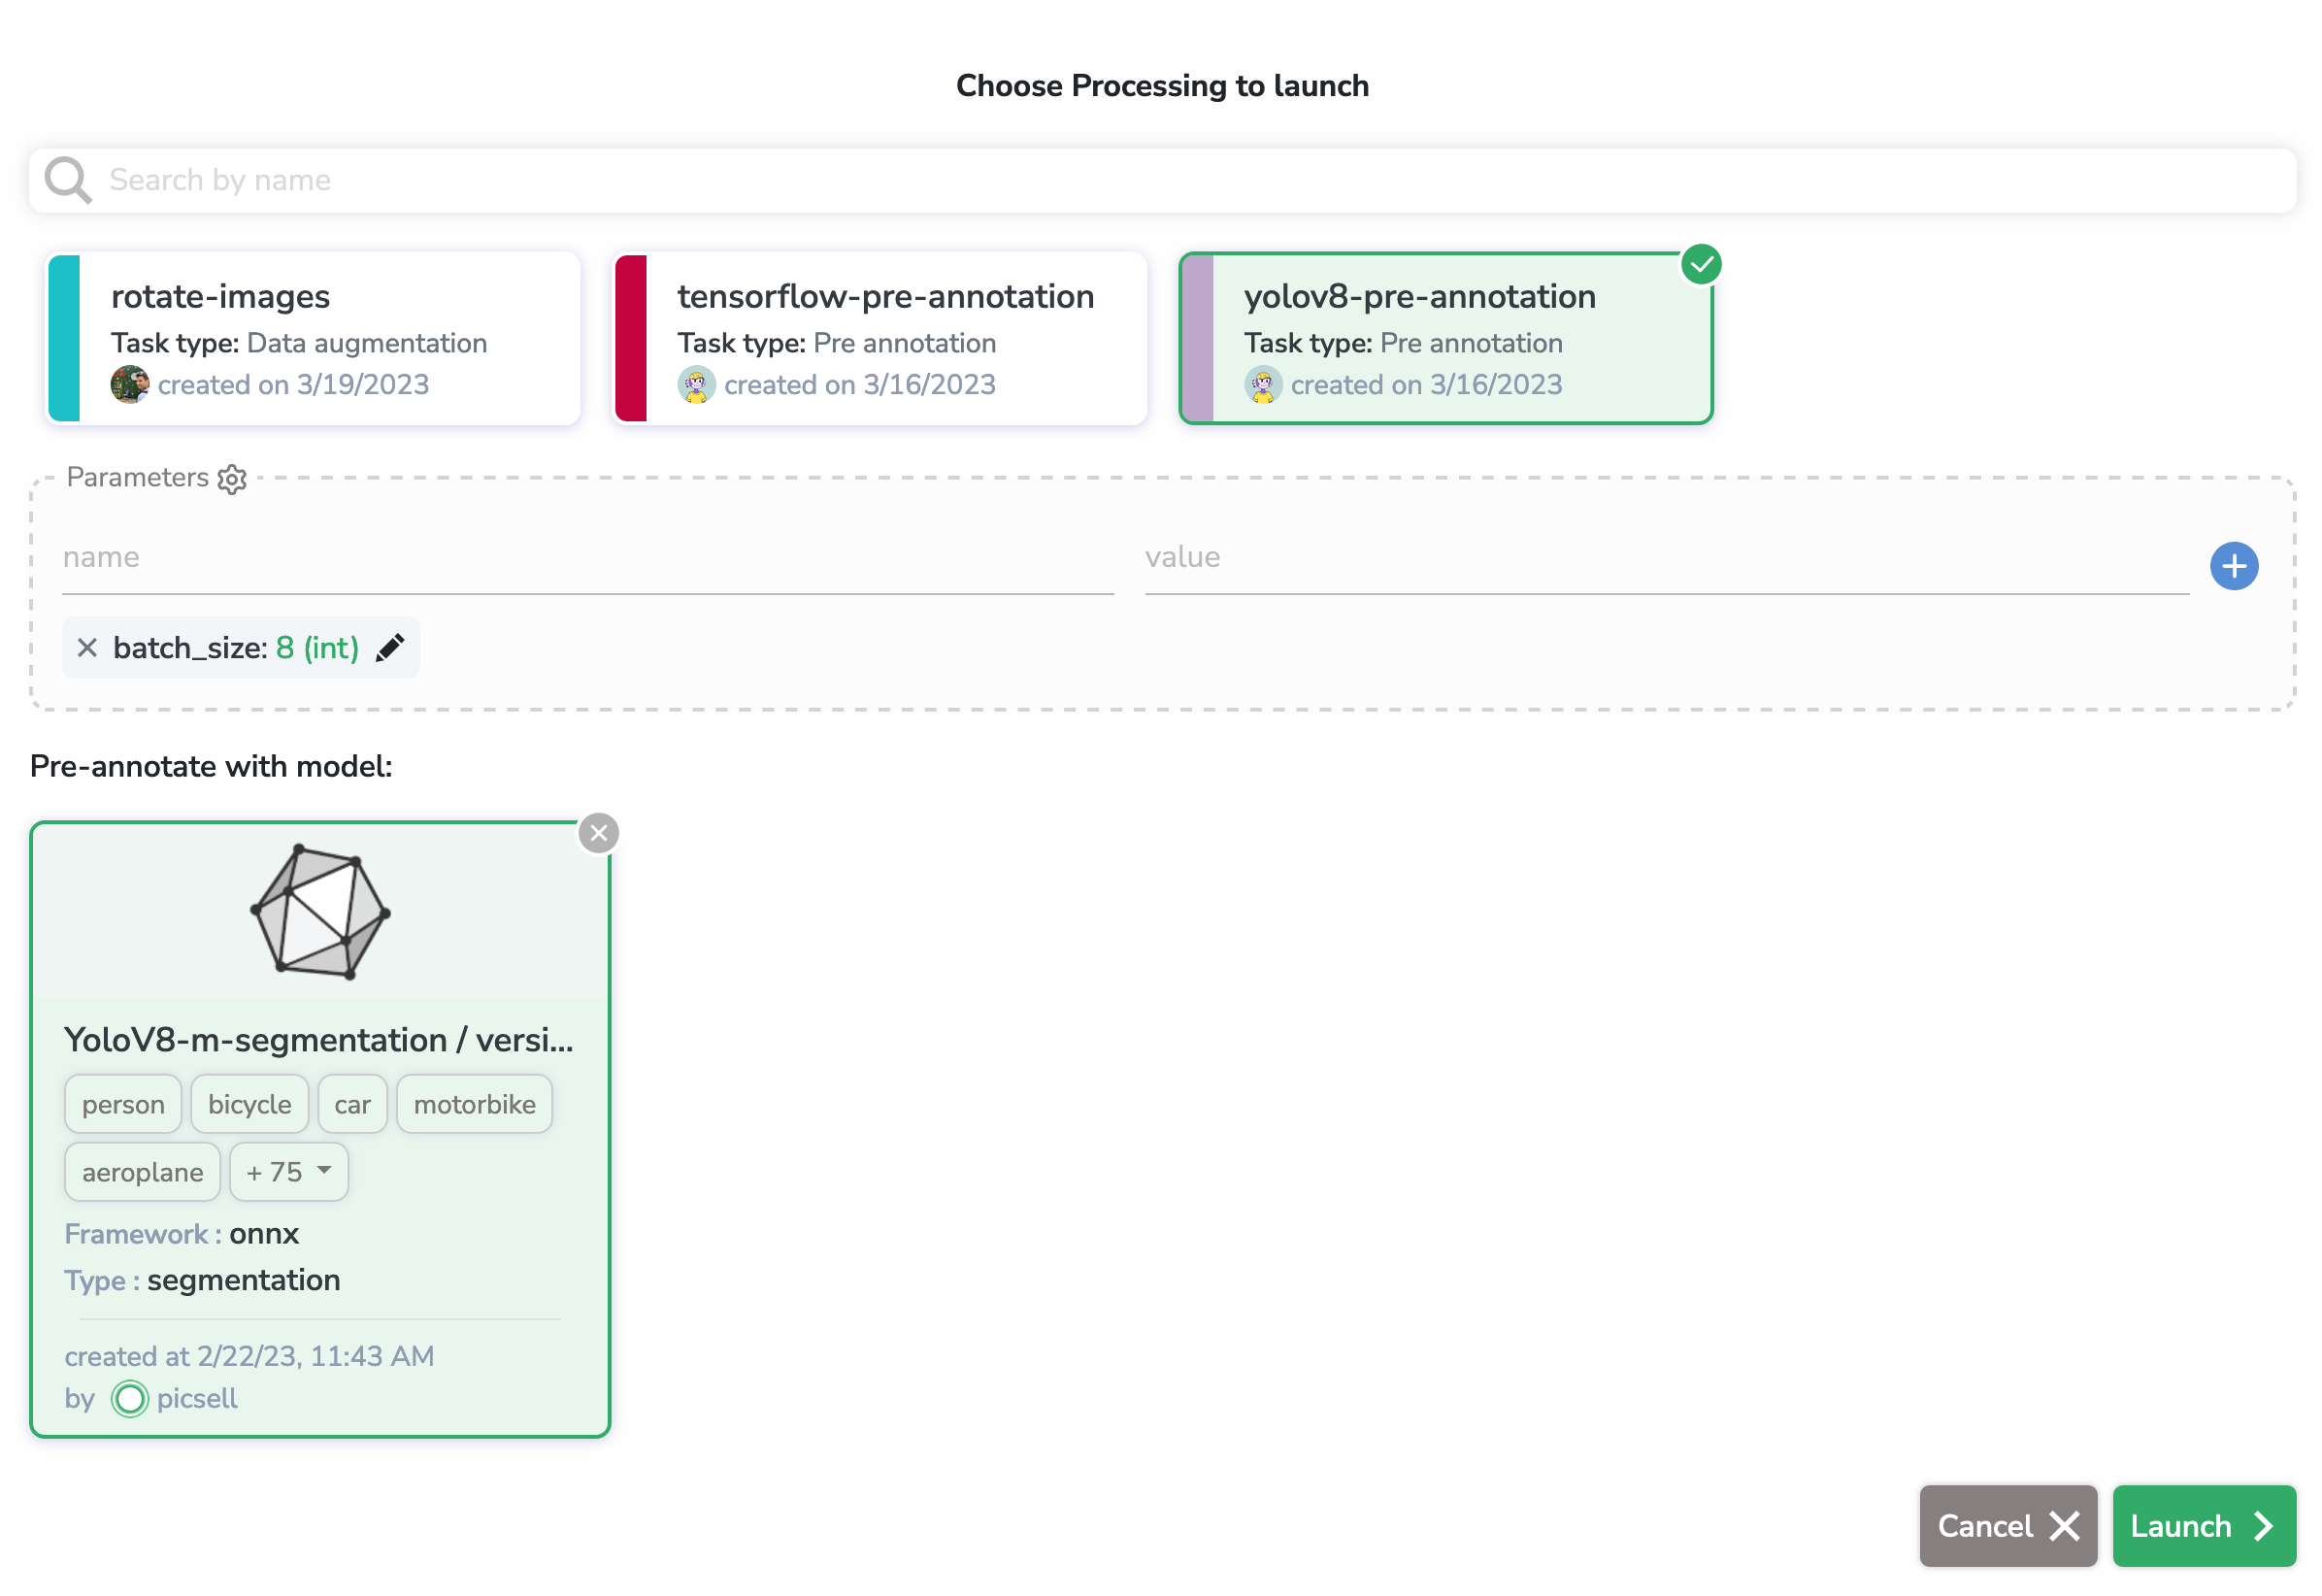
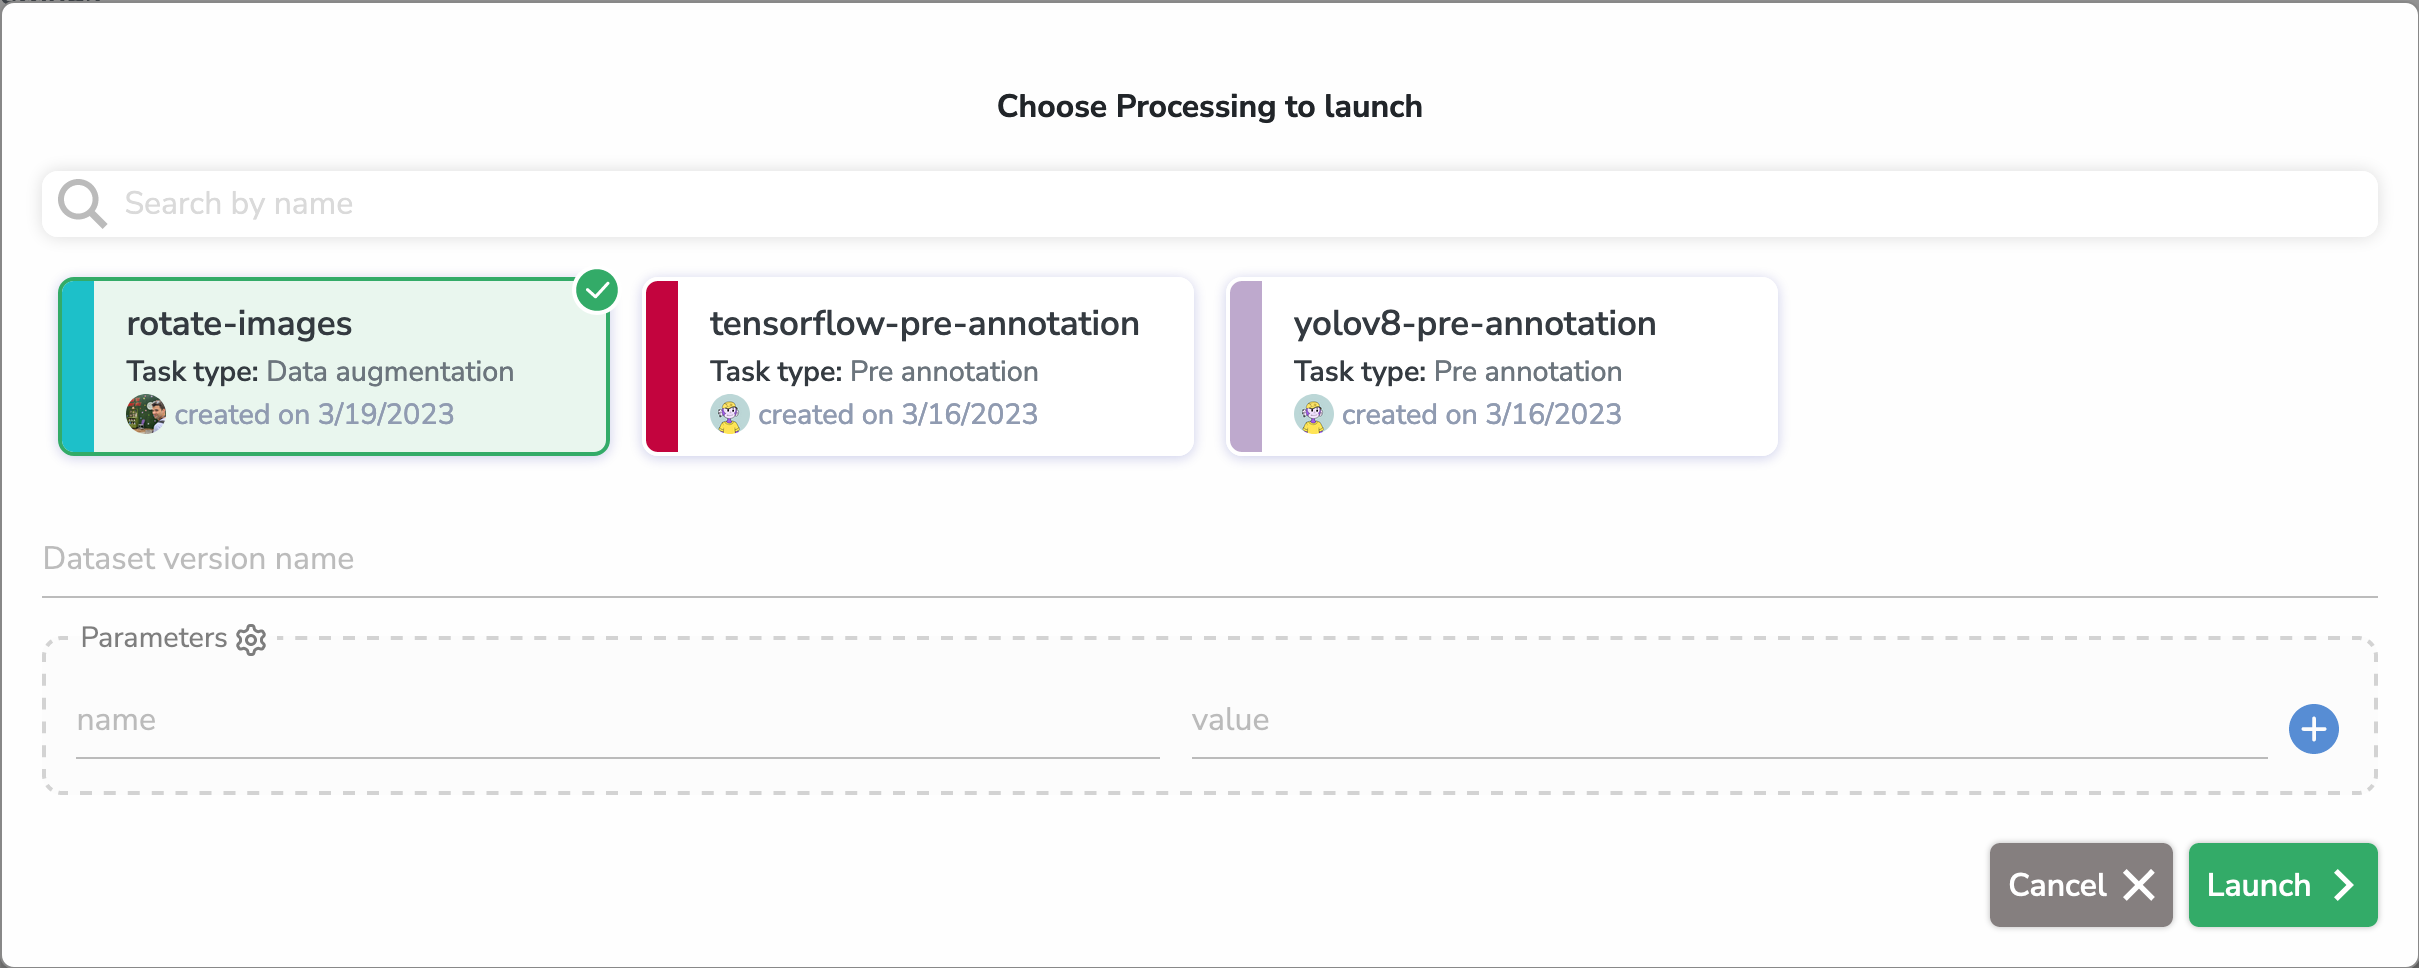
Here, we selected the yolov8-preannotation Processing (which is of type pre-annotation) and we selected a Yolov8 model from the HUB to pre-annotate with.
As you can see, we can edit or add the parameters from the Processing right before launch.
Configuration
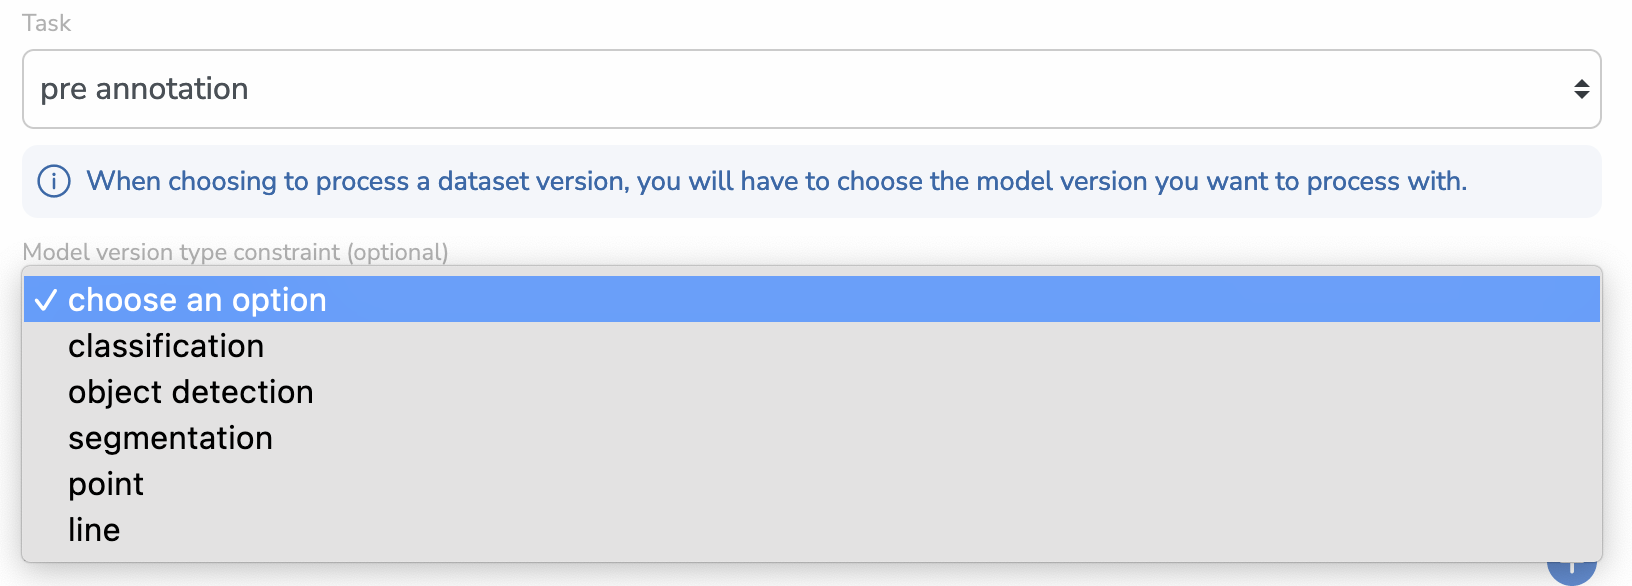
If you choose pre-annotation, you will see a new (optional) input appear that will allow you to select a Model Version Type Constraint/
This is useful if you want to make sure that when selecting a Processing to launch, you will only be prompted by ModelVersion of the right Detection Type.
You can also leave it empty and choose the ModelVersion you want regardless of its type.
B. Data Augmentation
This is the type you have to choose if you want to perform Data Augmentation on a DatasetVersion and add the new (with or without the originals) images to another DatasetVersion that will be created automatically when you launch the Processing.
As it will automatically create an empty new DatasetVersion, you will be prompted with a text input when you select a Processing of this type to launch.
Configuration
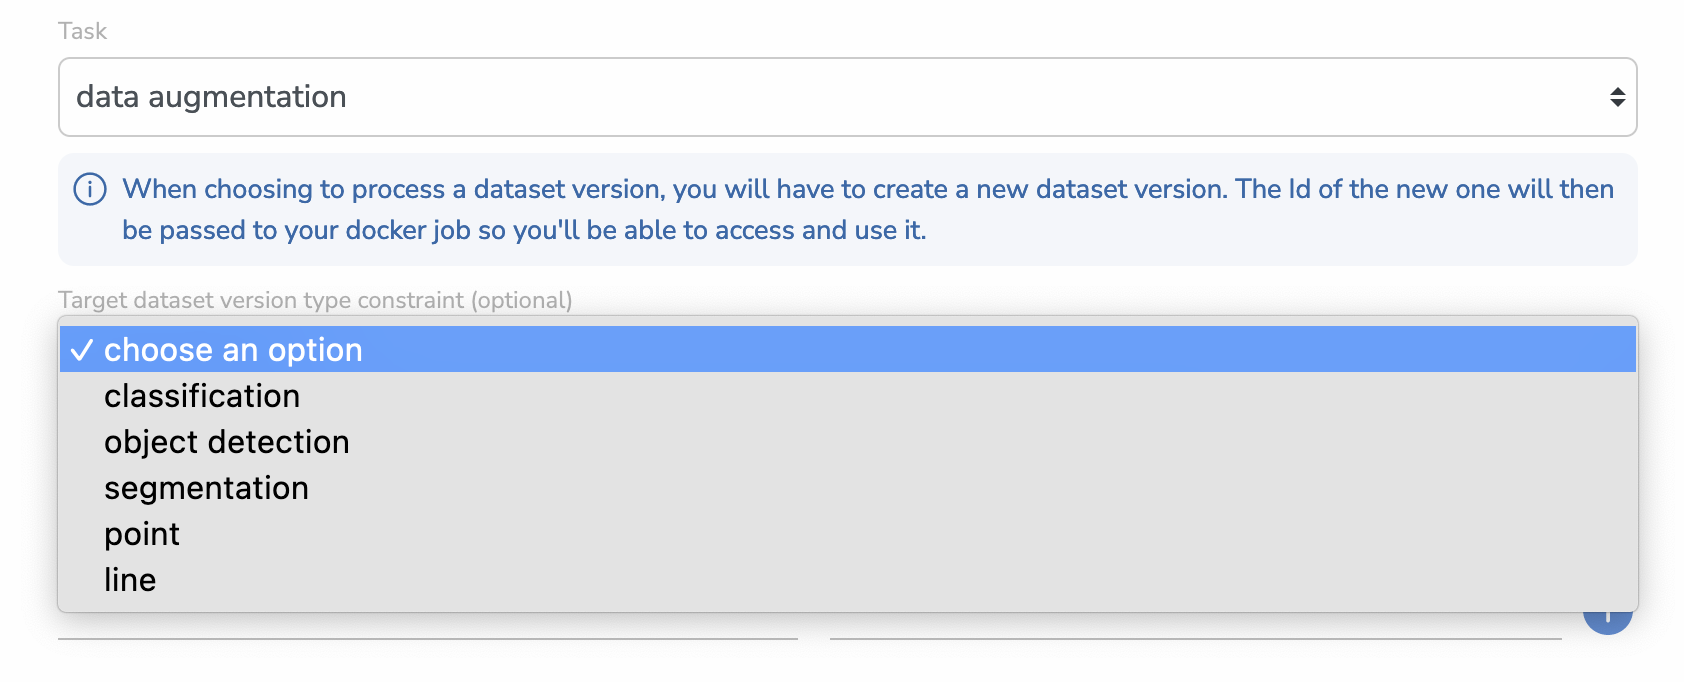
If you choose data augmentation, you will see a new (optional) input appear that will allow you to select a Target Dataset Version Type Constraint.
This is useful if you want the DatasetVersion to be created to be configured with the right Detection Type directly.
You can also leave it empty and the new DatasetVersion will be of type NOT_CONFIGURED.
C. Dataset Version Creation
This is a broader type that will automatically create a new DatasetVersion automatically before launching the Processing. It has the exact same effect and options as the data processing type.
In fact, the data augmentation type is just a clearer and more specific name than dataset version creation but they are basically the same thing.
D. Auto Tagging
This one is the same as pre-annotation so you can refer to the latter specification for more information.
E. Auto Annotation
This one is the same as pre-annotation so you can refer to the latter specification for more information.
2. Context within Jobs
When you launch a Processing, it automatically creates and schedules a Job that you can further find in the Jobs overview on Picsellia.
In order for your code to work properly, you will need to retrieve that information from your Job (using our Python SDK).
You can do it this way:
from picsellia import Client
import os

api_token = os.environ["api_token"]
job_id = os.environ["job_id"]

client = Client(
    api_token=api_token,
)

job = client.get_job_by_id(job_id)
Theapi_tokenandorganization_idenvironment variables are added automatically to the execution environment, you can fetch them directly using theoslibrary just as above
Your code should always start with those lines in order for you to retrieve information from your Job and also communicate with Picsellia thanks to the Client.
3. Context access
Now that you retrieved your job thanks to its id. It's time to retrieve what we call its context in order for you to have the essential information about your Data Processing.
context = job.sync()["datasetversionprocessingjob"]

input_dataset_version_id = context["input_dataset_version_id"]
output_dataset_version_id = context["output_dataset_version_id"]
model_version_id = context["model_version_id"]
parameters = context["parameters"]
Remember that excepted for the input_dataset_version_id, all the other context variables are optional depending on the type ofProcessingthat you launched, so they might not exist in the context.
You can now retrieve the objects needed with the SDK using their id, for example:
input_dataset_version = client.get_dataset_version_by_id(input_dataset_version_id)
output_dataset_version = client.get_dataset_version_by_id(output_dataset_version_id)
model_version = client.get_dataset_version_by_id(model_version_id)
print(parameters)
>>>
{
 "batch_size": 4,
 ...
}
And interact with them the way you usually do it!
Updated about 1 year ago