Datalake - Upload Data from local drive
1. Accessing the Datalake
DatalakeTo access the proper Organization's Datalake, ensure that you're within the right Organization. Each Organization can have several Datalake that are independent one from another and potentially associated with different Storage Connectors.
After accessing the correct Organization, you can reach a Datalake through the Navigation Bar as illustrated below:
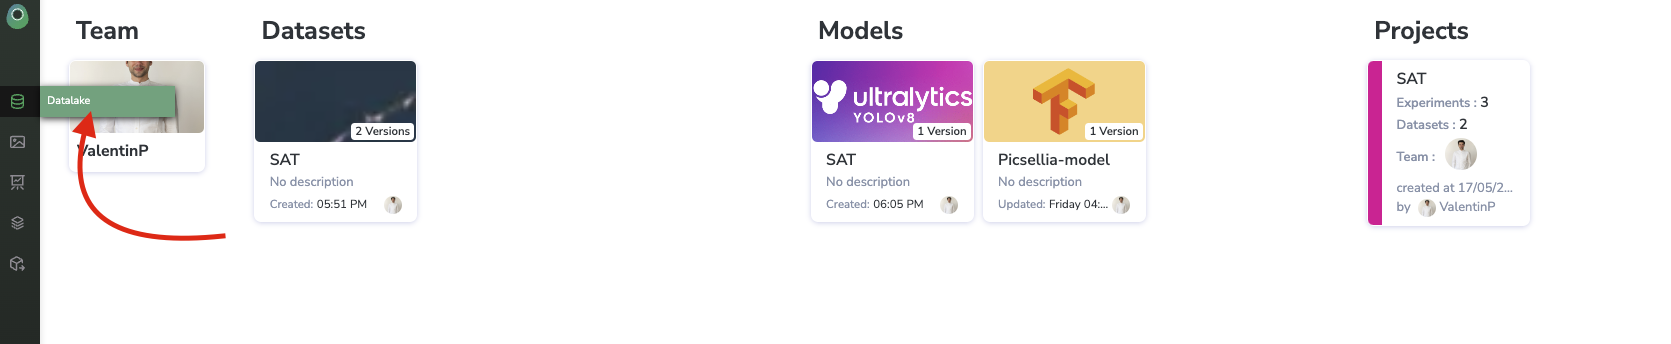
Access Datalake
You're now visualizing a Datalake for your Organization.
Now, it's time to upload your Data to Picsellia!
2. Upload your Data from a local drive
Data from a local driveThere are two ways to create Data into a Picsellia Datalake:
- Upload
Datafrom a local drive. In this case, the uploadedDatawill be physically stored by Picsellia on the bucket linked to theDatalakethrough a Storage Connector. - Scan
Dataalready stored on a bucket hosted by a Cloud provider. In this case, you will be able to visualize and exploreDataalready physically stored through your PicselliaDatalake.
This page focuses on the first approach: the upload of Data from a local drive to Picsellia's Datalake.
As explained here, by uploading Data from a local drive to a Datalake, Picsellia will store this Data on the bucket linked to this Datalake through a Storage Connector. This way Data can be visualized and manipulated by any member of your Organization.
The bucket which will physically store the Data can either be:
- The bucket provided for your Organization on the Picsellia Object Storage (hosted by AWS) if the
Datalakeis using the picsellia-default-storage Storage Connector. As is the case for theDatalakenamed default and created for each new Organization. - Your own bucket hosted by your Cloud provider that has been connected to one of your Picsellia
Datalakeusing a Storage Connector.
Now, after having accessed the Datalake you want to upload Data to, click on the Upload data button.
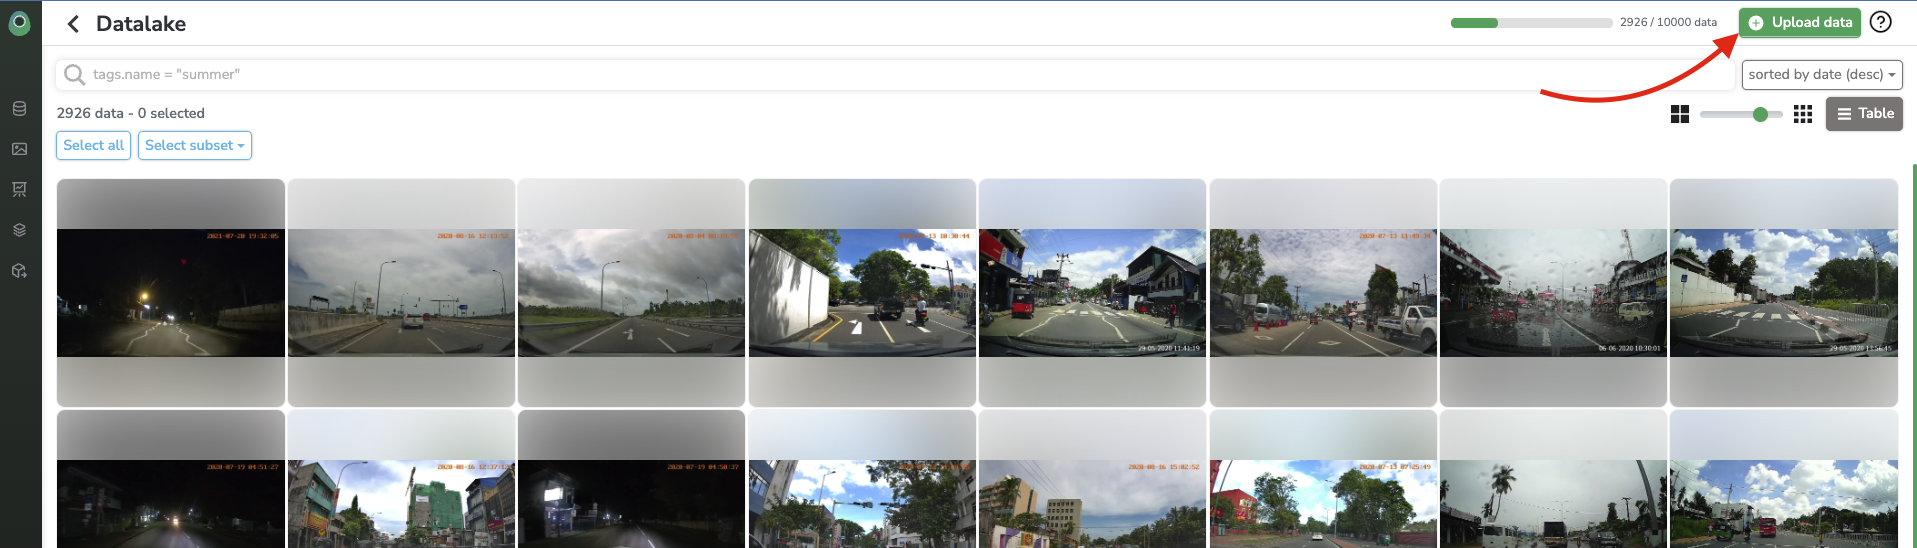
Upload Data
SampleDataIf you're new to Picsellia, your
Datalakemight be empty or contain 150 exampleData.
A modal will appear. From here, click on Select files, which will open your OS's file browser, allowing you to choose the images you wish to upload into your Picsellia Datalake.
Once you've selected files from your local device, you can create or select the appropriate DataTag to associate with the batch of Data you're about to upload to your Datalake. To learn more about tags and their usage, refer to this documentation page.
After selecting the necessary files and DataTags, click on Upload.
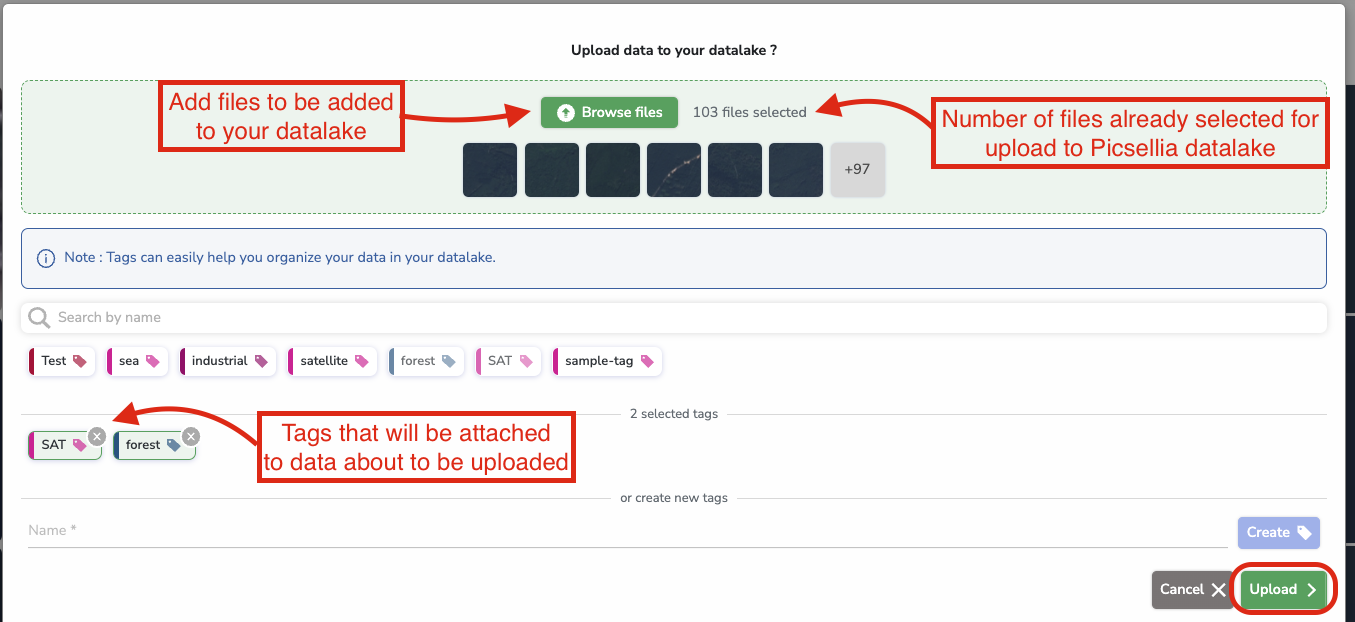
Data upload modal
During the upload, a progress bar will display. Depending on the amount of Data being uploaded, you may need to be patient, or consider using our SDK to upload Data.
Supported Image FormatsCurrently, we support the primary image formats:
- .png
- .jpg
- .jpeg
If you require support for additional formats, please don't hesitate to contact us.
Once the upload is complete, you can see the total number of Data in your Datalake and sort it based on various criteria (updated date, filename, or random), as depicted below:

Visualize and sort uploaded Data
What about Annotations?It's important to note that labeling occurs at the
DatasetVersionlevel, not at theDatalakelevel.
Updated about 1 year ago