1.1. AWS - Create a delegated Access for Picsellia
1. Sign in to the AWS Management Console
Log in to your AWS account and navigate to the AWS Management Console.
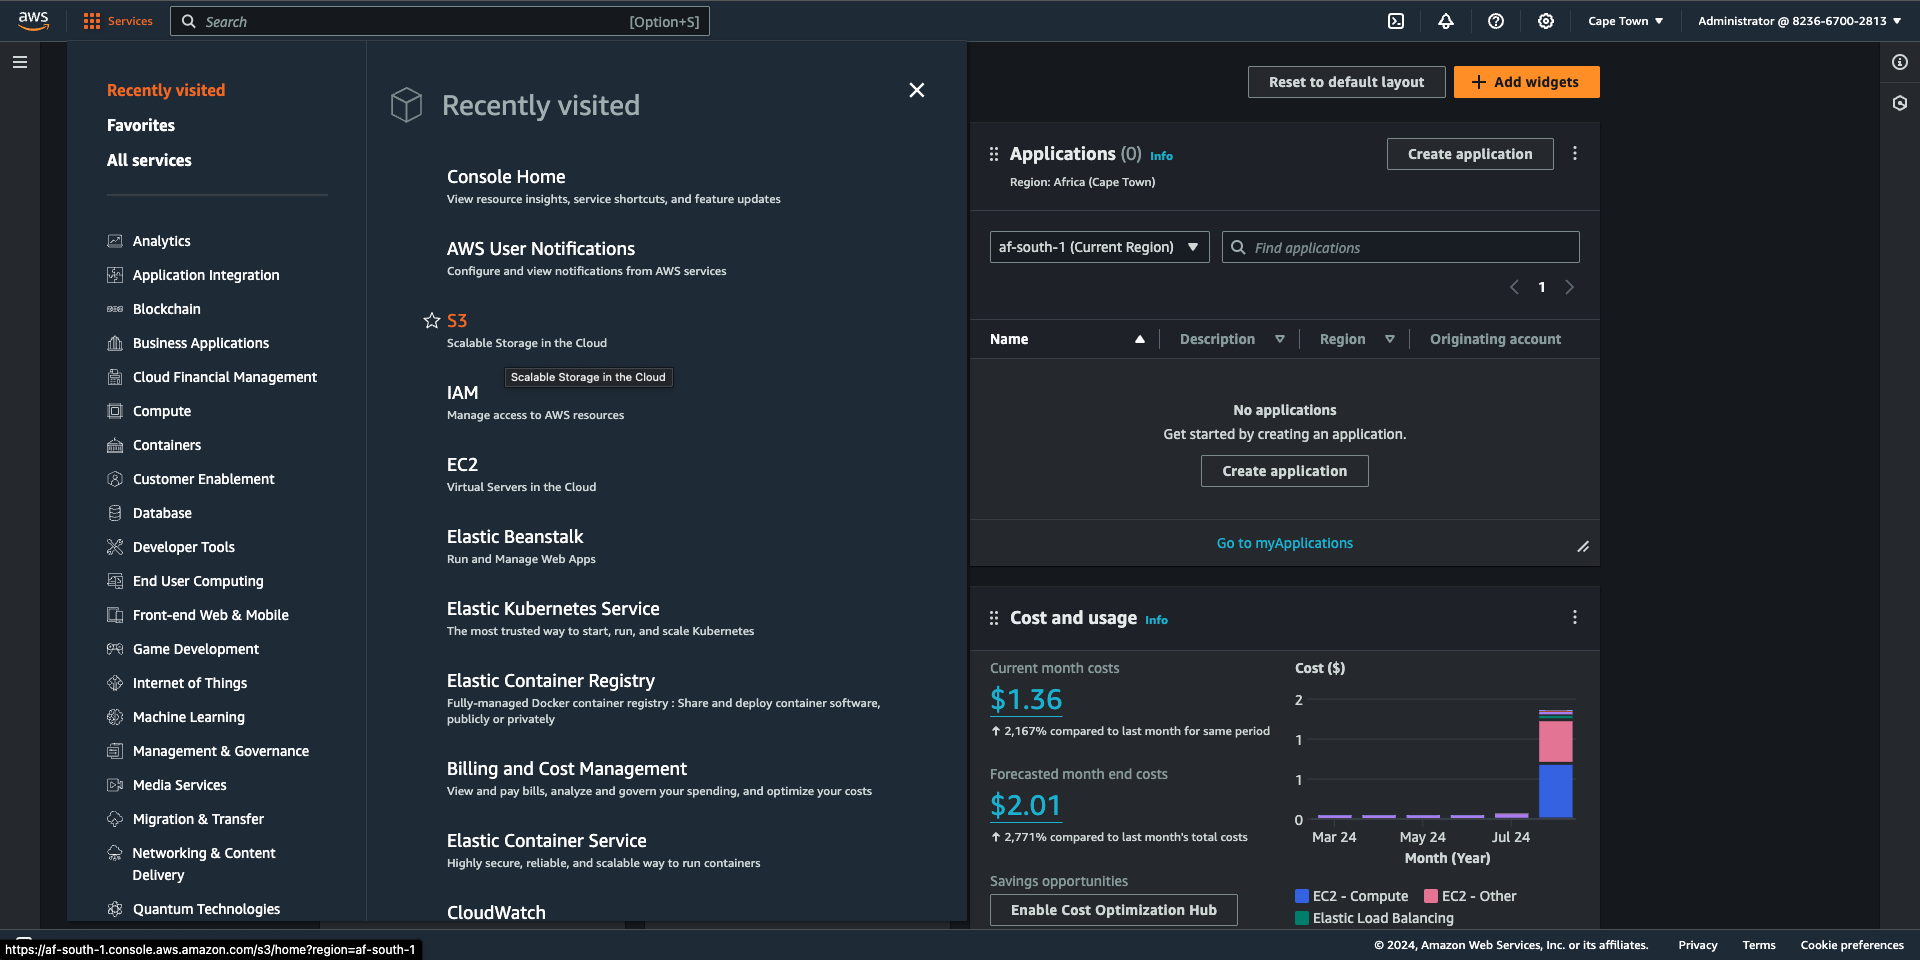
2. Open the S3 Console
In the Services menu, click "S3" to access the S3 Console.
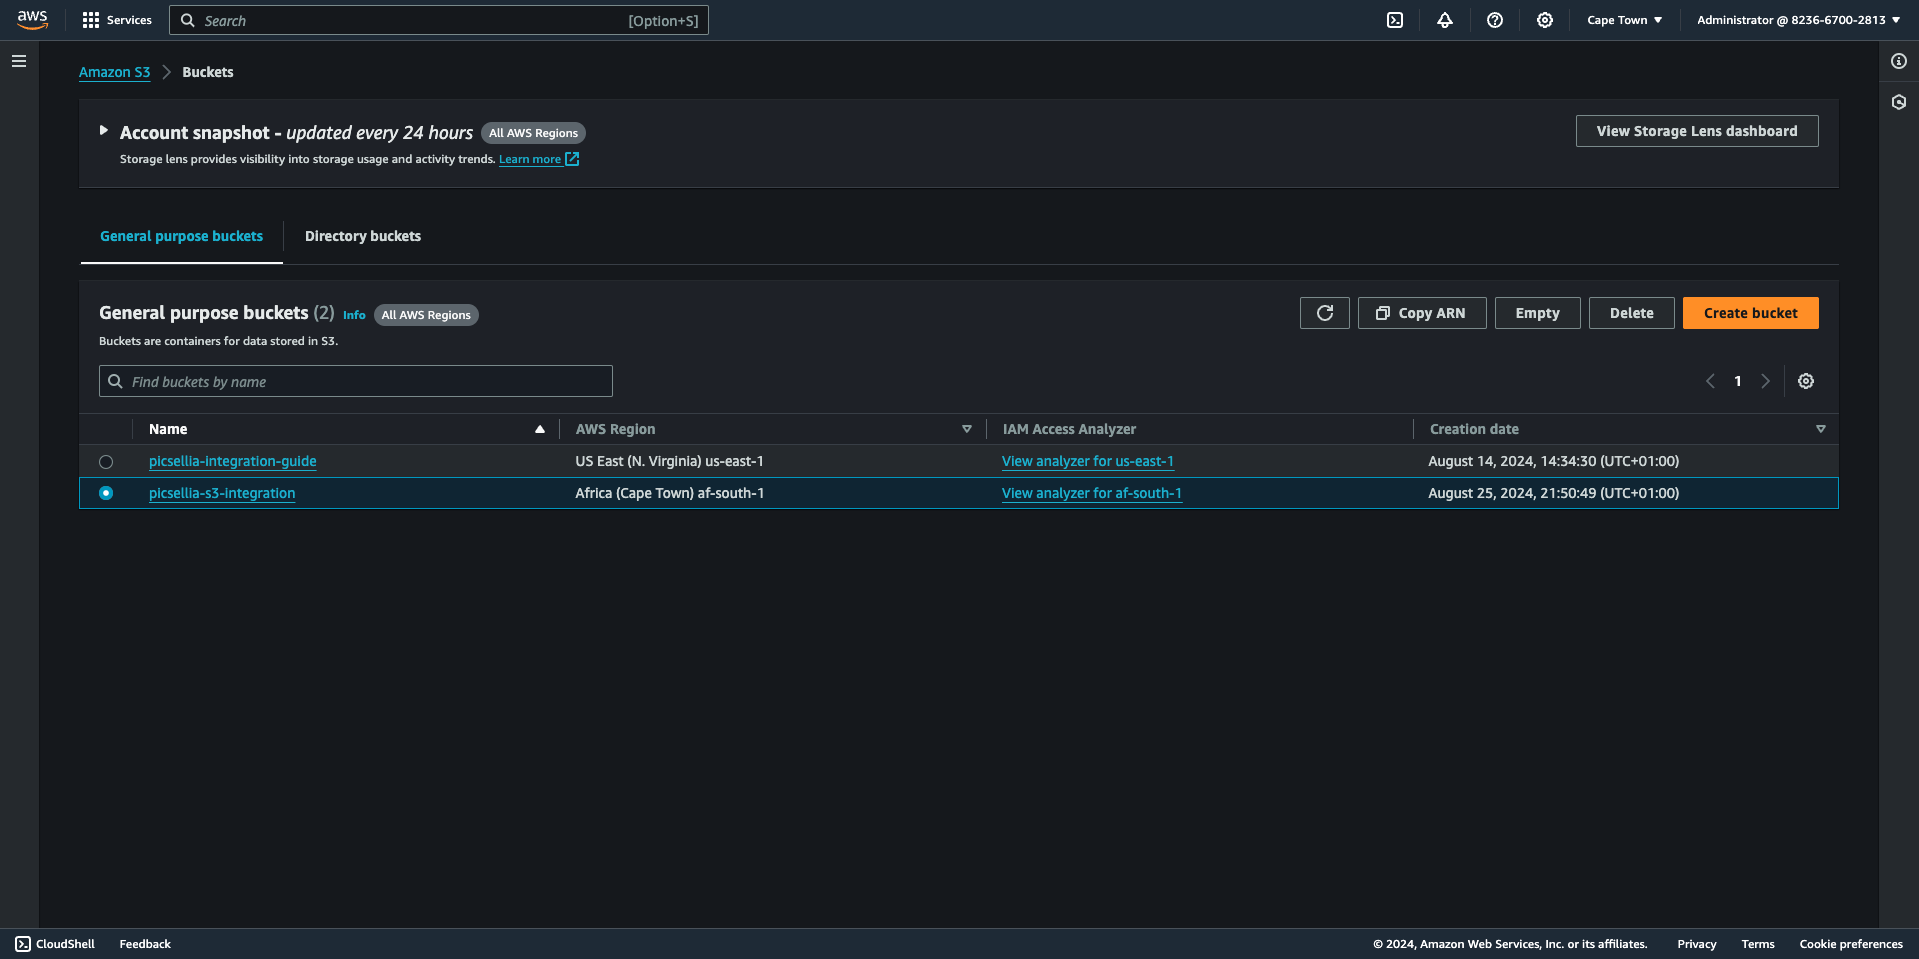
3. Choose the Bucket
Locate and click on the bucket name that you want to delegate, read, and write access.
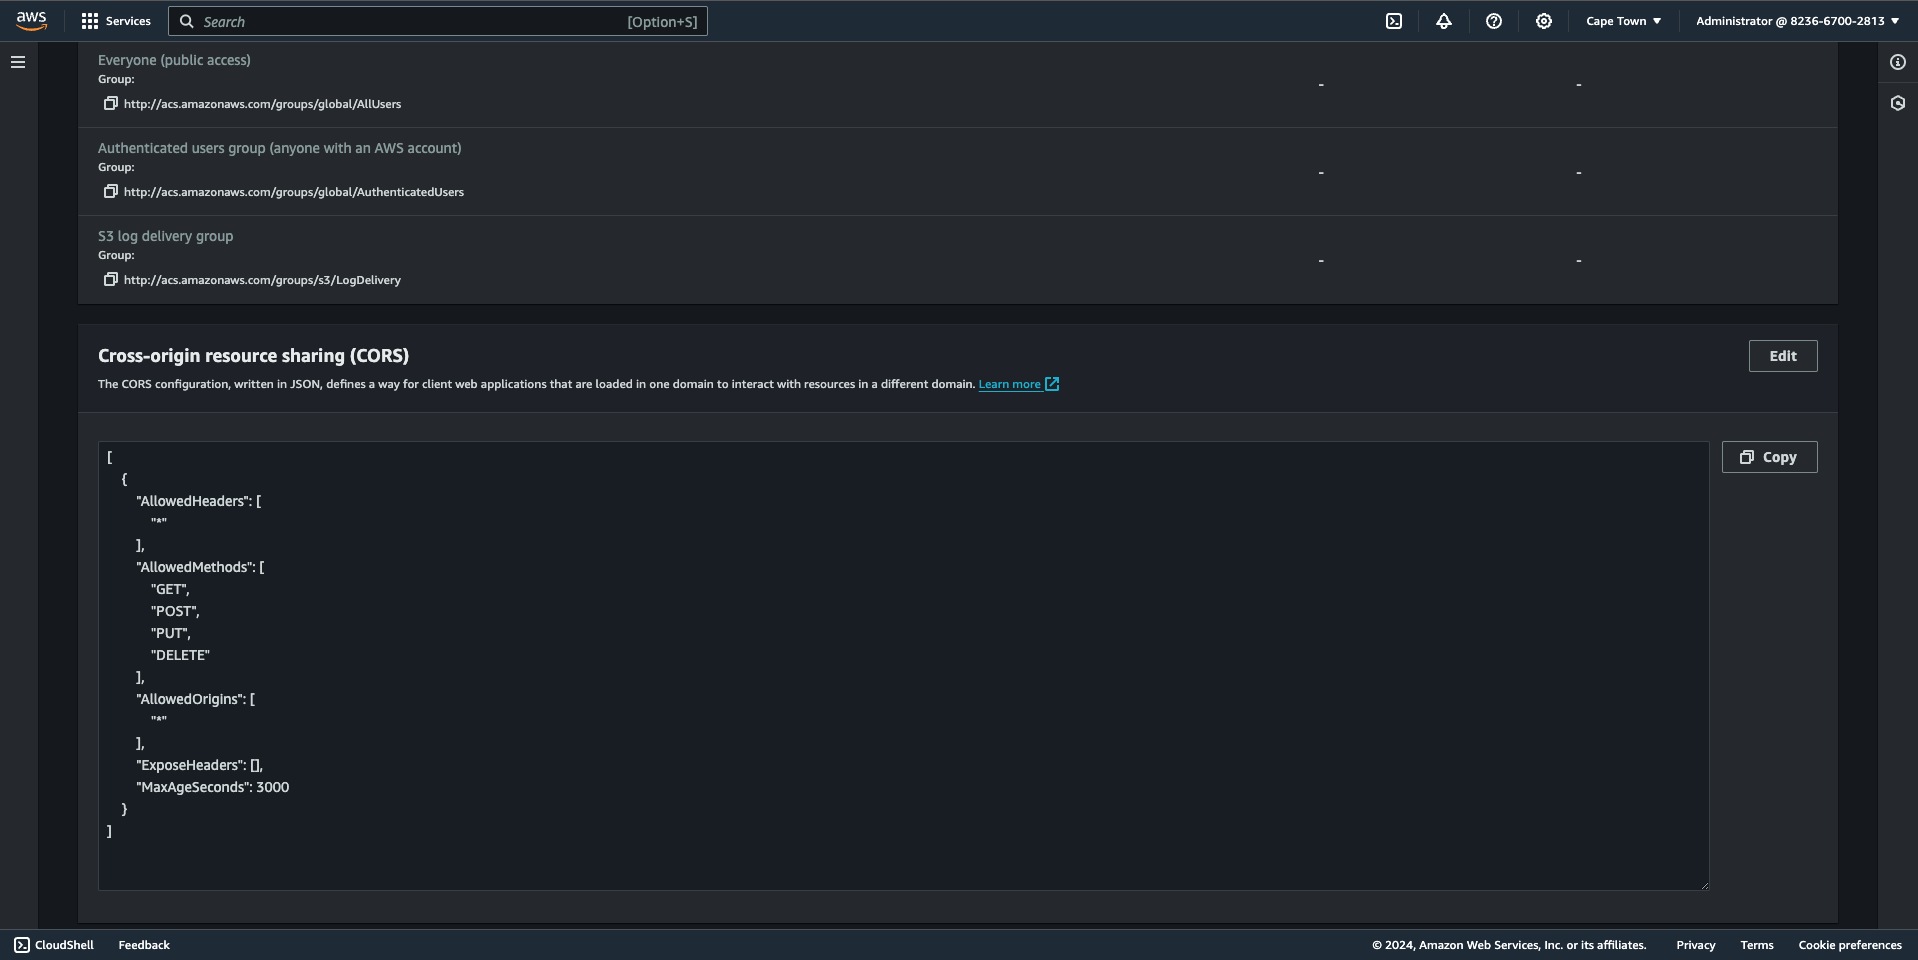
4. Configure bucket CORS
Click on your Bucket name and go to the "Permissions" tab.
Scroll down to "Cross-origin resource sharing (CORS)" and modify it to add the following JSON policy:
[
    {
        "AllowedHeaders": [
            "*"
        ],
        "AllowedMethods": [
            "GET",
            "POST",
            "PUT",
            "DELETE"
        ],
        "AllowedOrigins": [
            "*"
        ],
        "ExposeHeaders": [],
        "MaxAgeSeconds": 3000
    }
]
5. Open the IAM Console
In the Services menu, click "IAM" to access the Identity and Access Management (IAM) console.
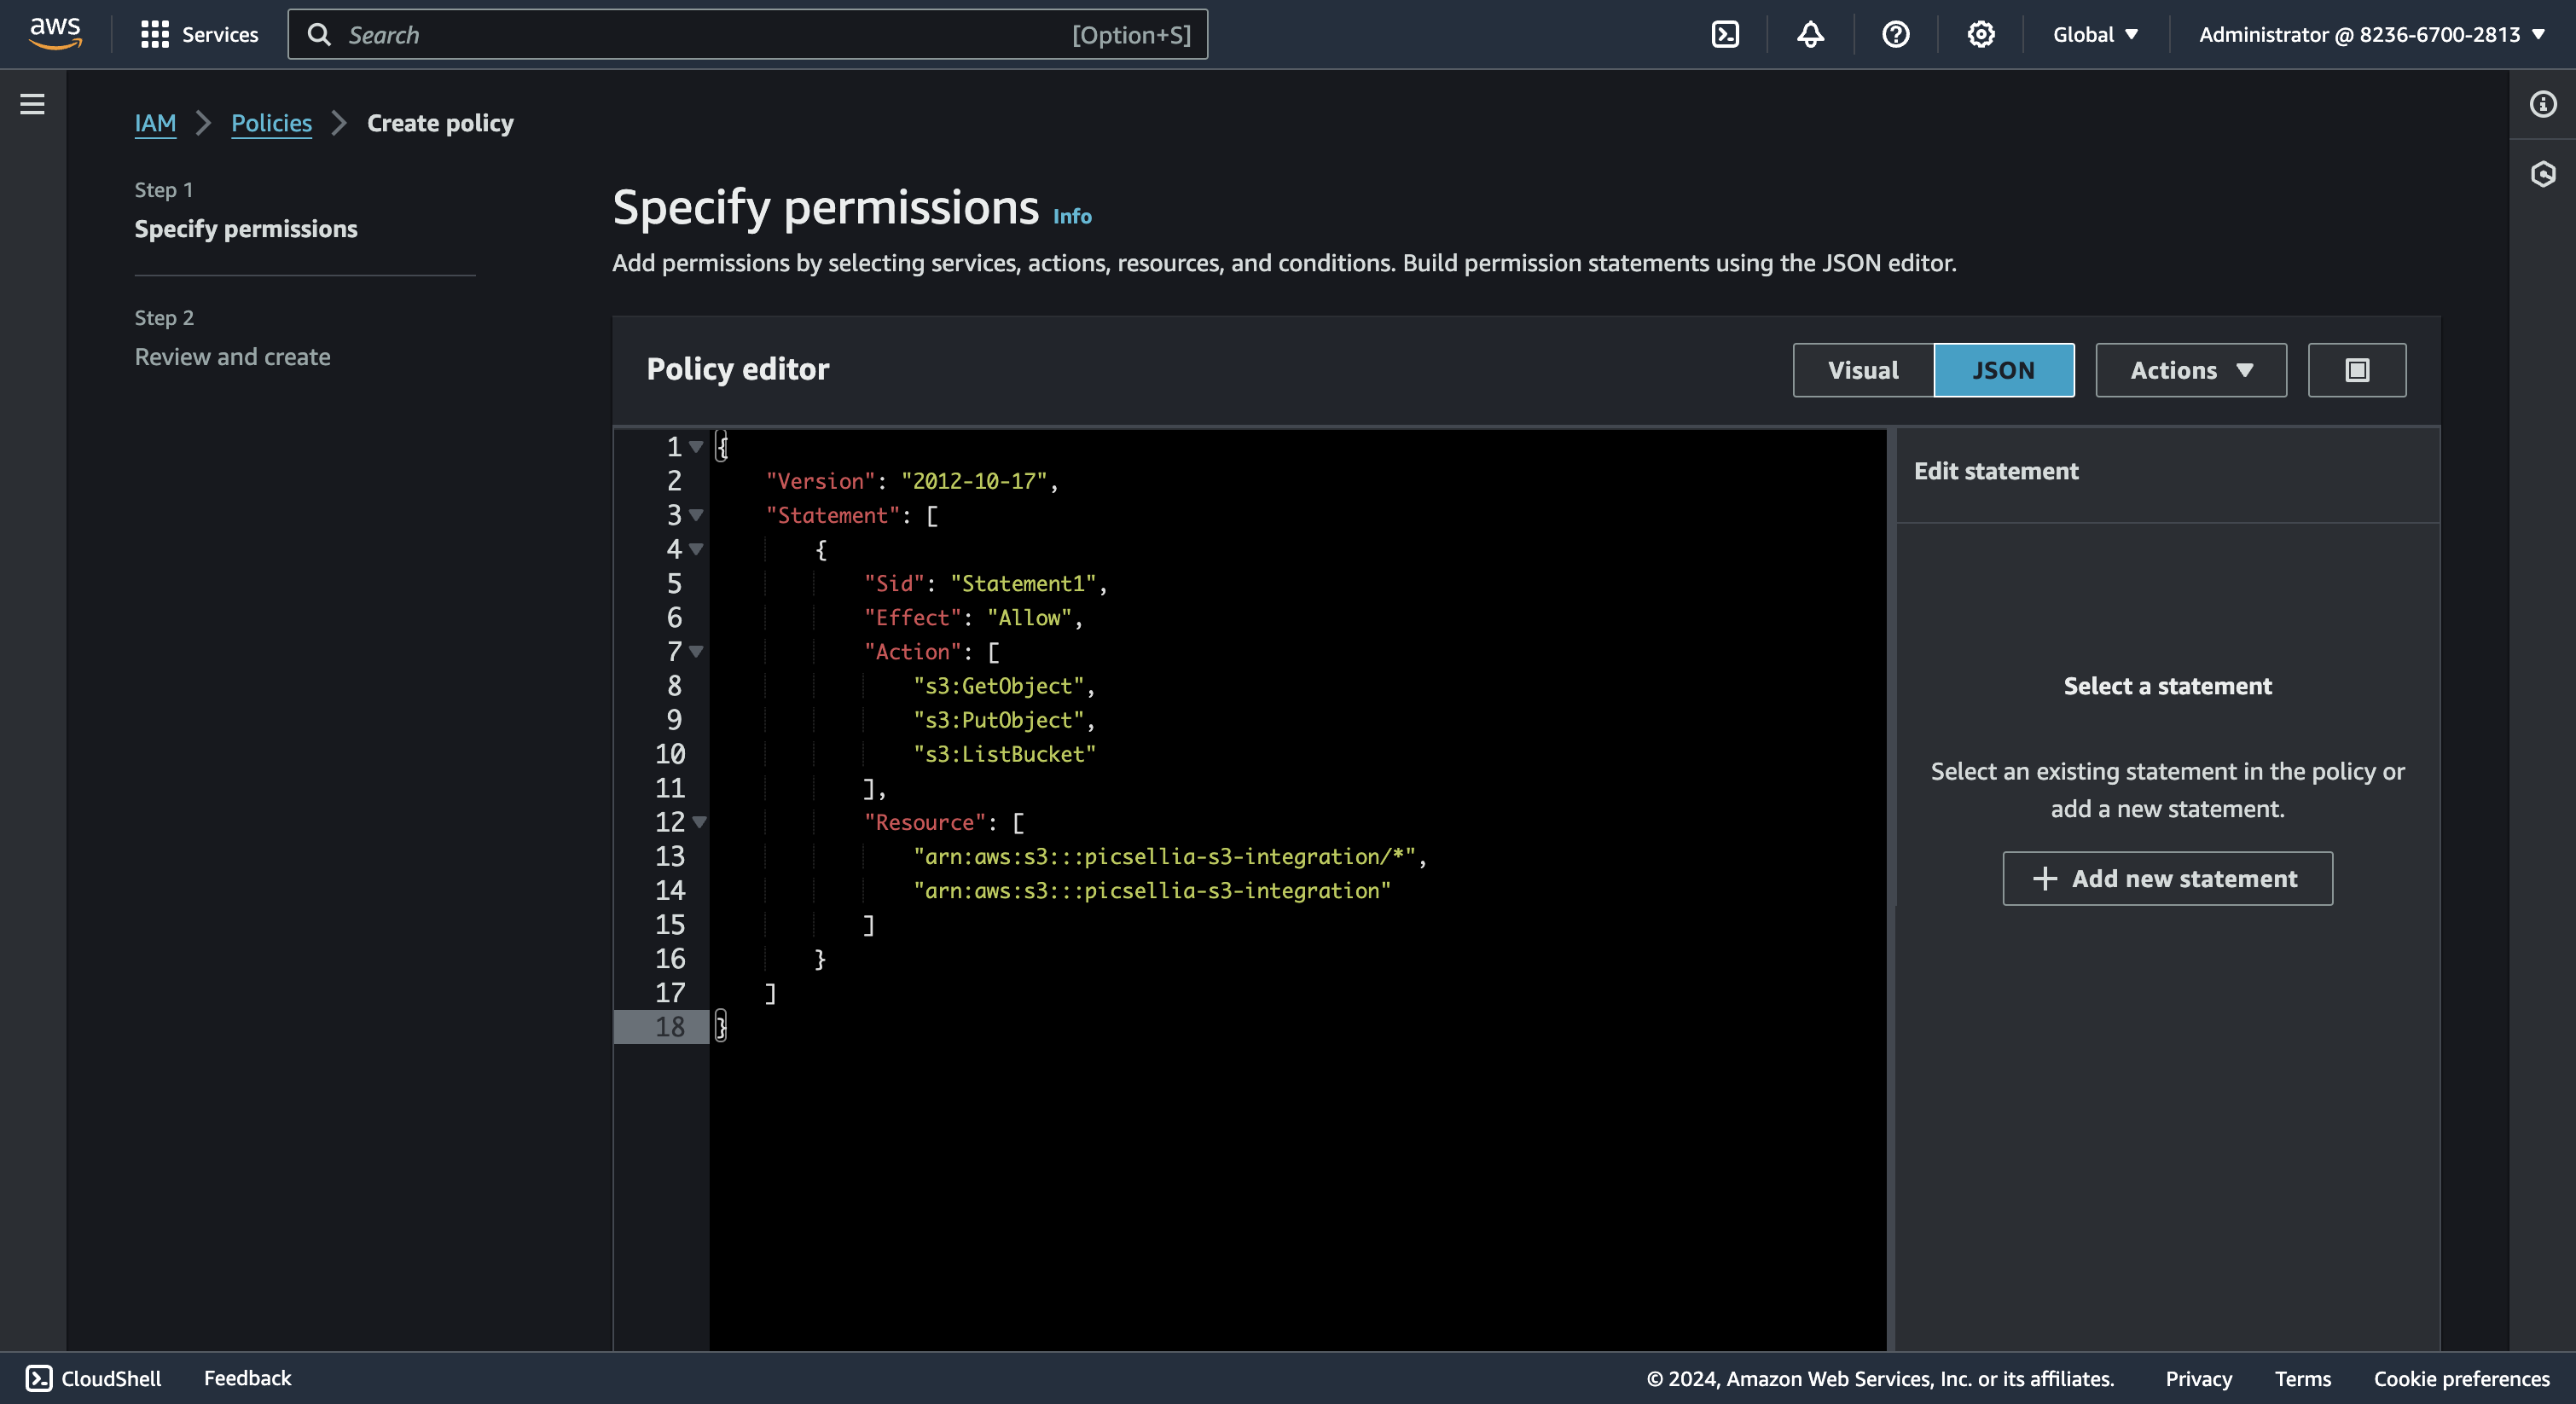
6. Create a New Policy
- Select "Policies" from the left navigation pane in the IAM dashboard.
- Click "Create Policy."
- Choose the "JSON" tab.
- Paste the following JSON policy, replacing the placeholder "{your-bucket-name}" with the name of your bucket:
{
	"Version": "2012-10-17",
	"Statement": [
		{
			"Sid": "Statement1",
			"Effect": "Allow",
			"Action": [
				"s3:GetObject",
				"s3:PutObject",
				"s3:ListBucket"
			],
			"Resource": [
				"arn:aws:s3:::{your-bucket-name}/*",
				"arn:aws:s3:::{your-bucket-name}"
			]
		}
	]
}
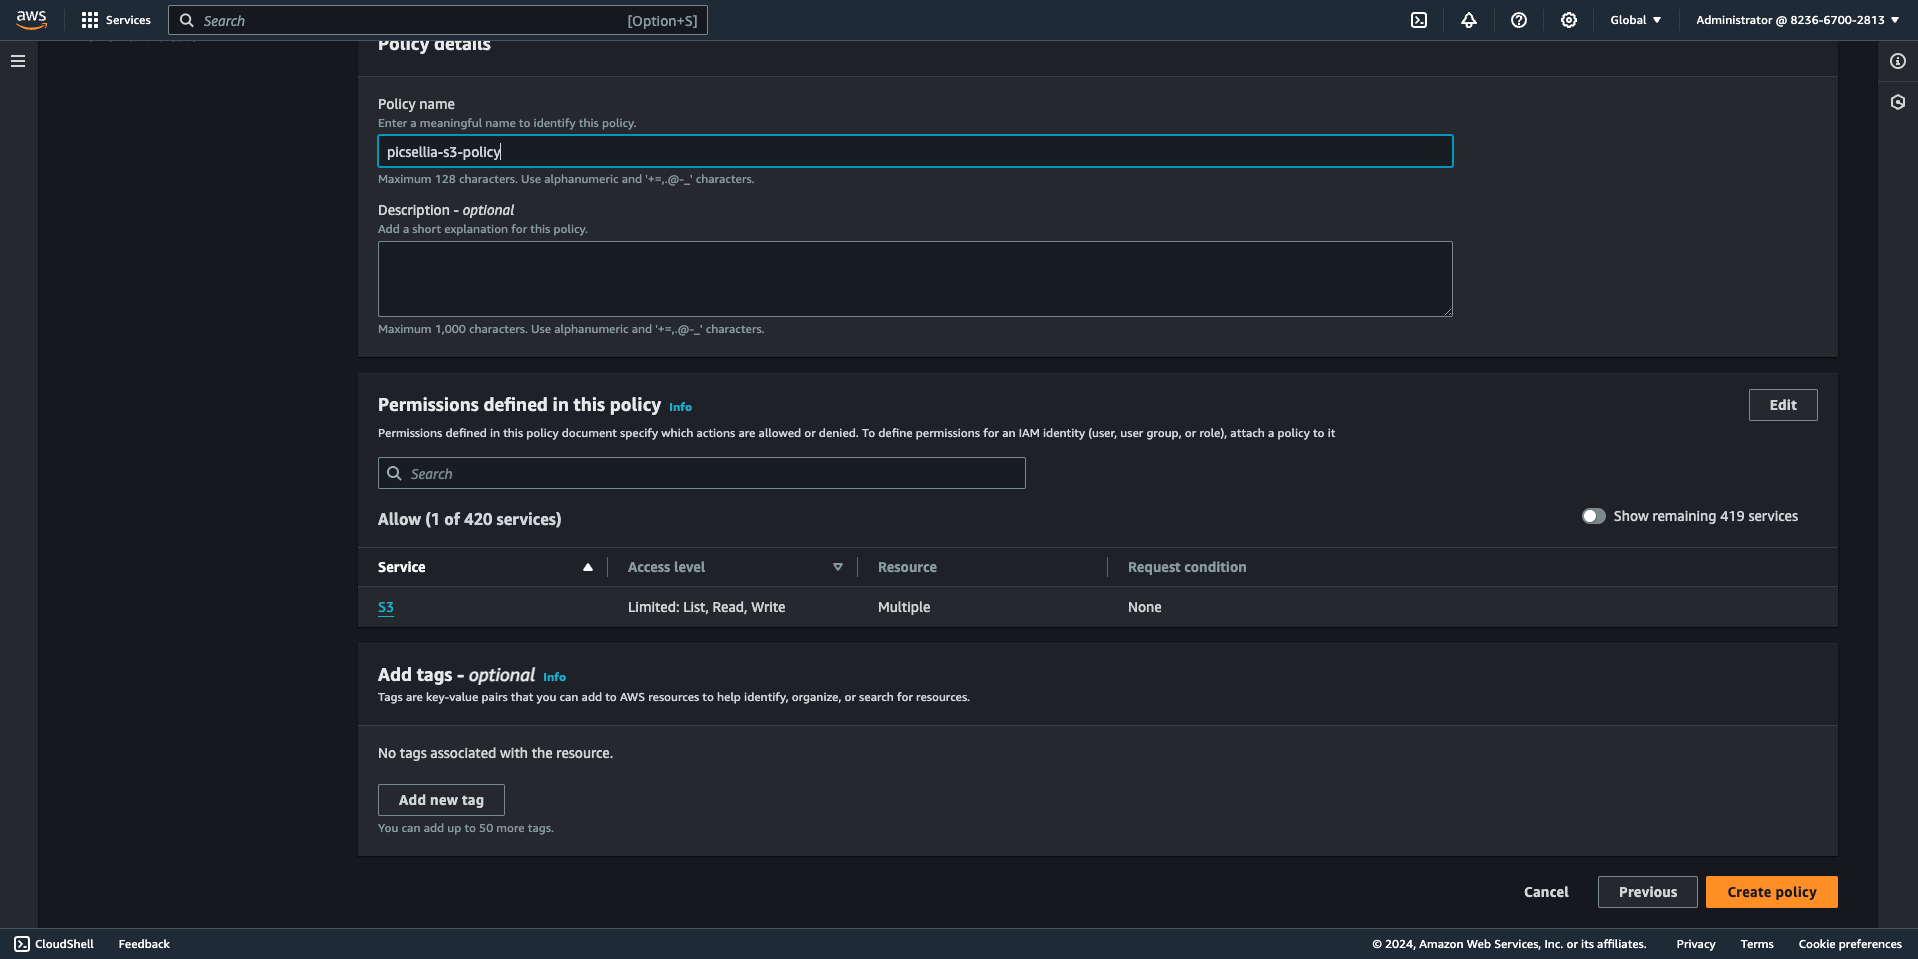
- To review the policy, click the "Next" button below and input its name and description.

- Then click "Create Policy."
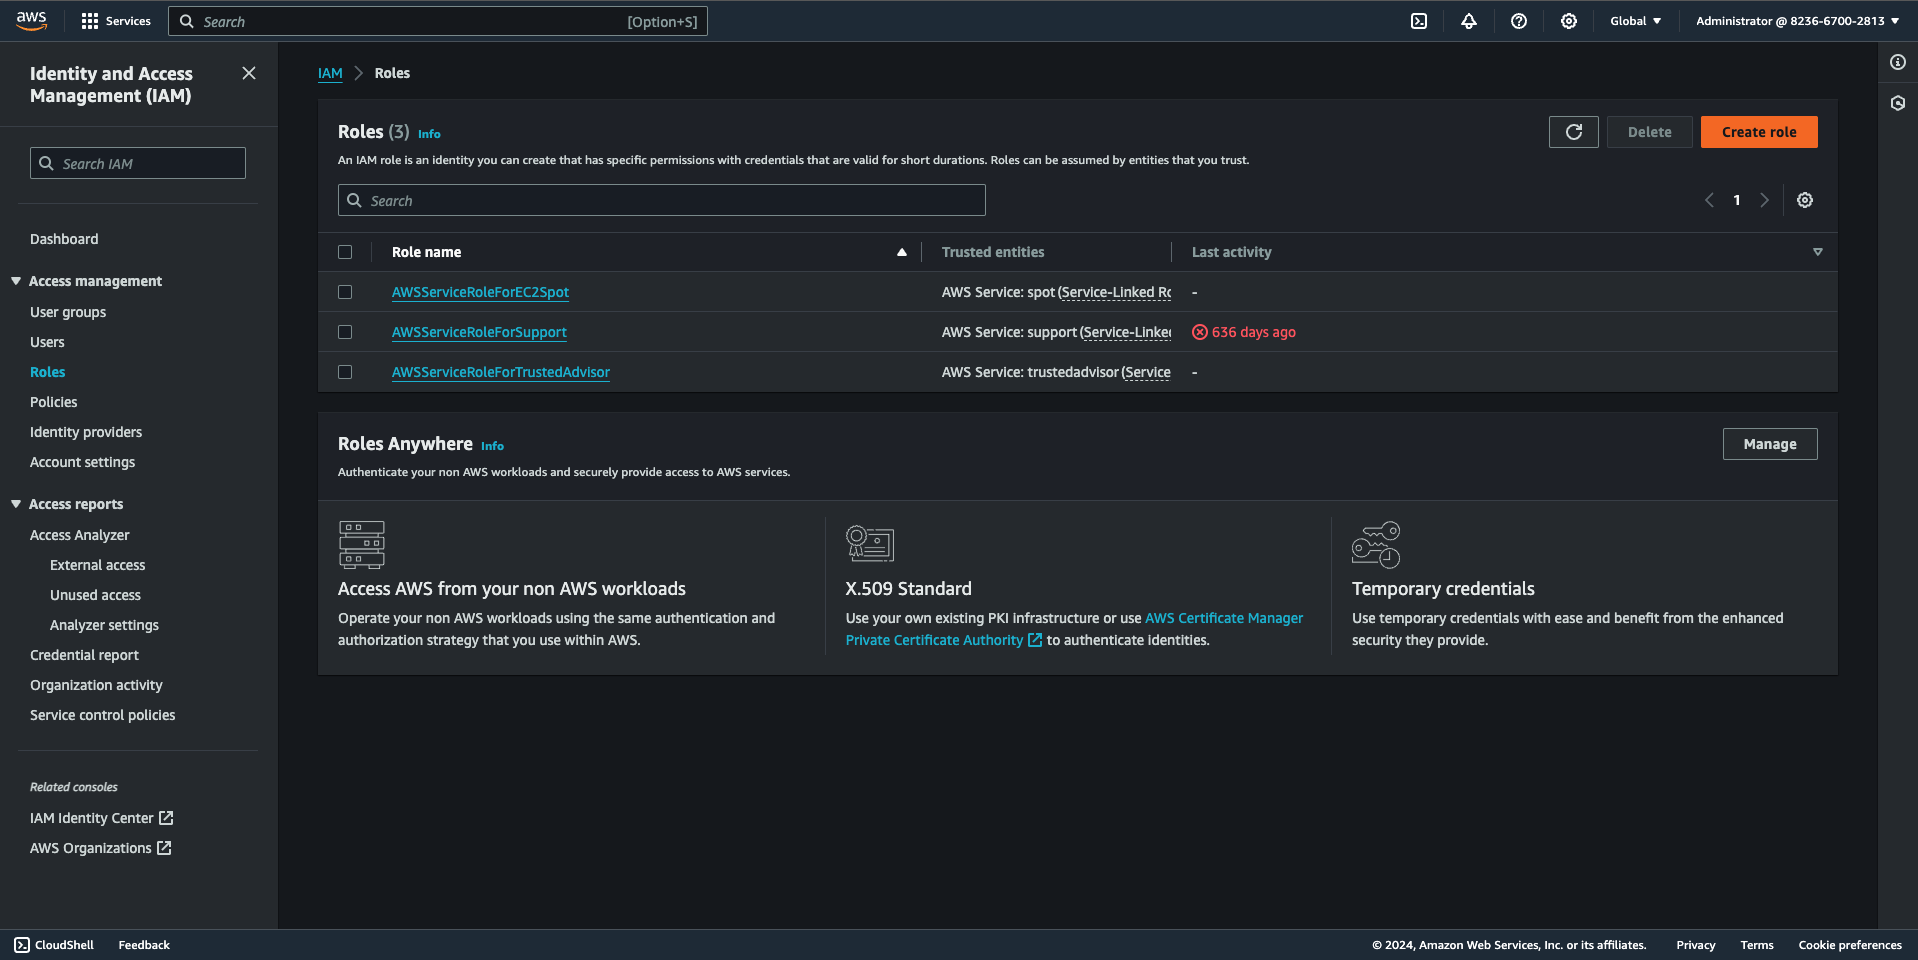
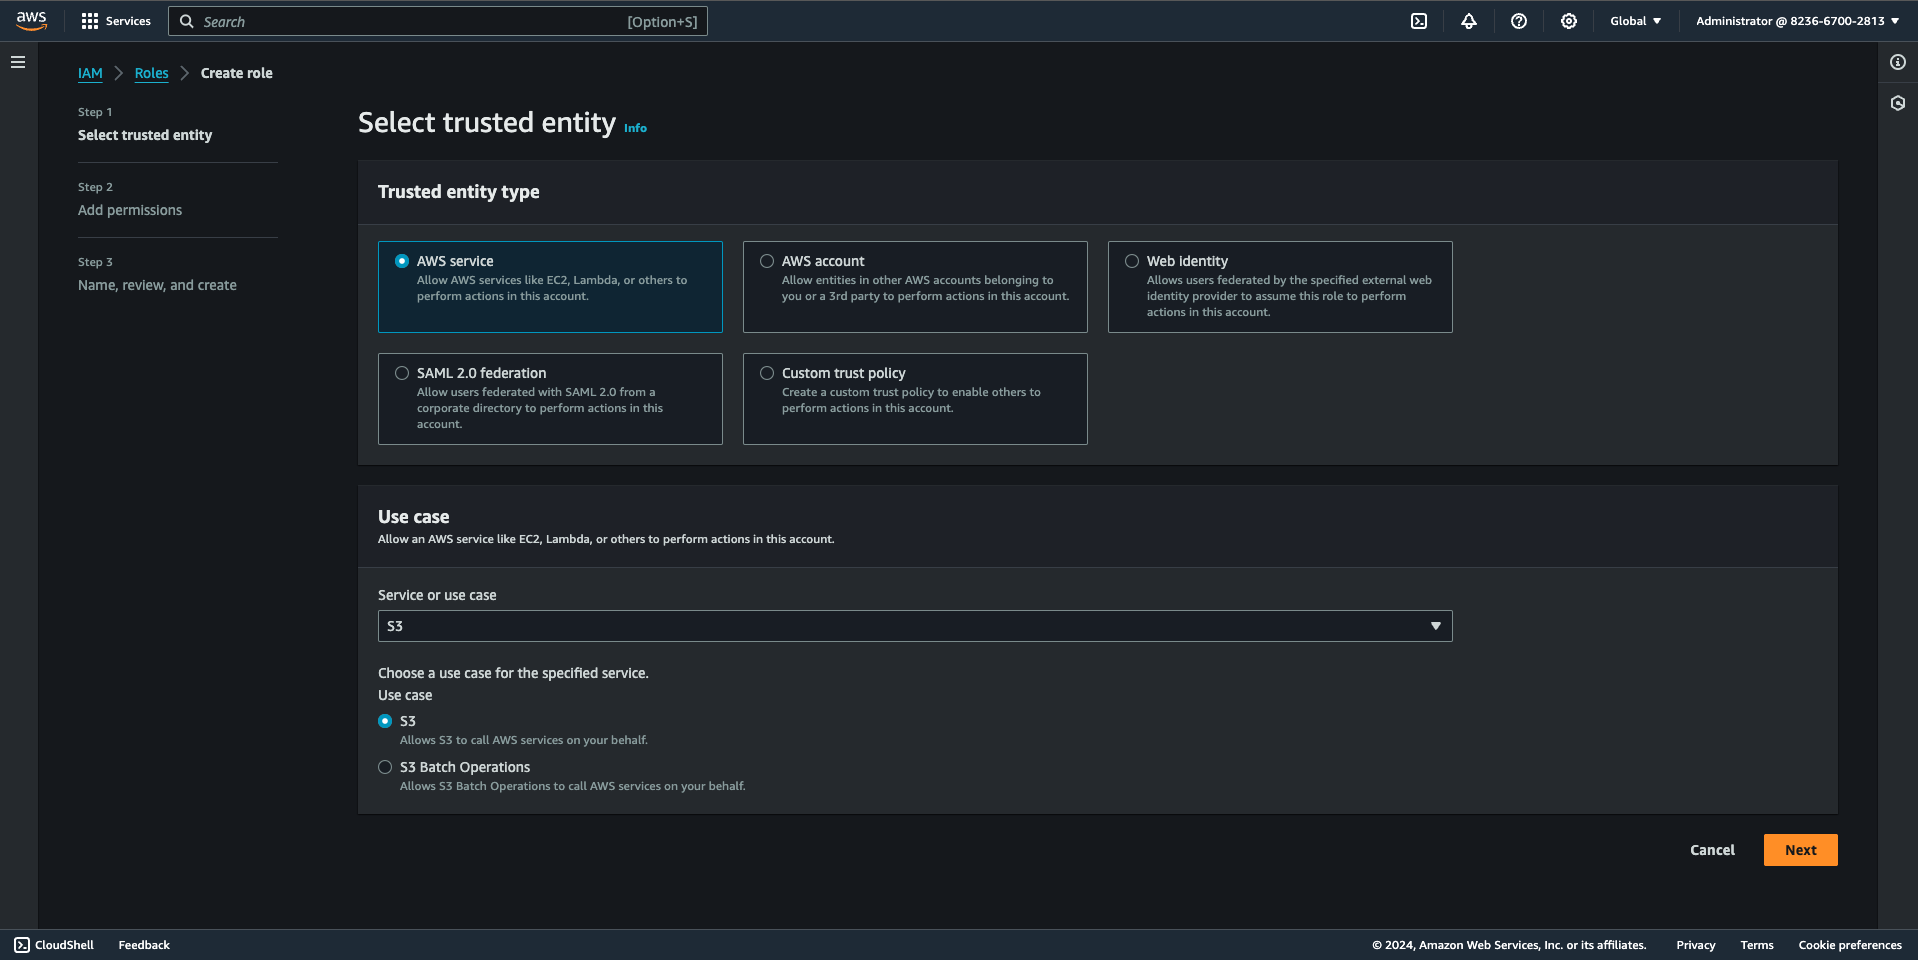
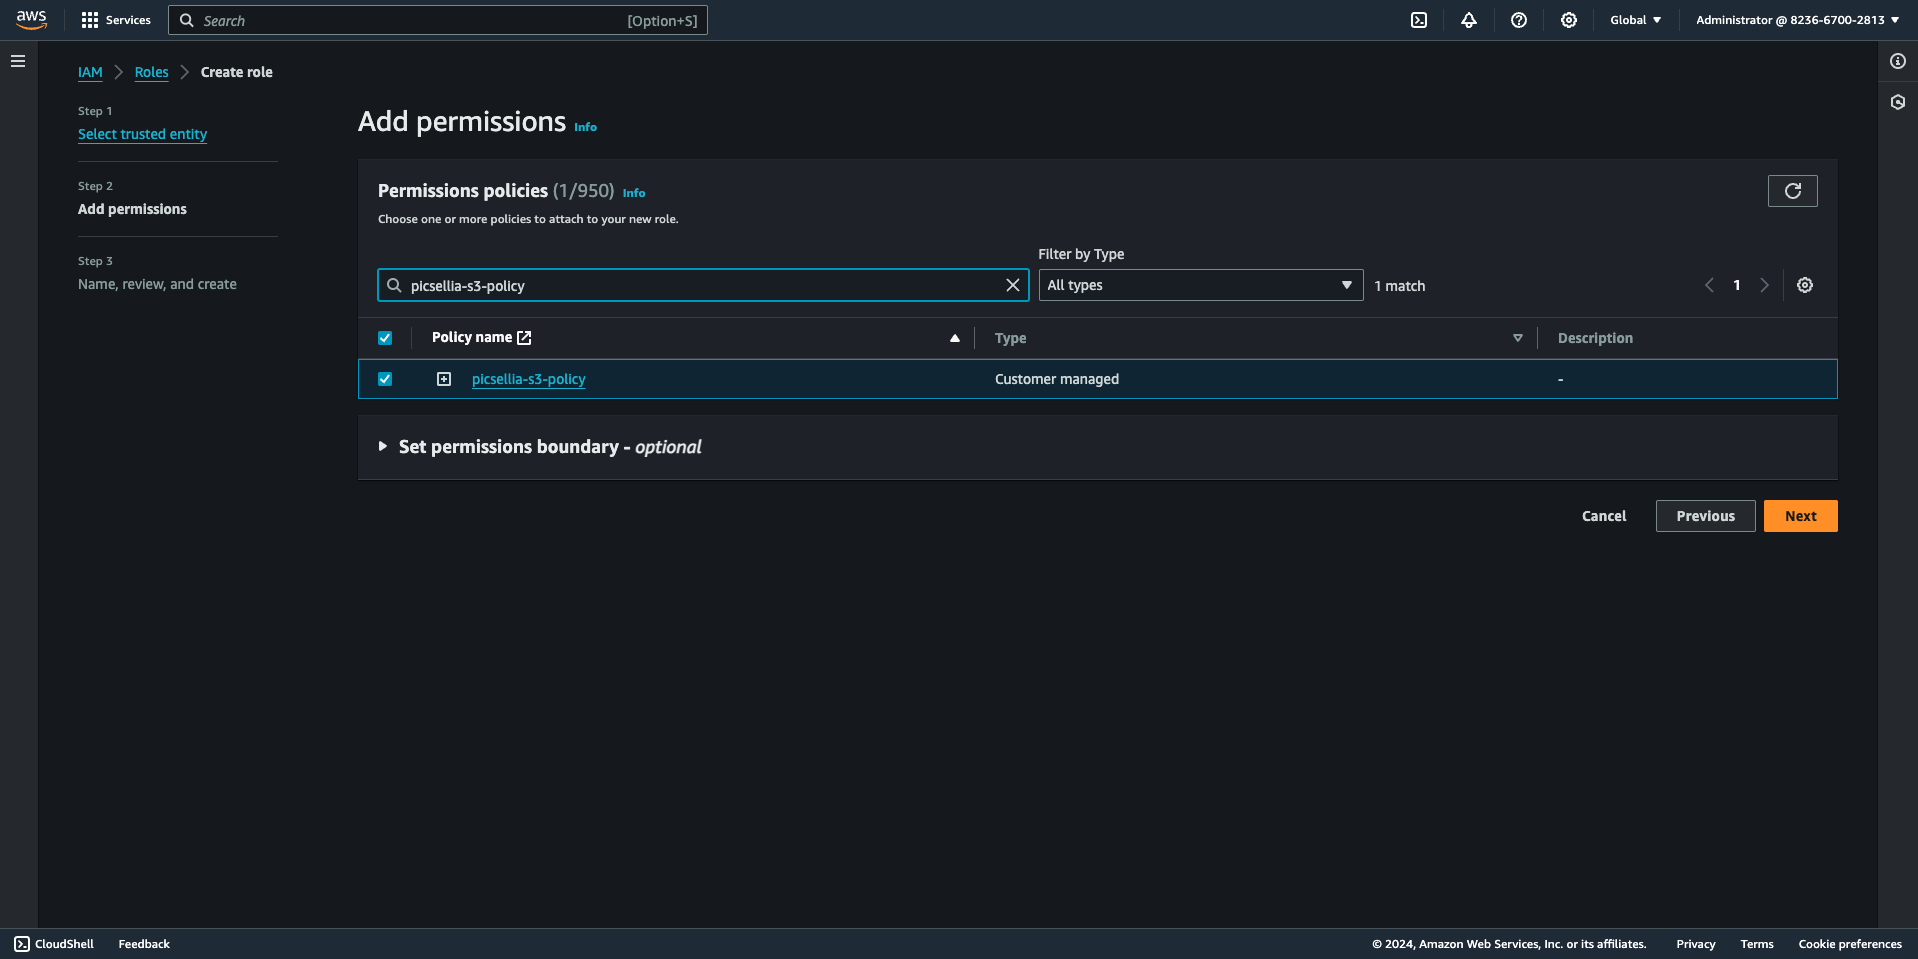
7. Create a New IAM Role
- Select "Roles" from the left navigation pane in the IAM dashboard, then select "Create Role".
- Choose the trusted entity type as “AWS service” and select the service that will assume this role, in this case, your s3 bucket.
- Search for the policy you just created, check its box, and click "Next" to attach it to your role.
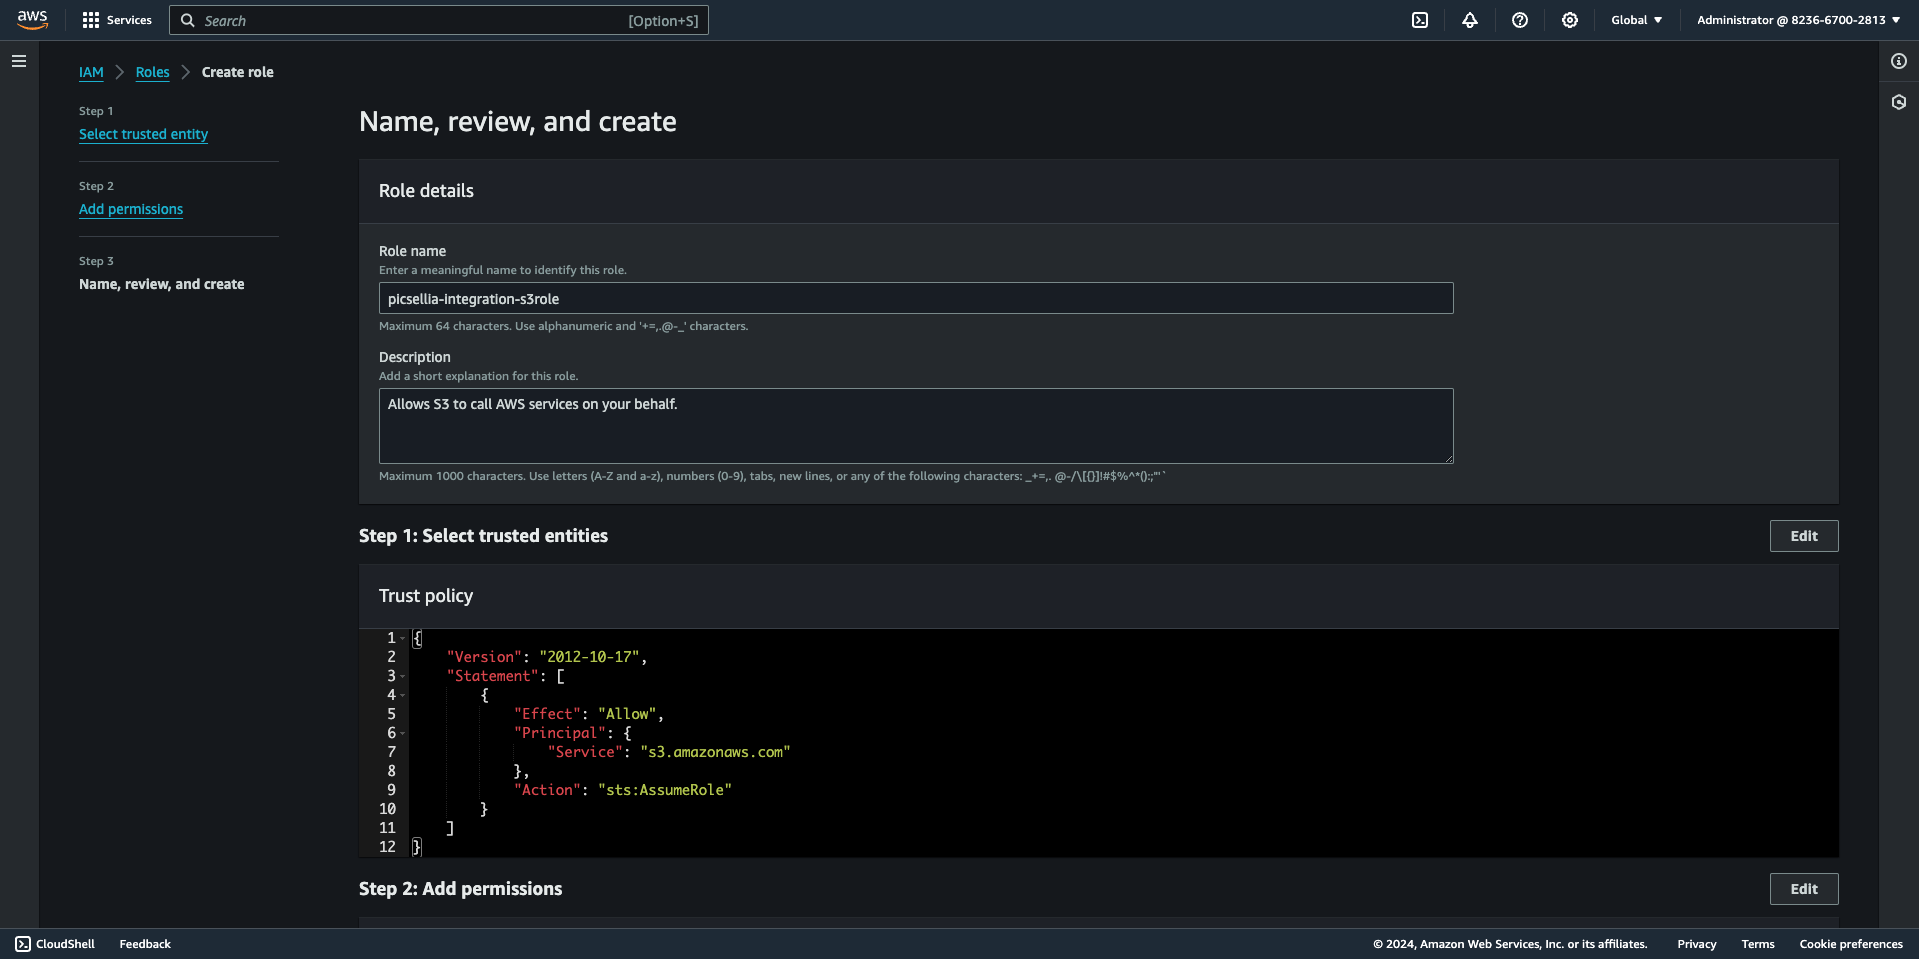
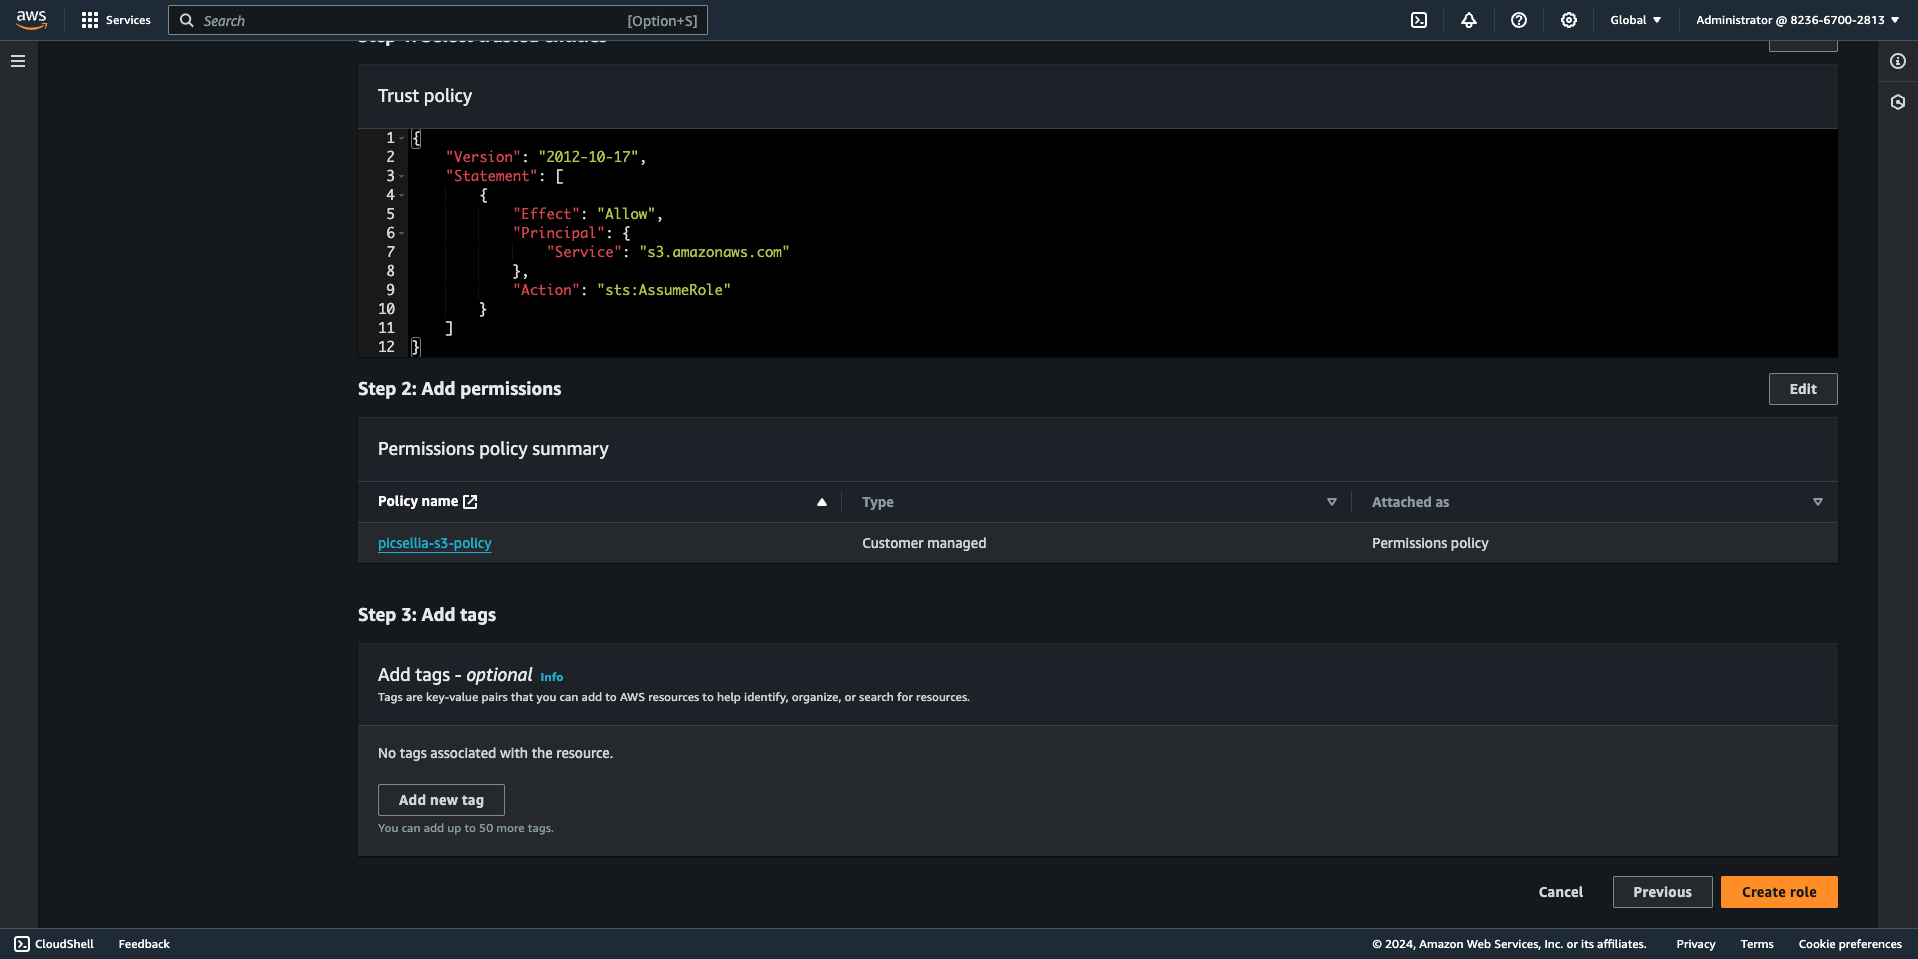
- Enter the role name and description, then click "Create Role".
8. Attach the Role to an AWS Service
Now, you can attach this IAM role to an AWS user that requires delegated access to the S3 bucket.
From the AWS Management Console, click on "Services," then select "IAM" to open the Identity and Access Management console.
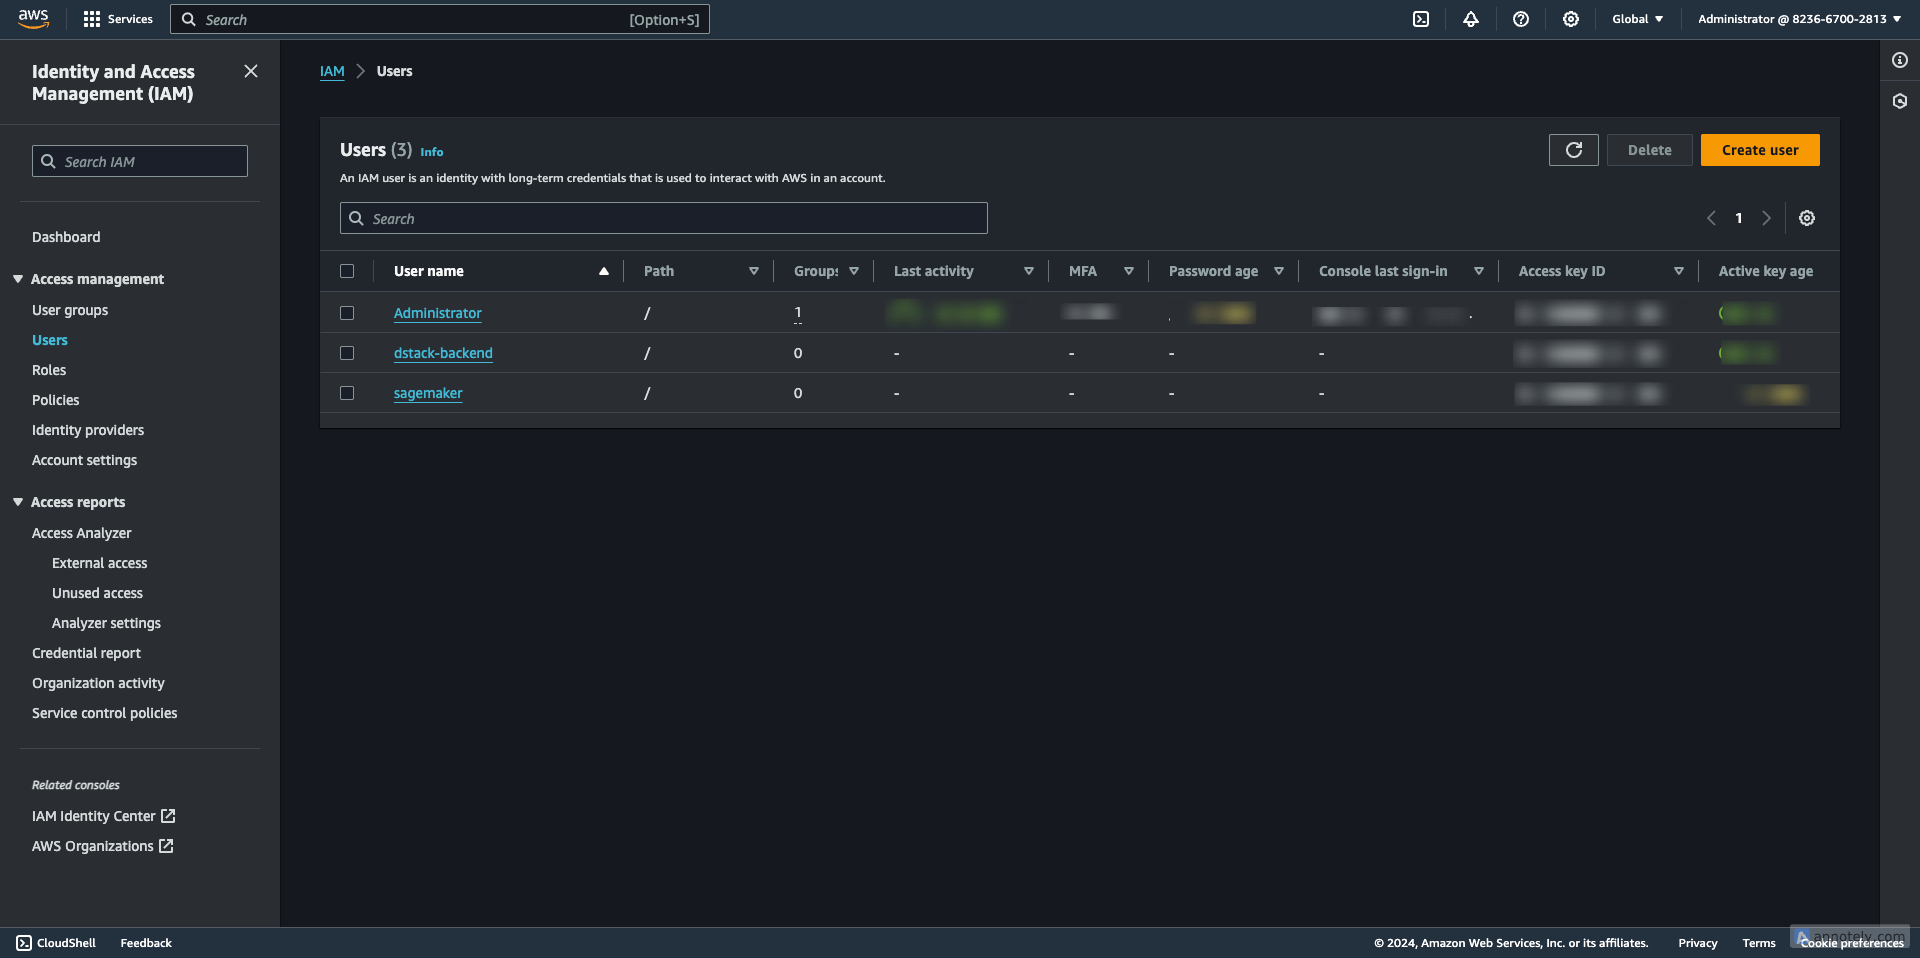
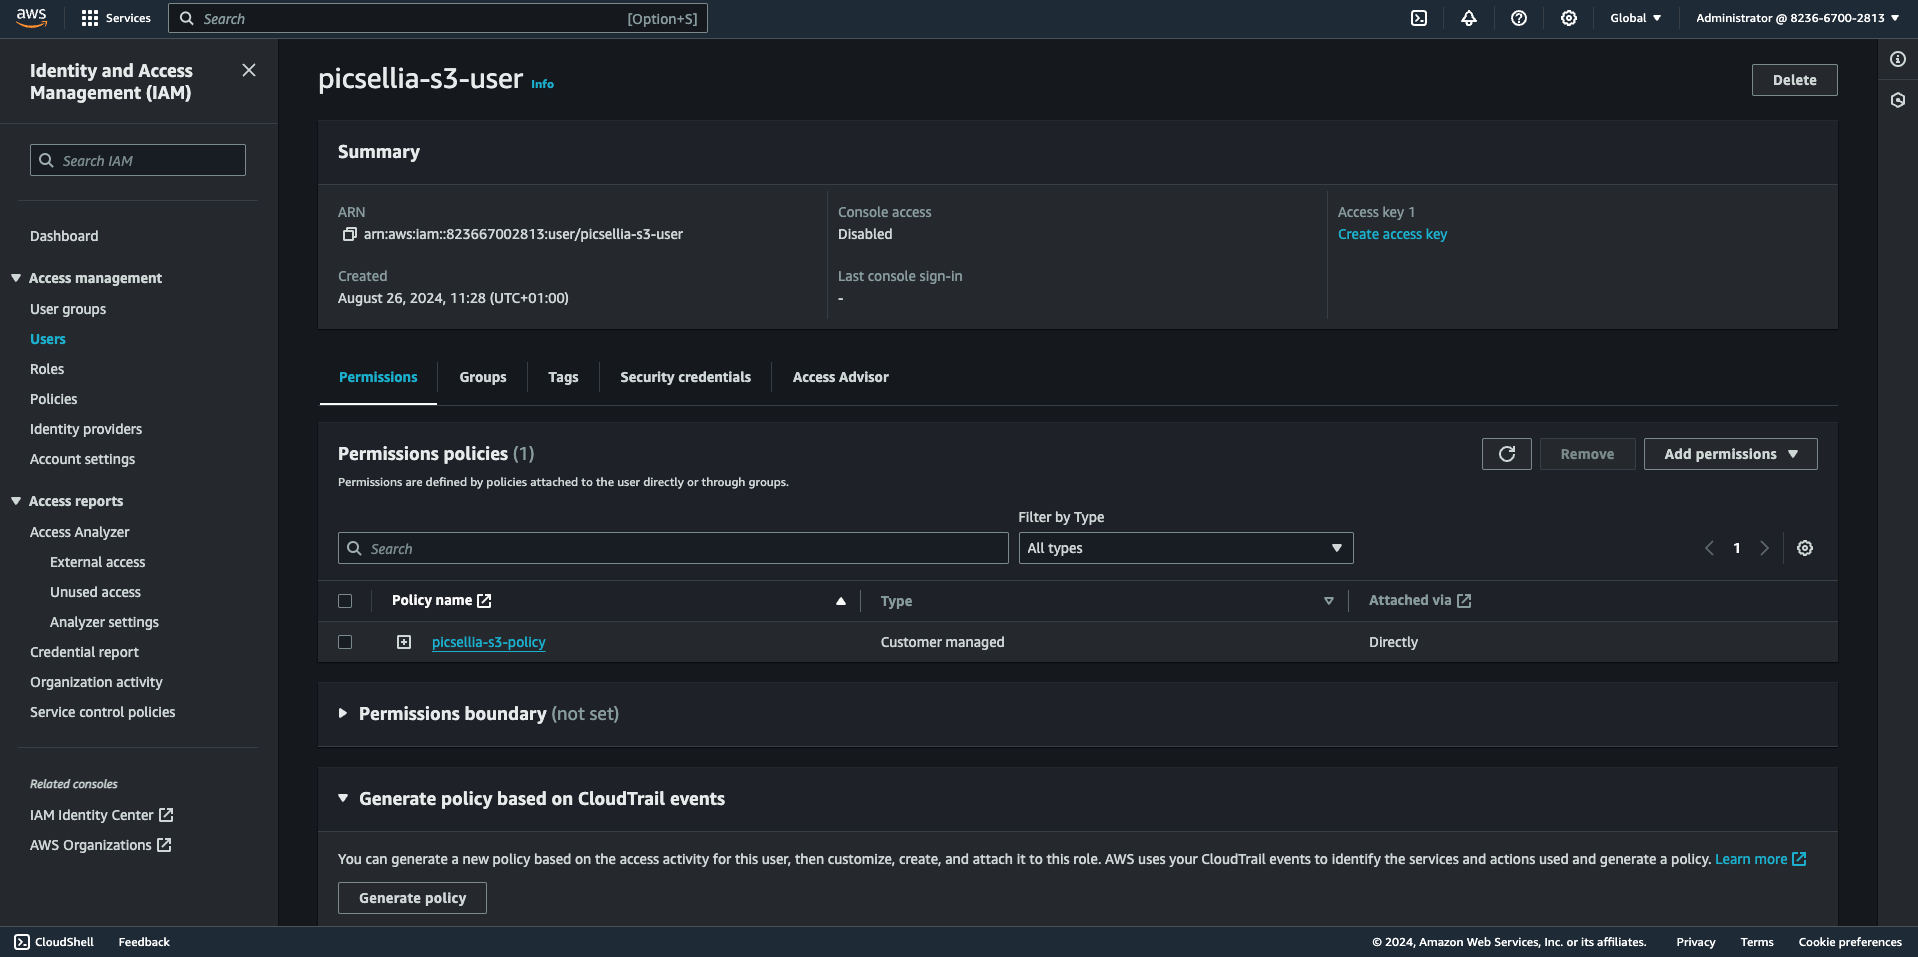
In the left navigation pane, click on "Users".
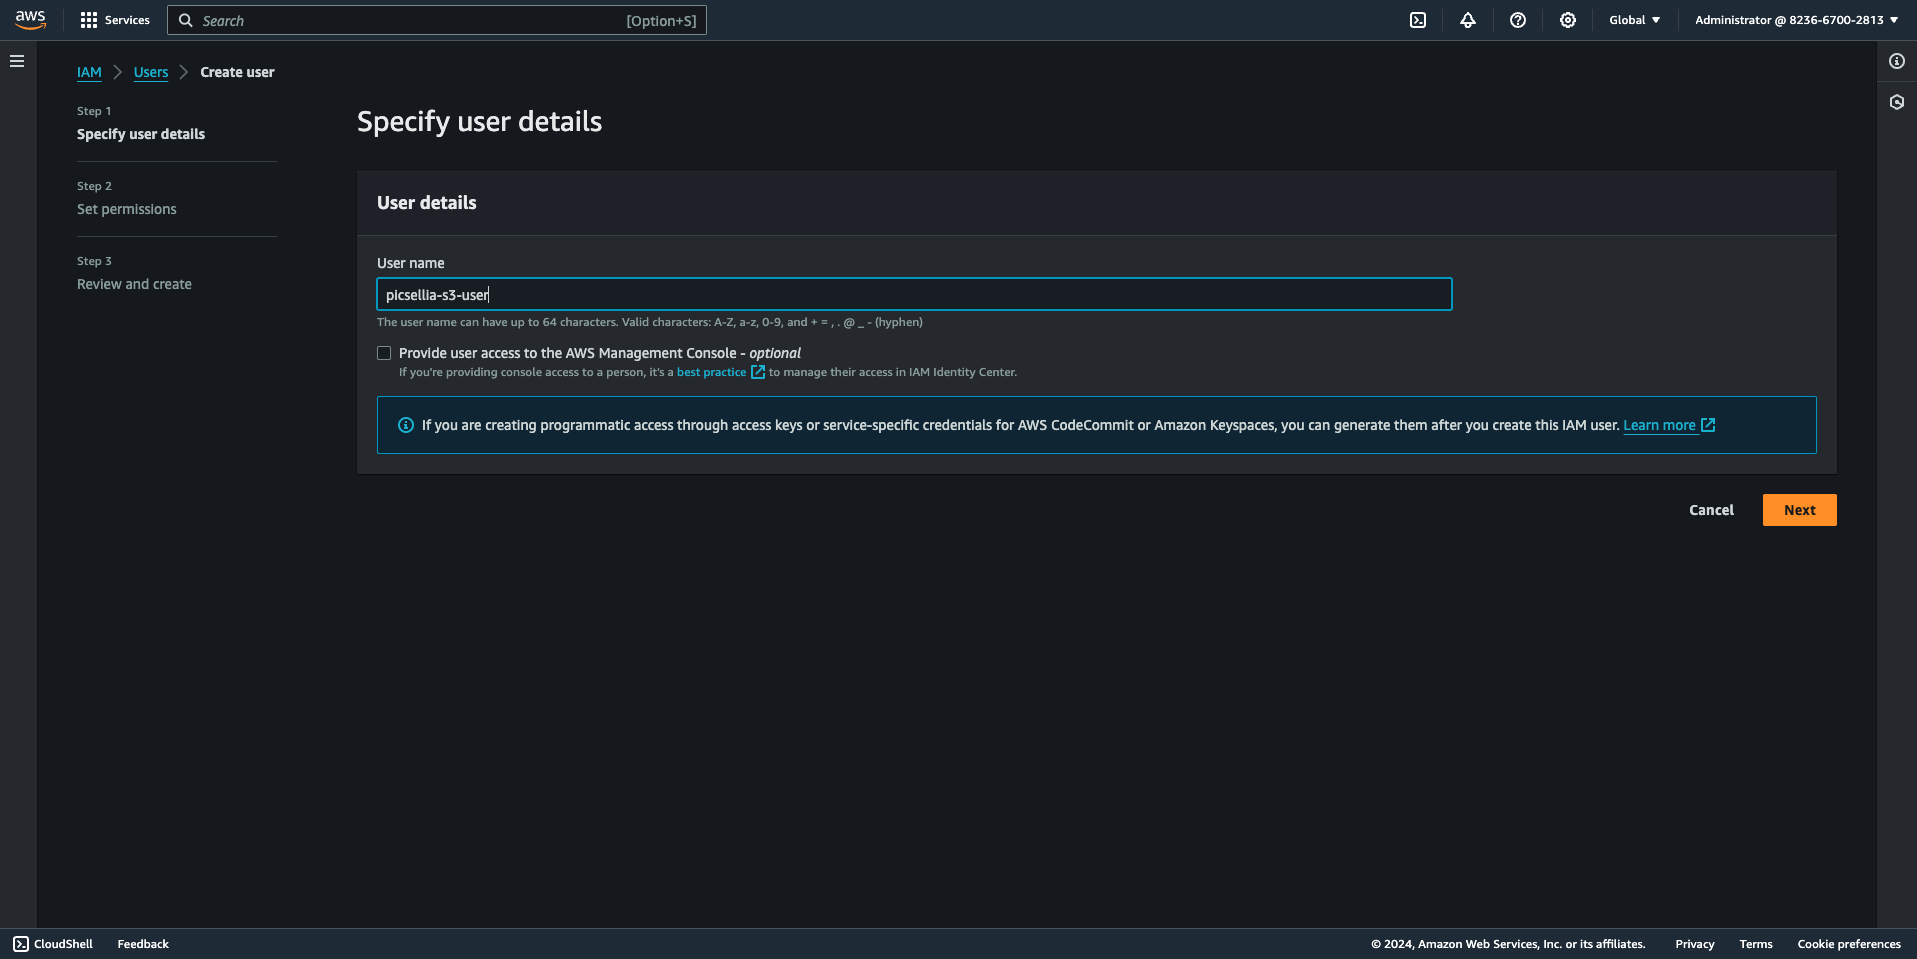
Select the IAM user for whom you want to create the access keys. If you haven't created an IAM user yet, click the "Create user" button at the top right corner to create one
- Enter the user name and click "Next"
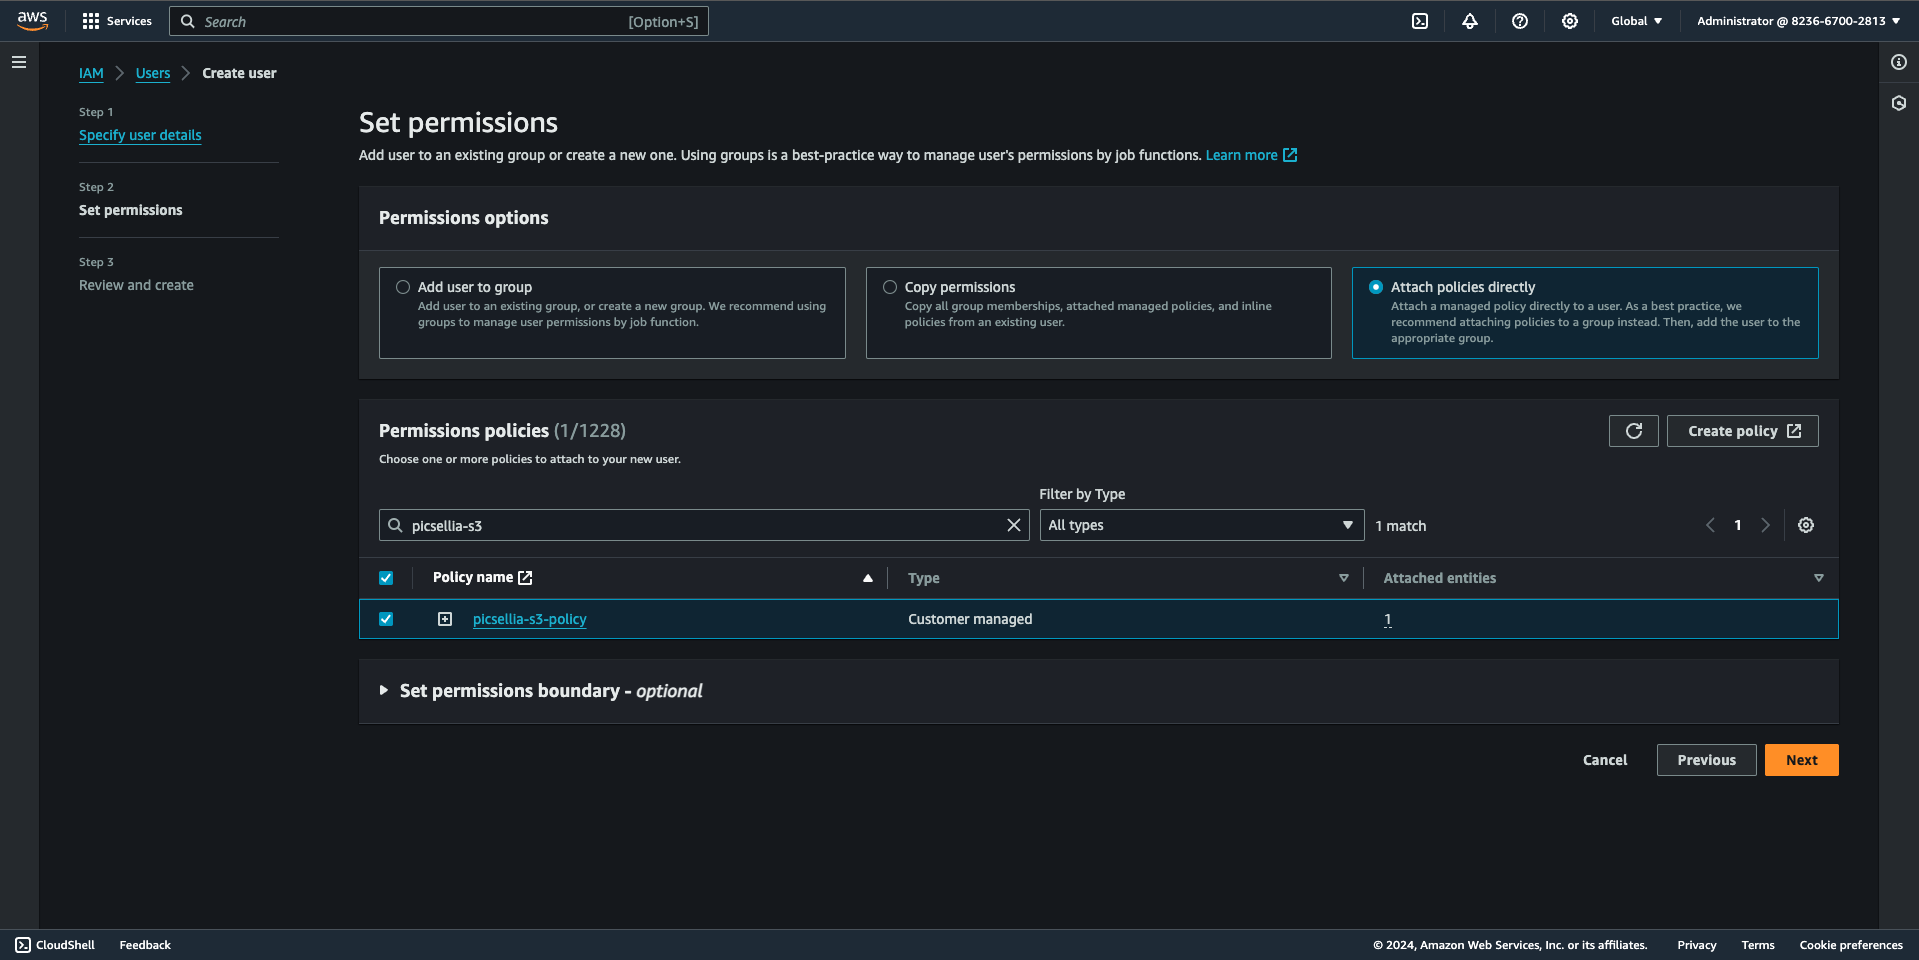
- Select the "Attach policies directly" permissions option to set permissions for the user, then search for and attach the policy you created earlier.
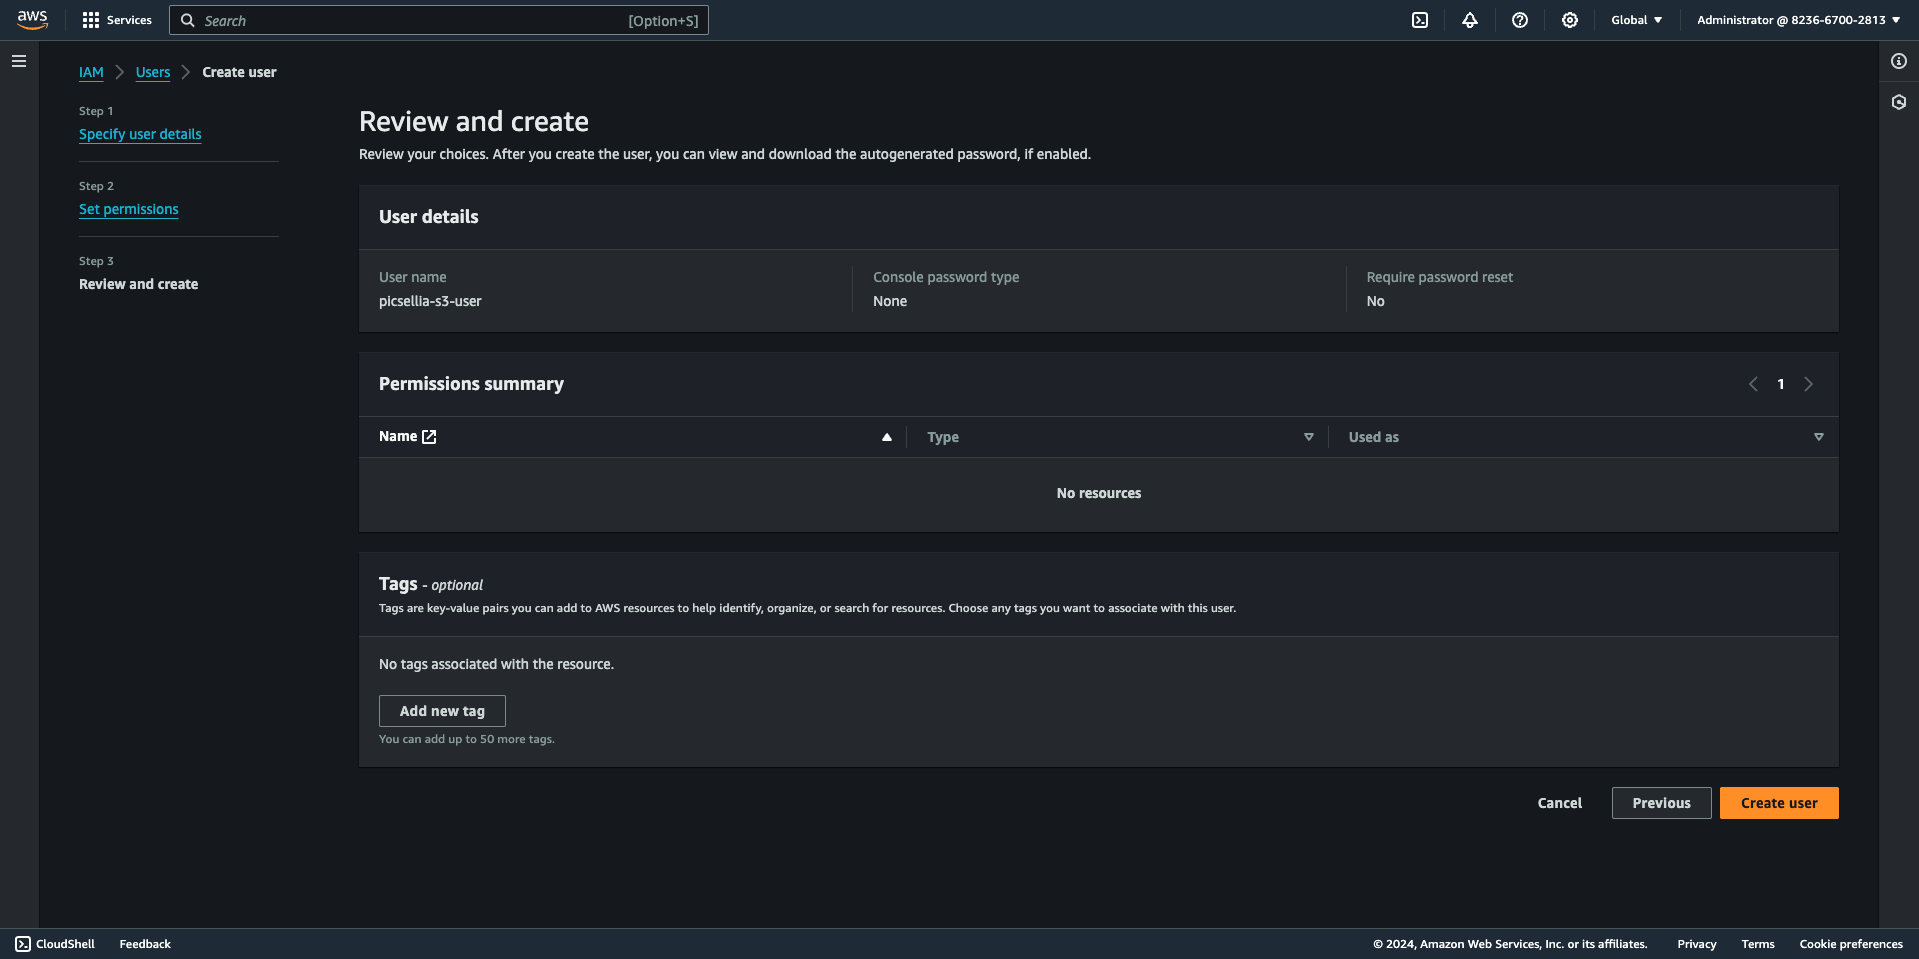
- Review and create the user.
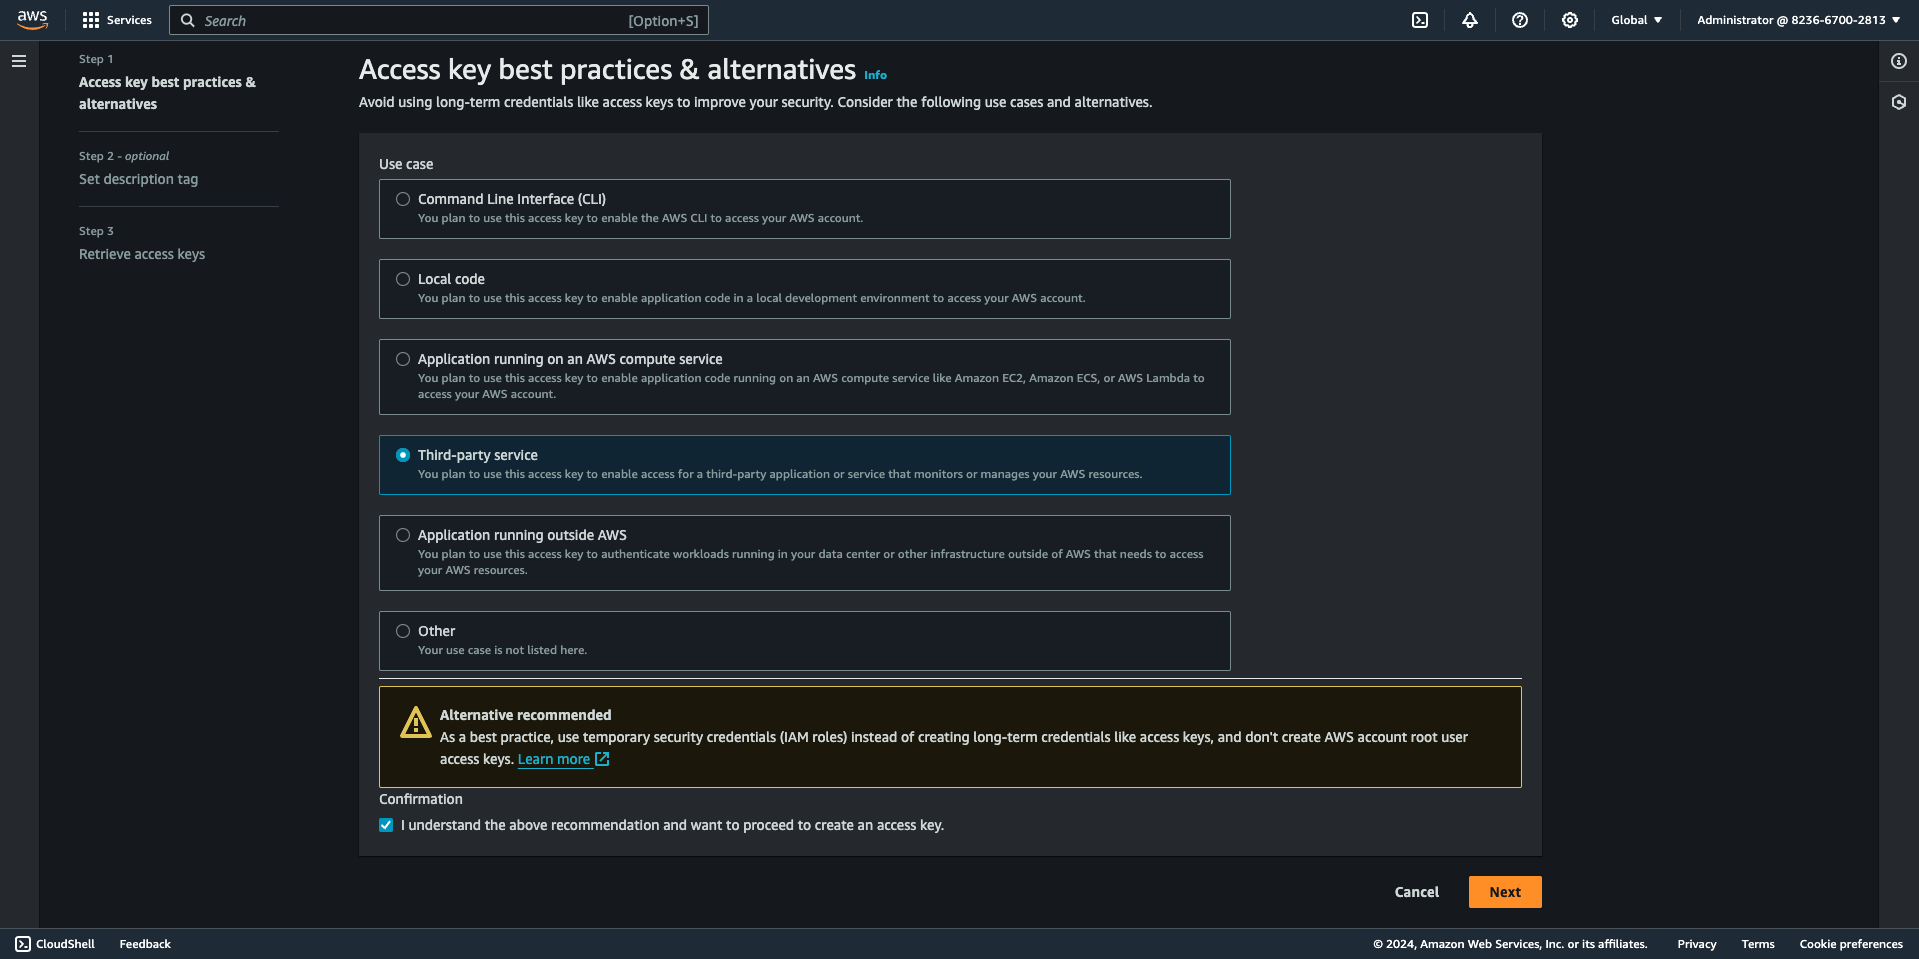
9. Create New Access Keys
In the "User details" section, click on "Create access key".
- Select the "Third-party service" access key and Click "Next: Tags" (if you want to add tags) and then "Next".
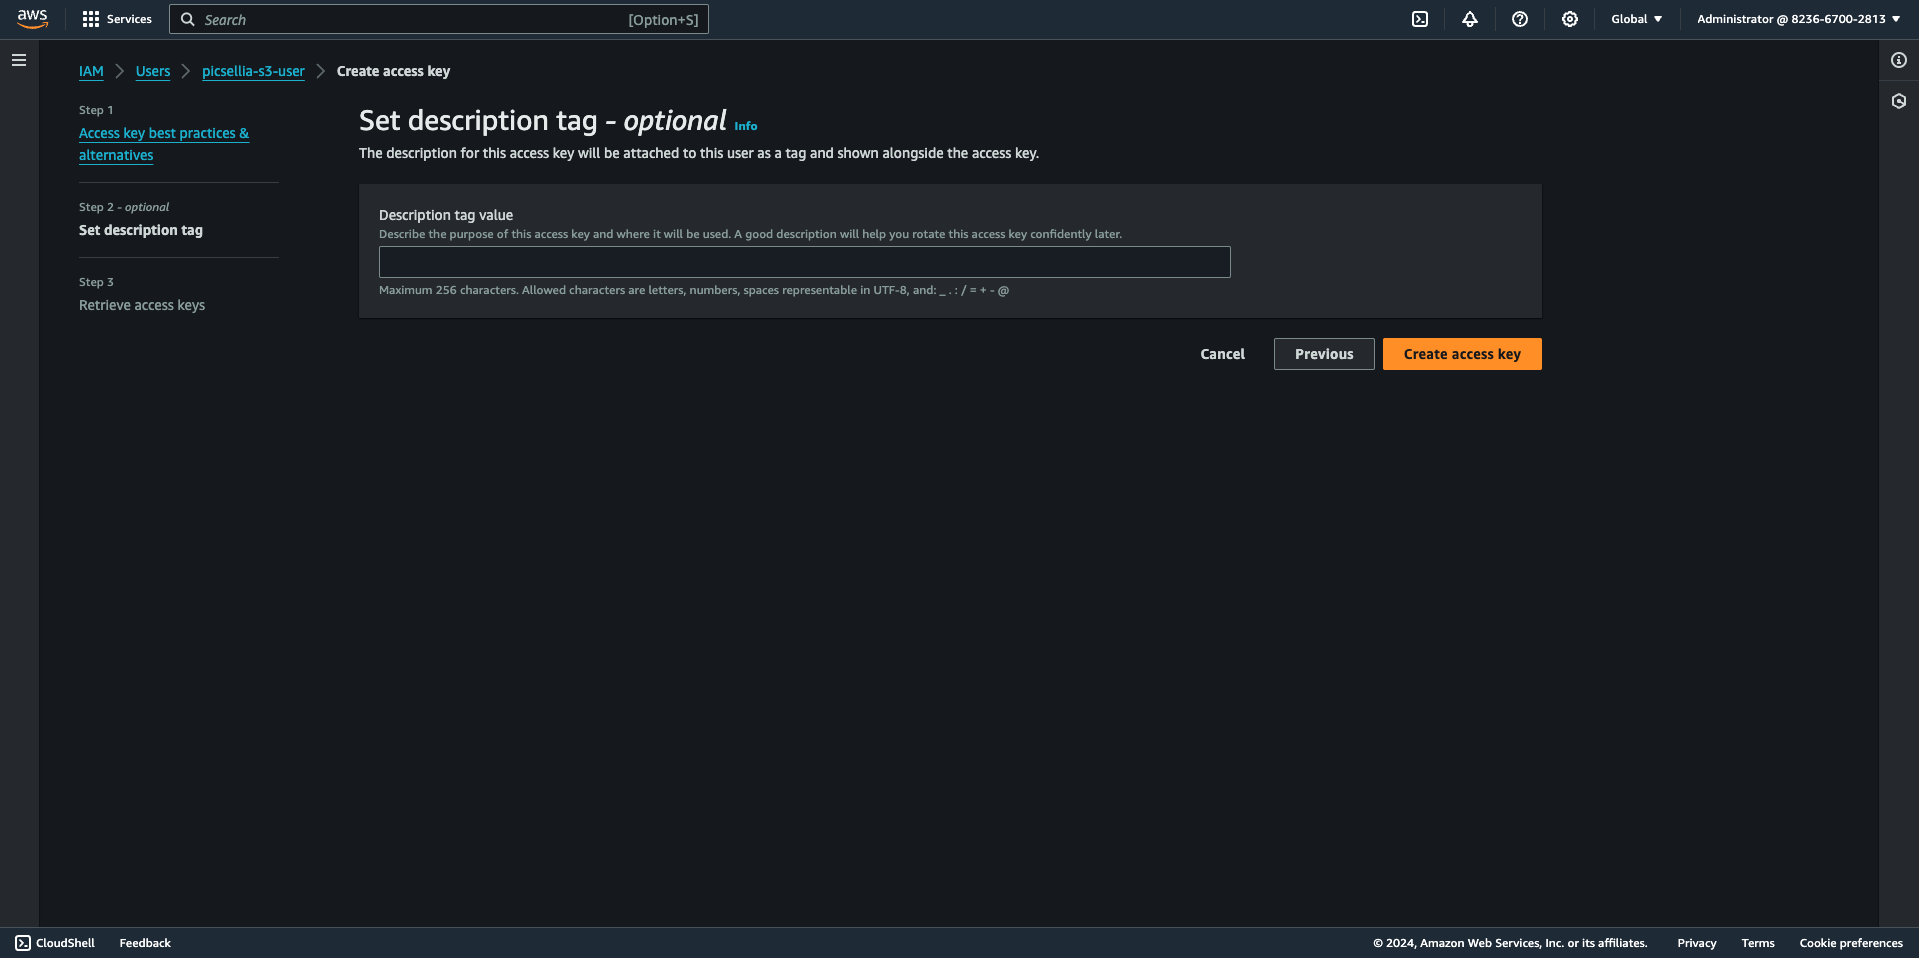
- Add a description tag (if you want to add tags) and then "Create access key".
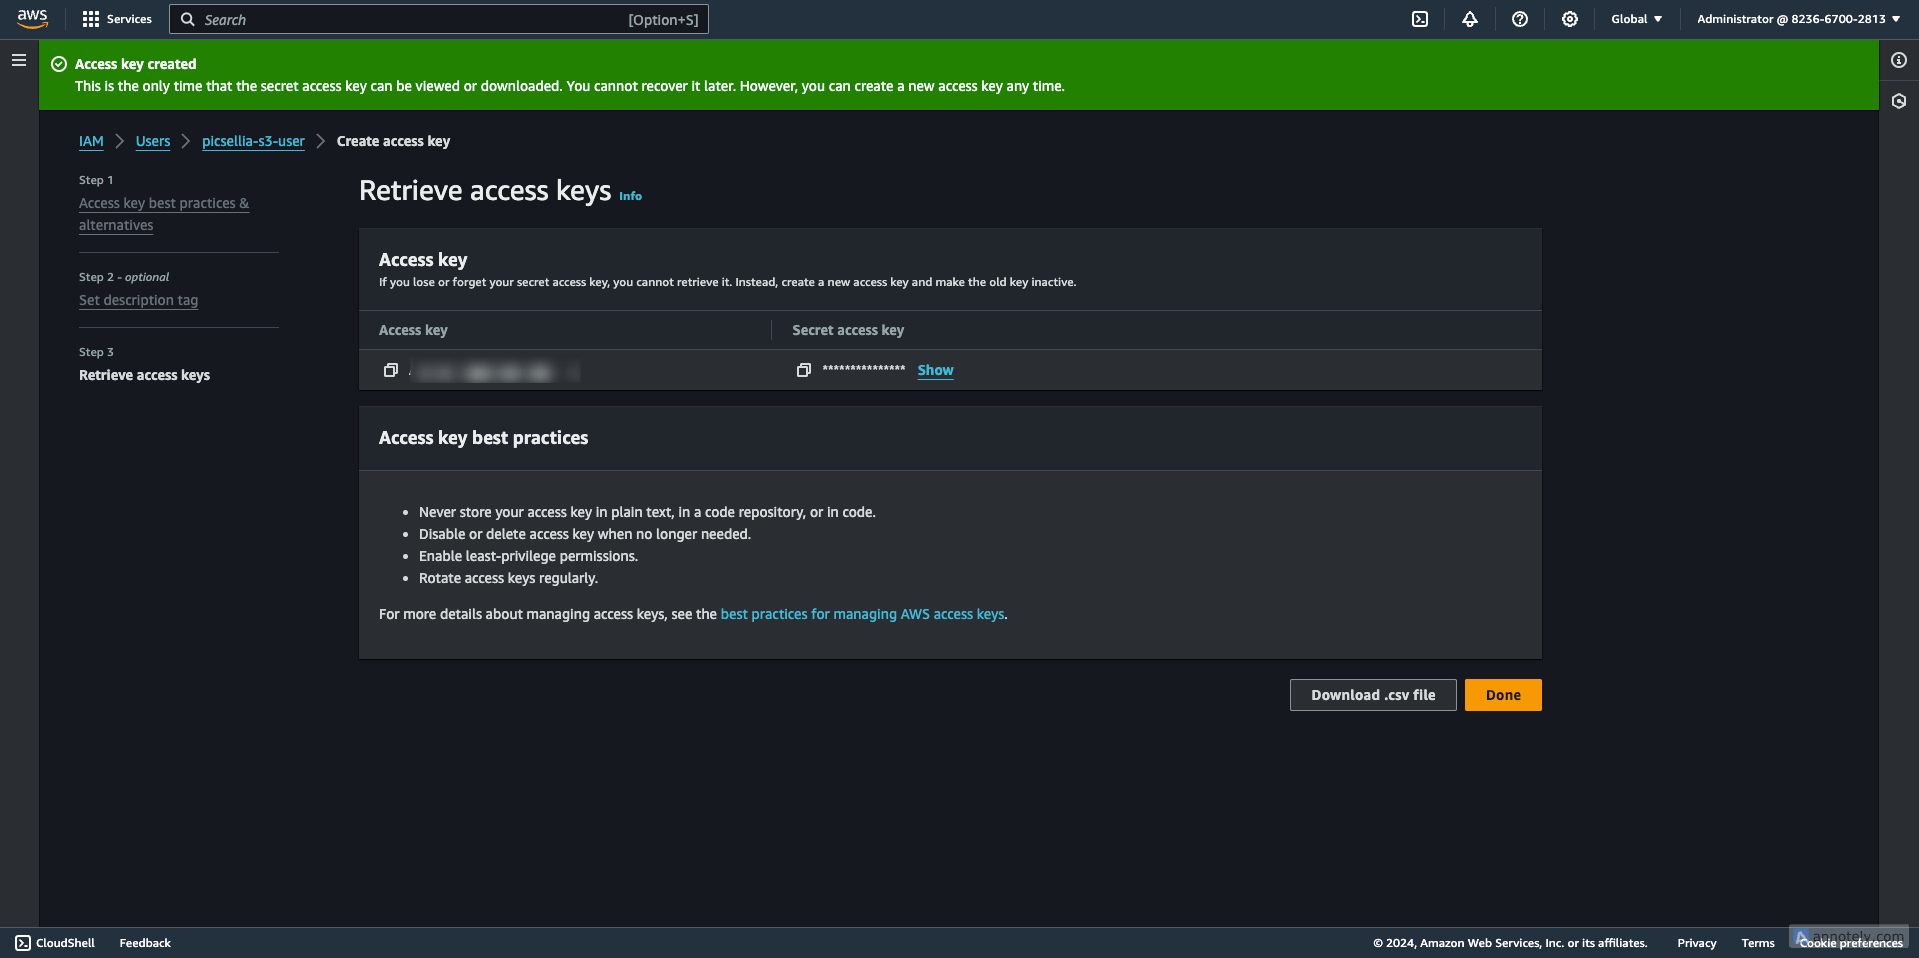
10. View and Save Keys
A pop-up window displays the Access Key ID and Secret Access Key.
Click "Download .csv file" to download a CSV file containing both keys. Make sure to store this file securely, as you cannot view the Secret Access Key again.
11. Conclusion
This guide outlines creating delegated read and write access to an AWS S3 bucket. Always remember to follow the principle of least privilege when configuring IAM roles and policies, ensuring that only necessary permissions are granted.
For more detailed information or to customize permissions further, refer to the official AWS IAM documentation.
Updated about 1 year ago