Create an Experiment
You can create experiments manually in Picsellia in the Experiments tab. It's a basic usage that allows you to initialize an experiment instance with a few parameters :
- Name
- Description
- Base architecture
- Hyperparameters (will be stored in a data asset)
- Datasets
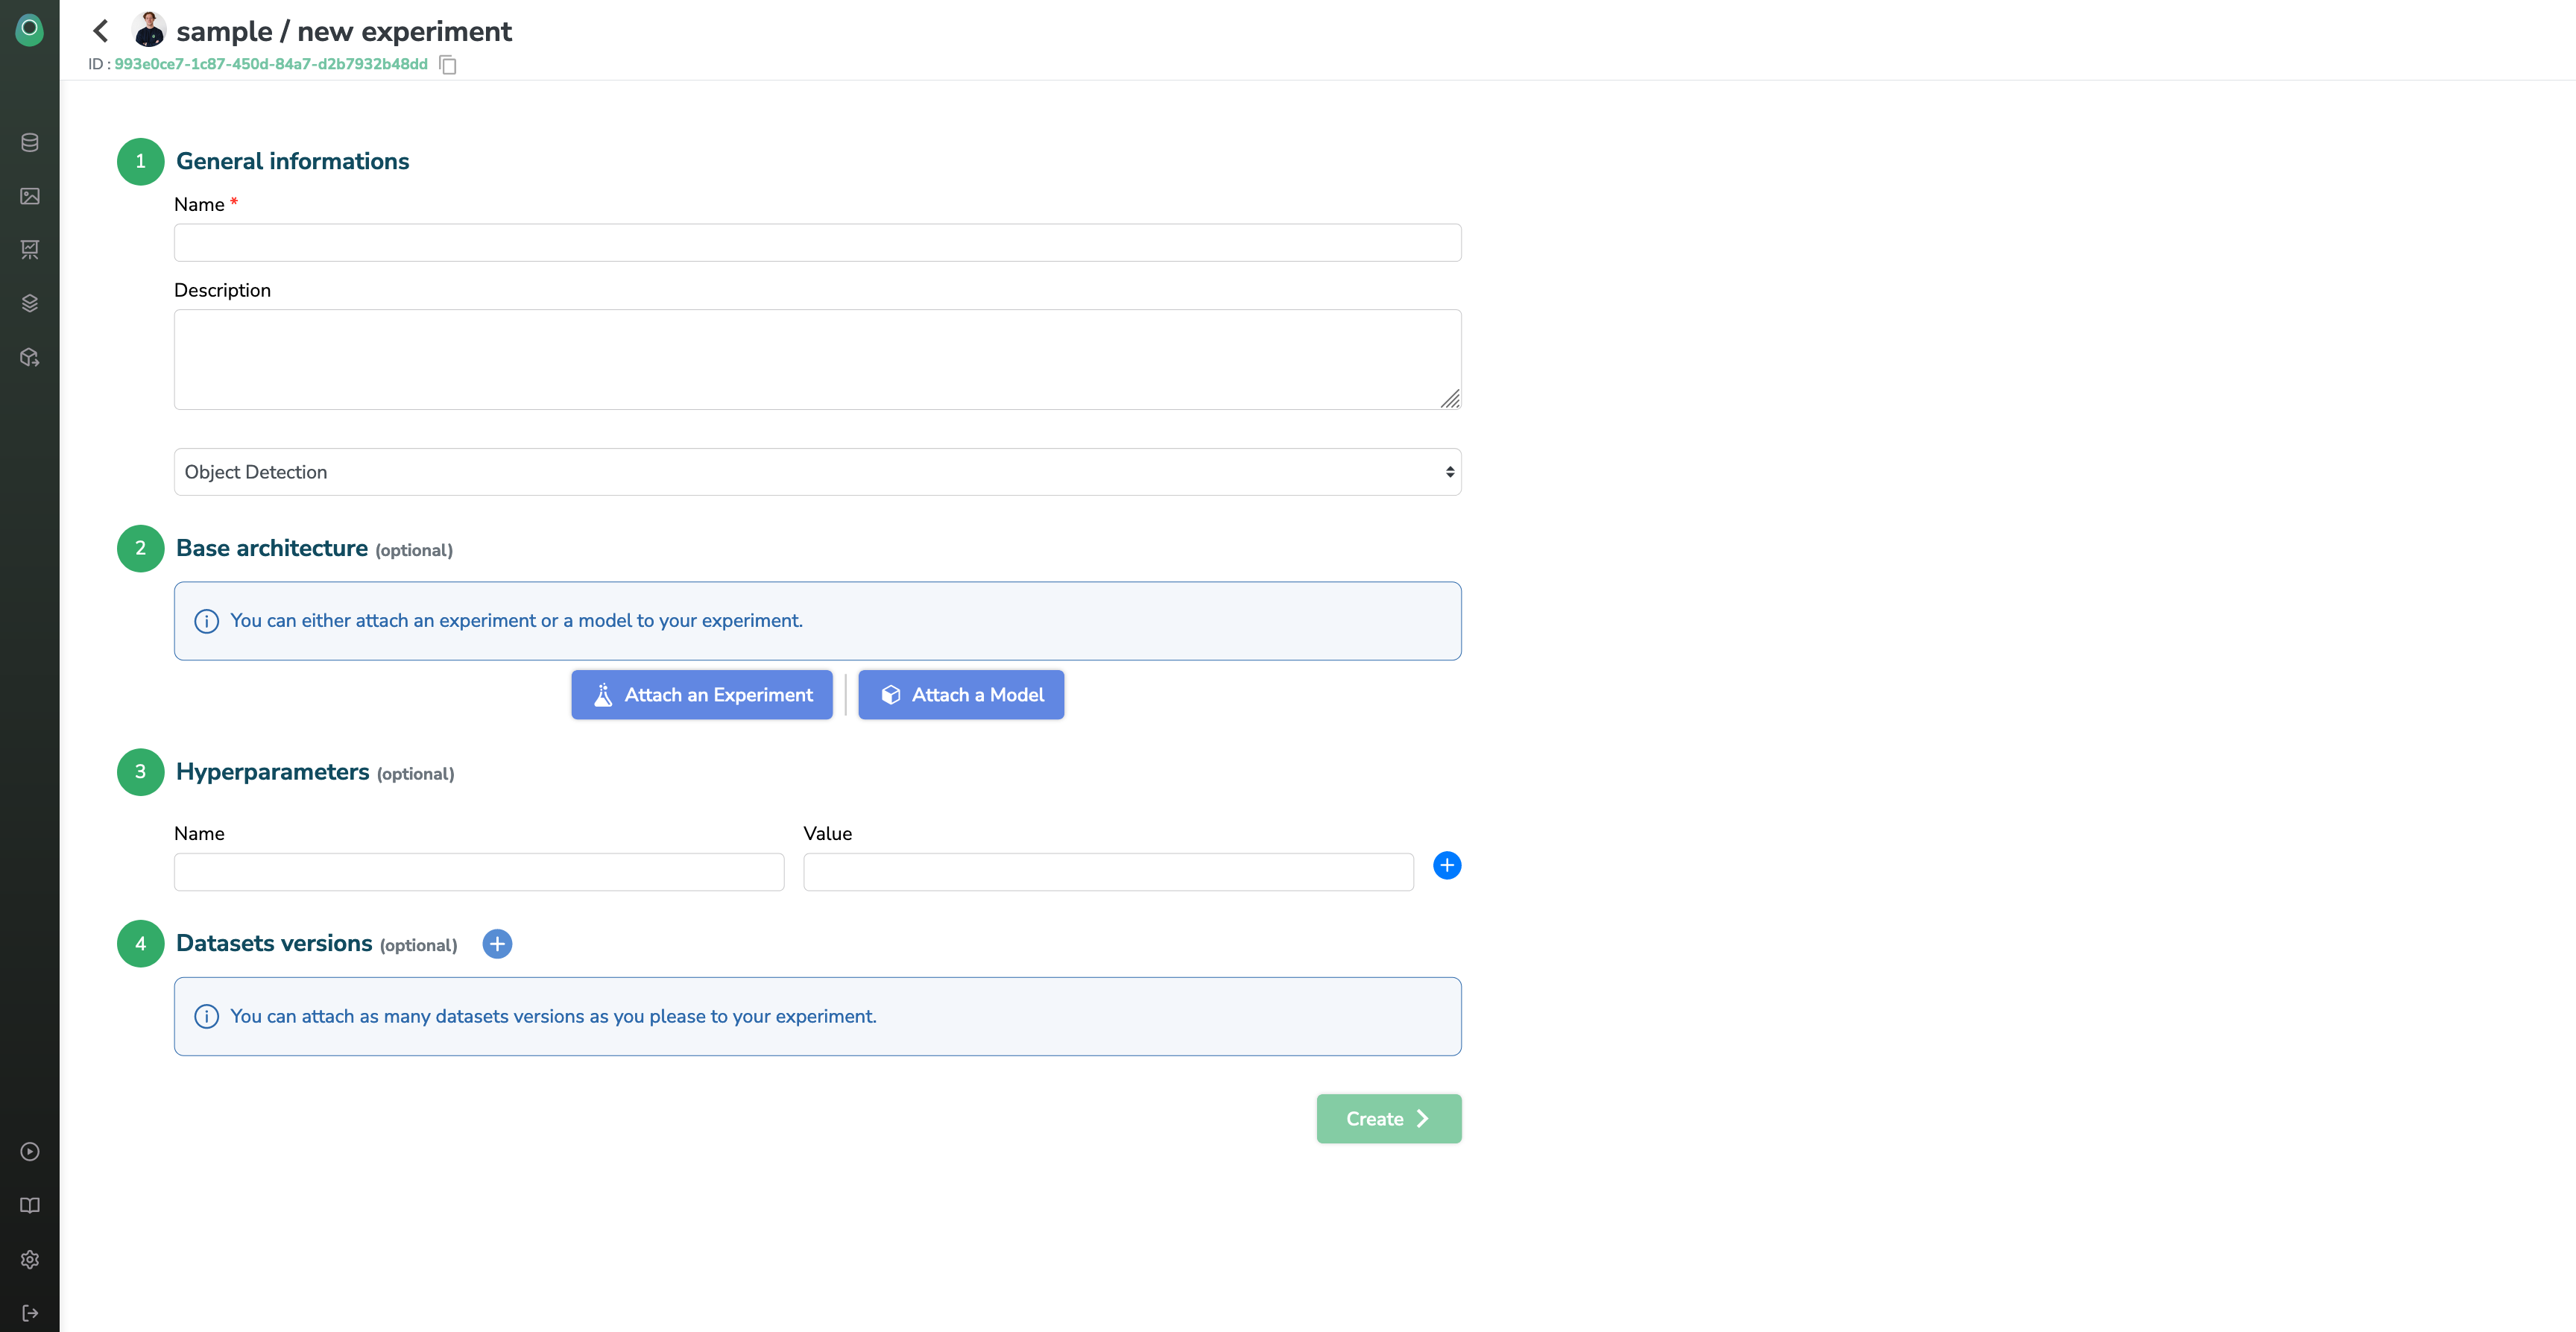
General Information
Here you can give your experiment:
- A name (mandatory and unique across the project)
- A description, to explain your team and your future self what the purpose of this experiment is. It will be shown in your experiment dashboard
- A type (optional), this input is just used to filter the base architectures below but is not stored in your experiment
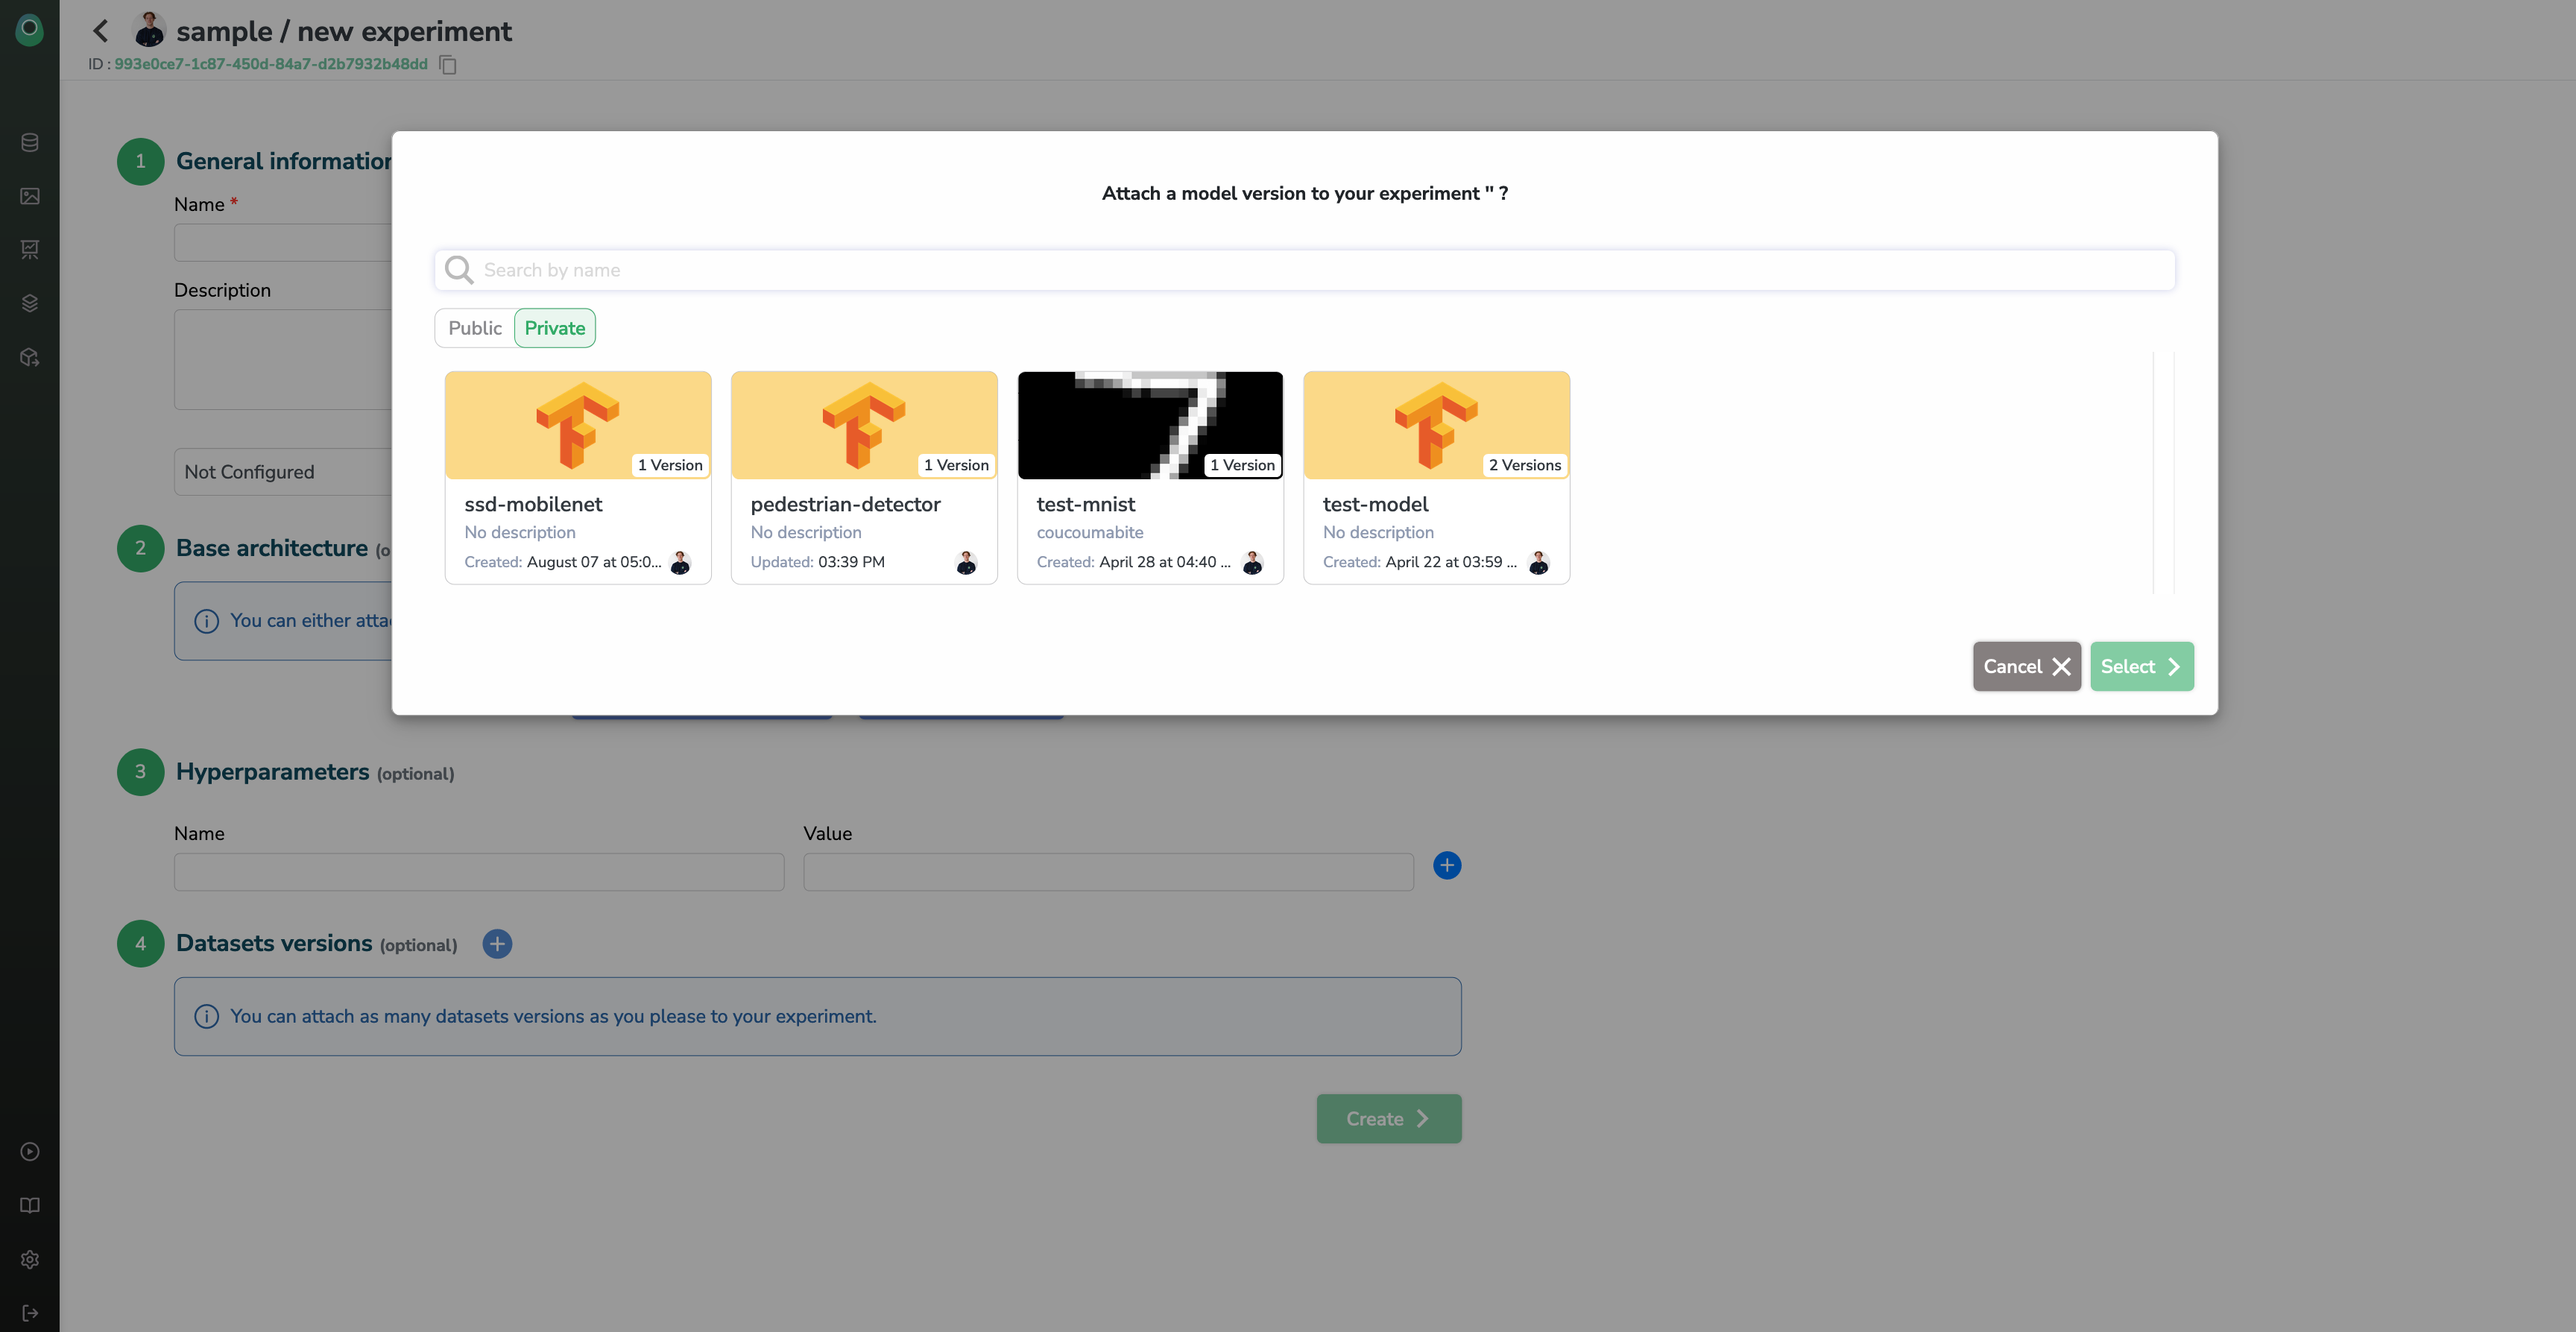
Base architecture
If you click on one of the buttons, a modal will open and a list of available base architecture will appear.
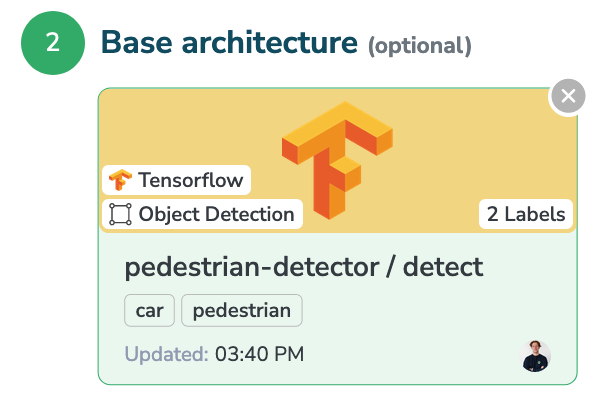
And then if you select a base model, you will see it appear like this.
Why choose a base Model or a base Experiment
If you have created a Model in your registry already or if you want to use one of our public model architecture to kick-start your project, you can click the Attach a Modelbutton.
As ML/AI training is an iterative process, you may or may not want to use previous checkpoints, trained models, and configuration files of a previous version of your experiments.
In this case, you can select one of your previous experiment by clicking the Attach an Experimentbutton.
By selecting one of those two options to start a new Experiment, we are going to copy the following attributes:
- Files (Artifacts)
- Parameters
- Labelmap
Models also carry some Dataset Constraints, which means that you will be prompted with placeholders that describes the Datasets needed for training. (This will be explained below in the Dataset Versions section)
Hyperparameters
You can add any key-value pair as a parameter for your experiment (that you will be able to access during training through the Python SDK).
If you chose a Model or an Experiment as a base in the previous step, those parameter may already be filled so you can edit them and maybe add some new ones.

Dataset Versions
You can select Dataset Versions previously created (see Data Management to learn how) and attach them to your experiment so it can be dynamically used during training without any changes to your code.
To do this, we created an Alias system so you can select a Dataset Version and give it a name that will be available only in the Experiment context.
Without Dataset constraints
For example here I can choose 3 Dataset Versions whose I will give the aliases: train, test, eval; which means that in the python SDK I'll be able to retrieve the said Dataset Version with the following command experiment.get_dataset(alias="train") (same for test or eval).
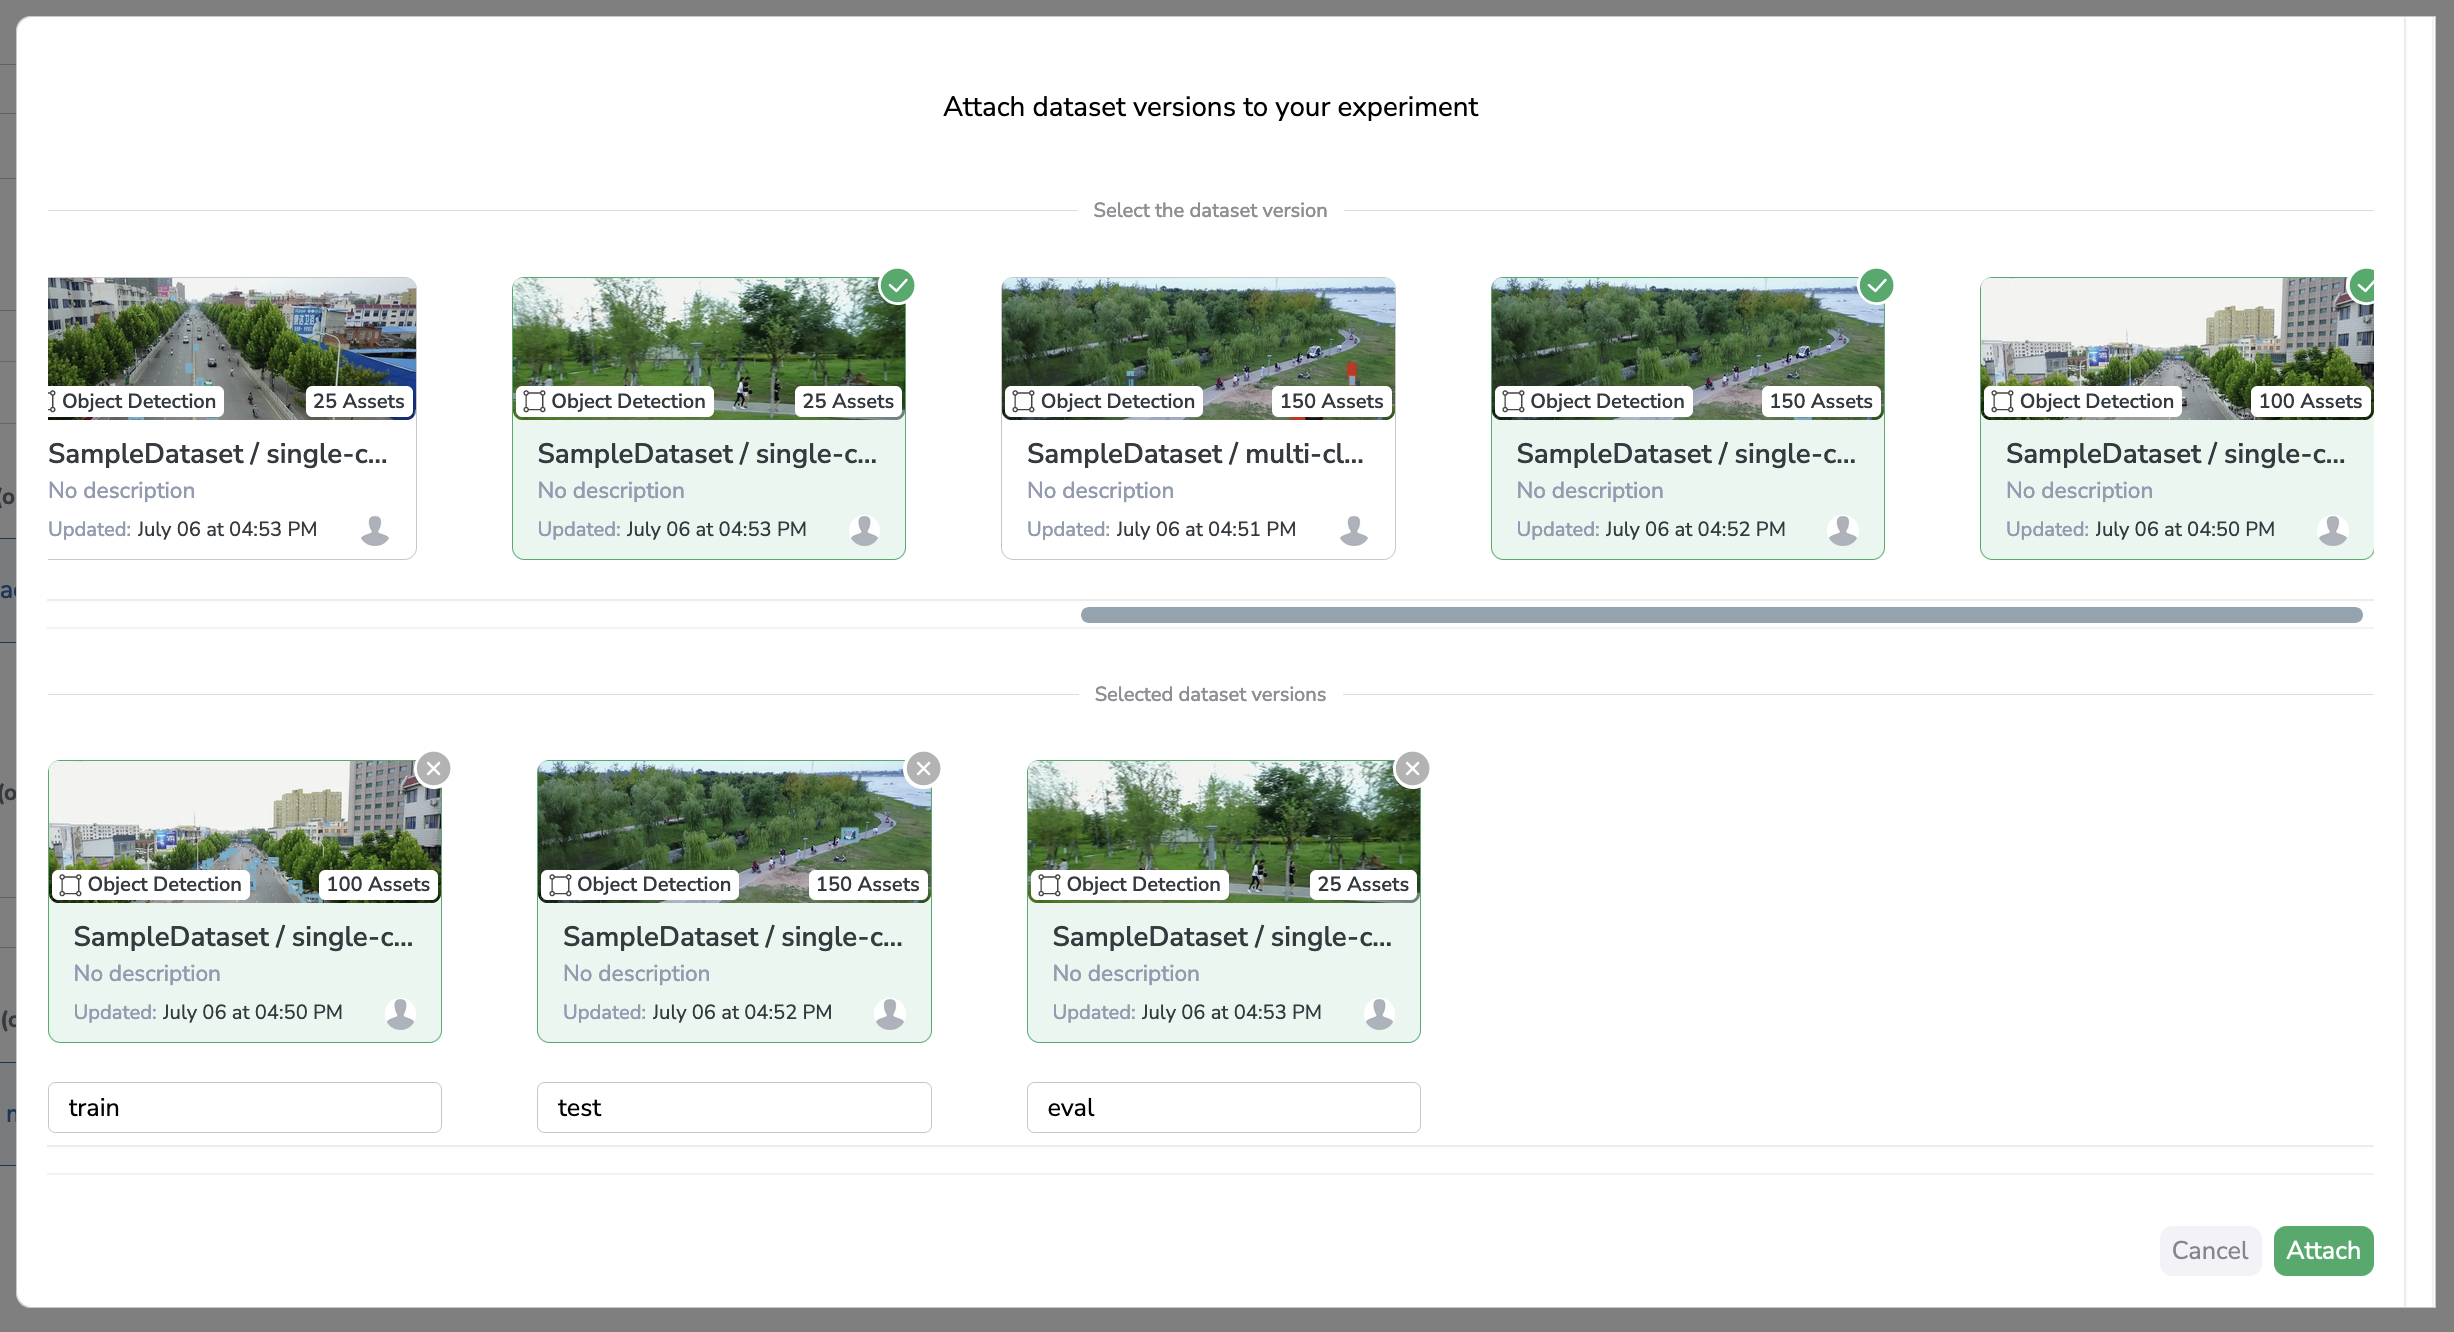
This is what you'll see if there are no Dataset Constraint to use your Model, the aliases are free to write, you can set them to anything needed by your training script
With Dataset constraints
We said earlier in the Base architecture section that the selected Model can have some pre-defined Dataset Constraints (for example if you select a public Model).
It means that you code will need some exact aliases to run, and that the creator of the model do not want you to send the wrong Datasets into your training.
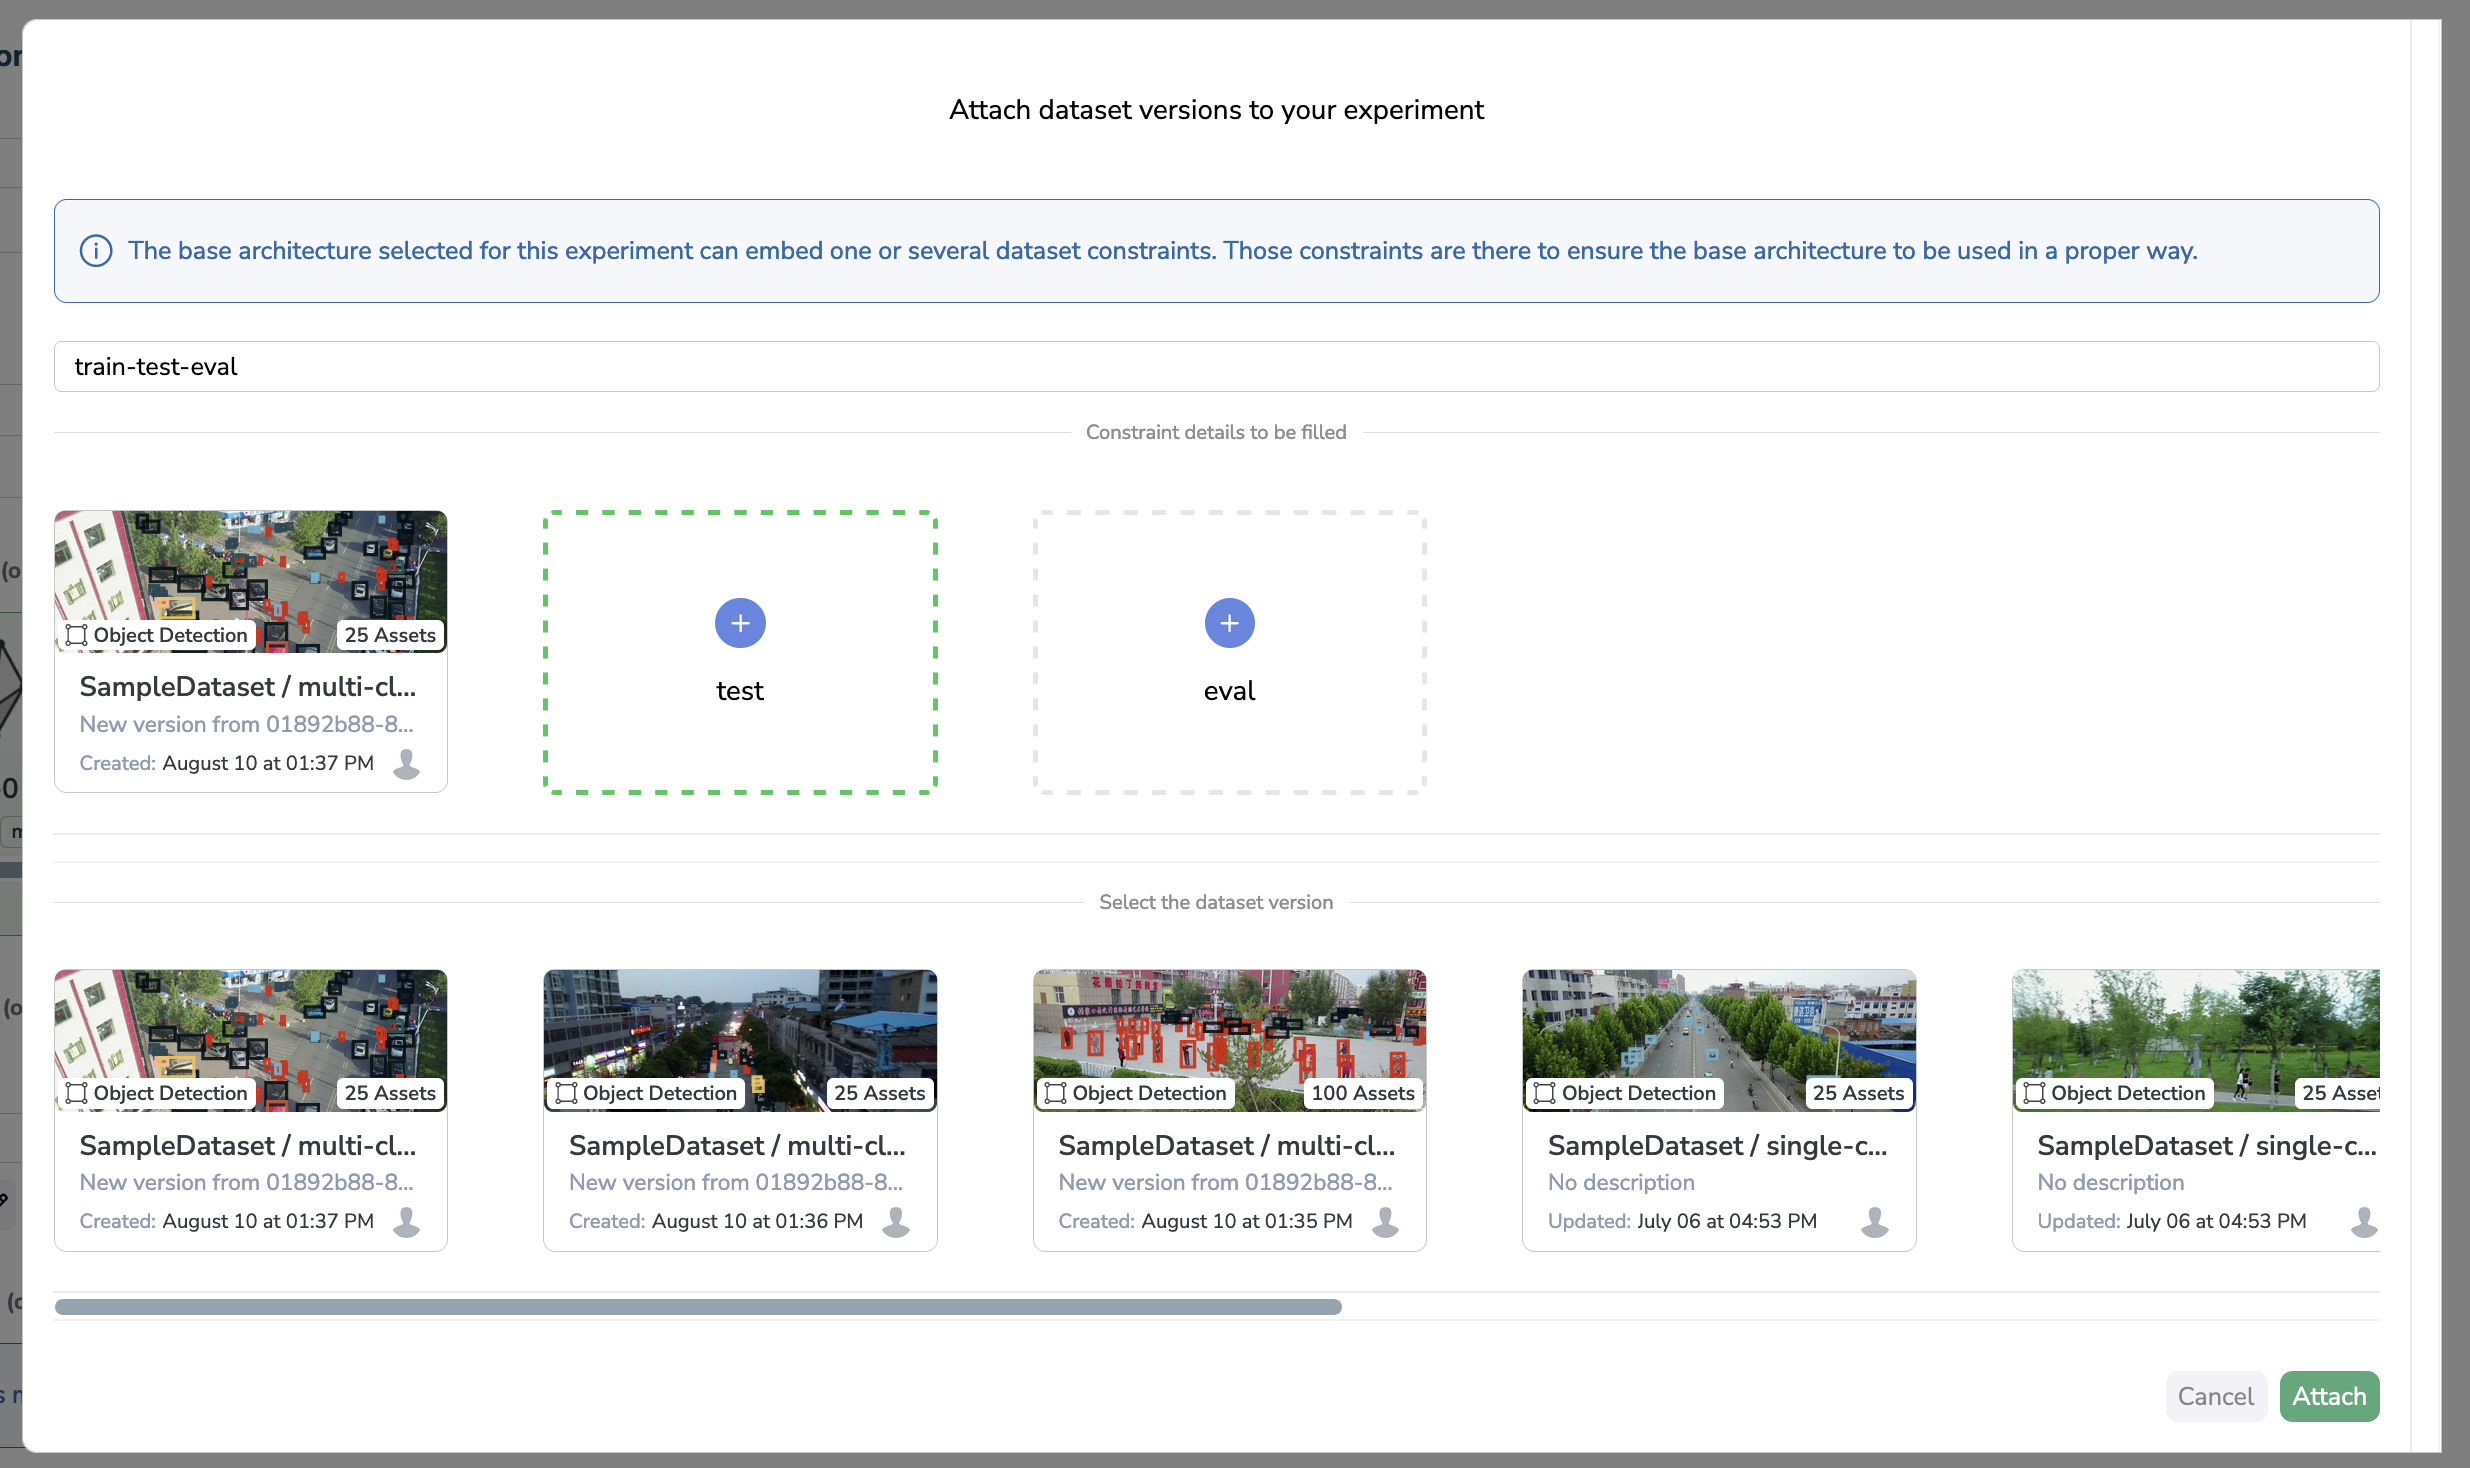
If the selected Model does have some constraints, the Dataset selection will look like this

So at first, you will only see some empty placeholders, the name written in those is actually the Alias that has been pre-defined by the Model creator.
Then you can just click on any of them to be prompted with the list of available Dataset Versions ready to add to your Experiment, without the need to write the Alias because it has been pre-filled for you!
Final words
When you are ready and you have filled all the conditions to create your Experiment, your screen should look something like this
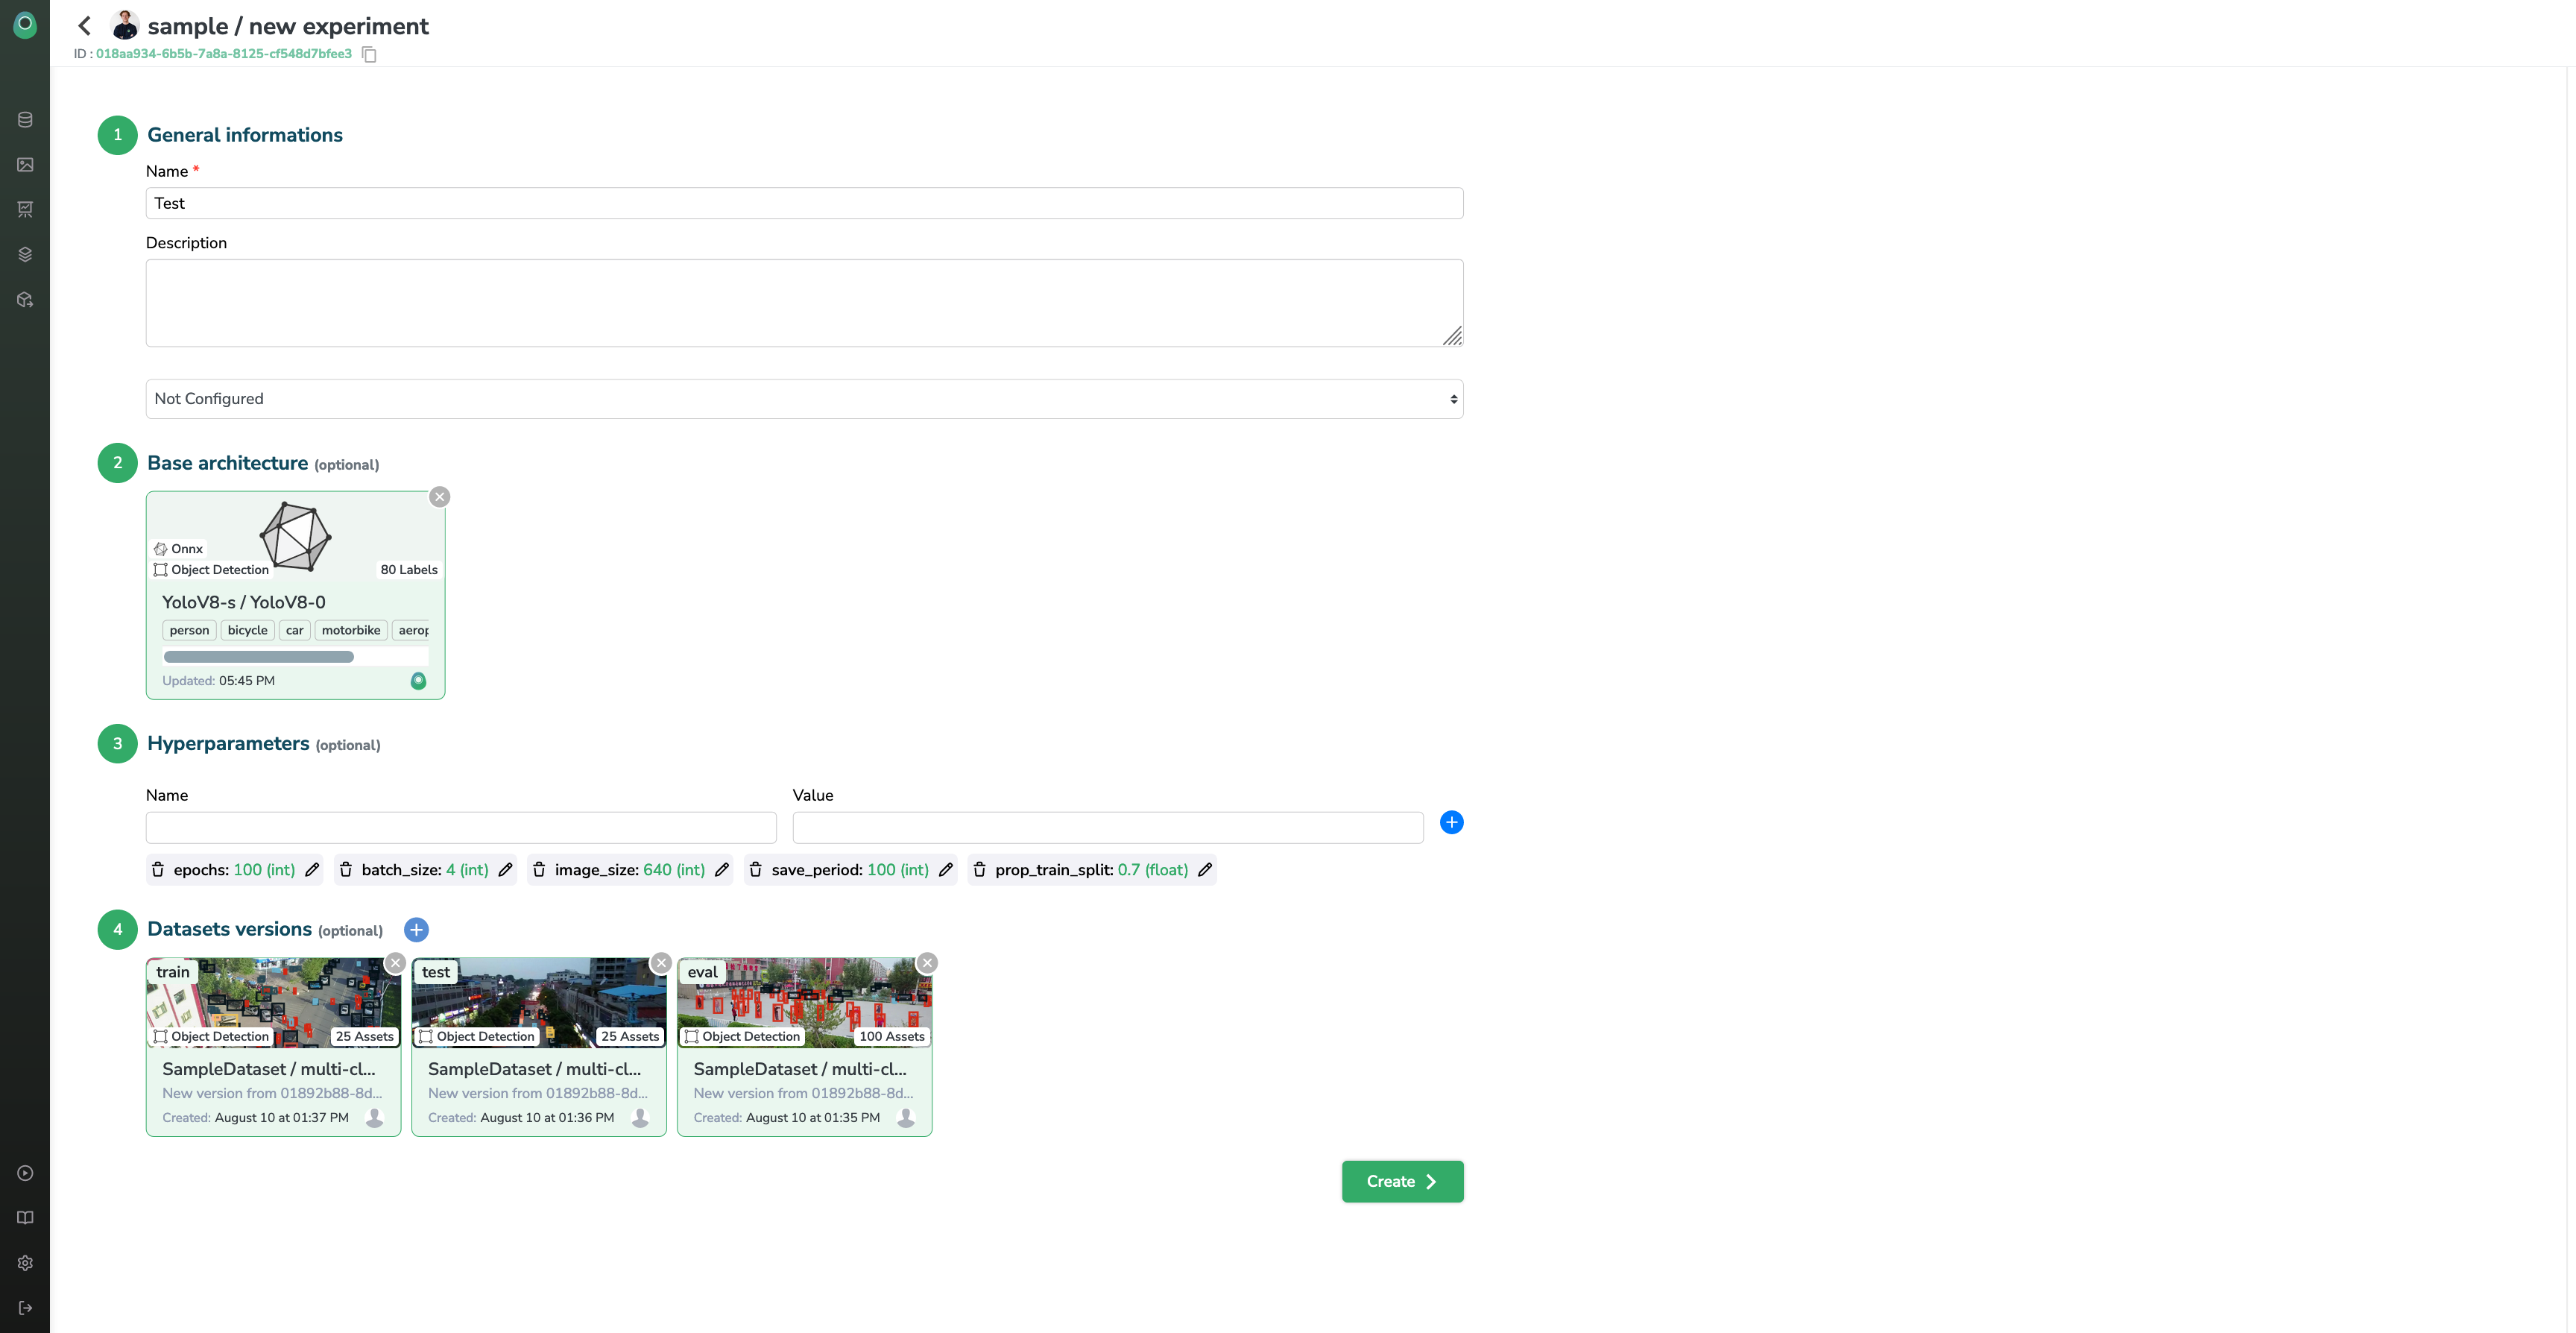
You can now click the Createbutton and start your training right away!
Updated 7 months ago